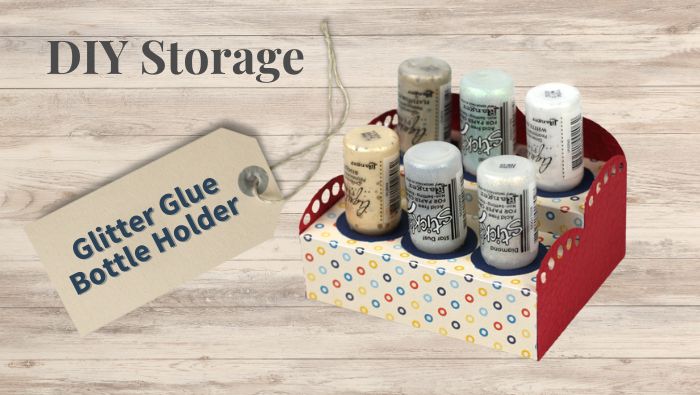
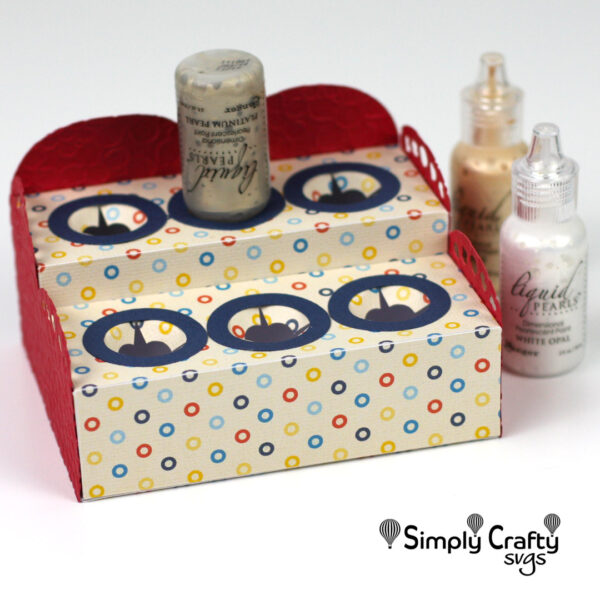
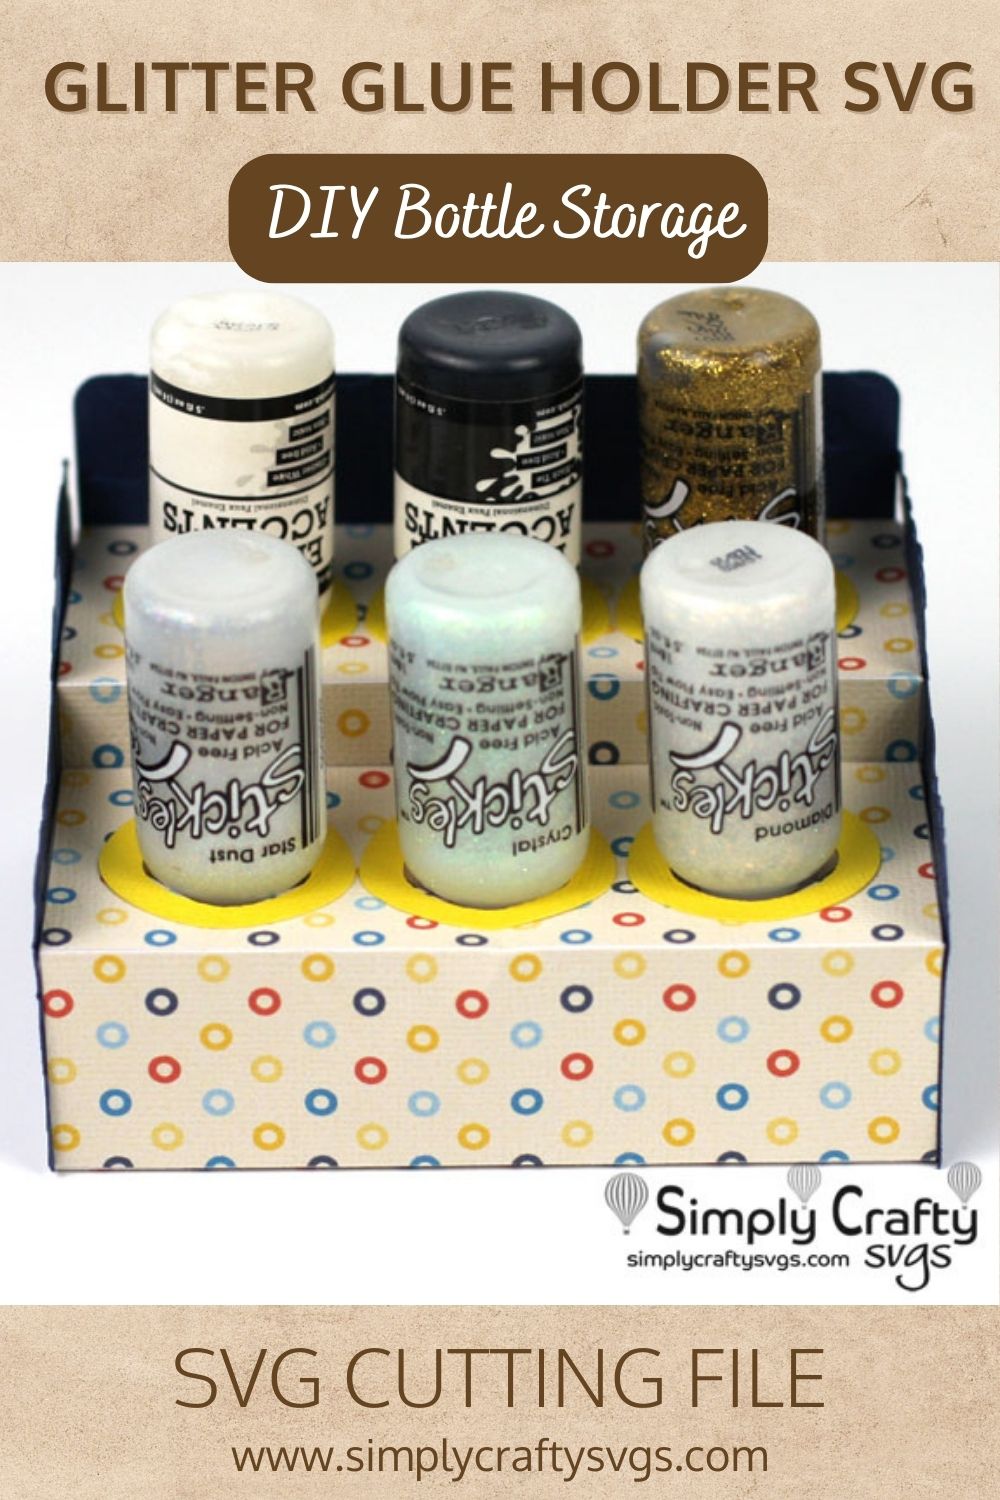
Make your own storage for small liquid medium bottles such as Stickles and Liquid Pearls. This Glitter Glue Bottle Holder holds 6 bottles. I use it for my favorite colors of Stickles and Liquid Pearls. To make it, we have a Glitter Glue Bottle Holder SVG file that can be cut using your Cricut, Silhouette or other die cutting machine. I used American Crafts Textured Cardstock for the box and it is quite sturdy.
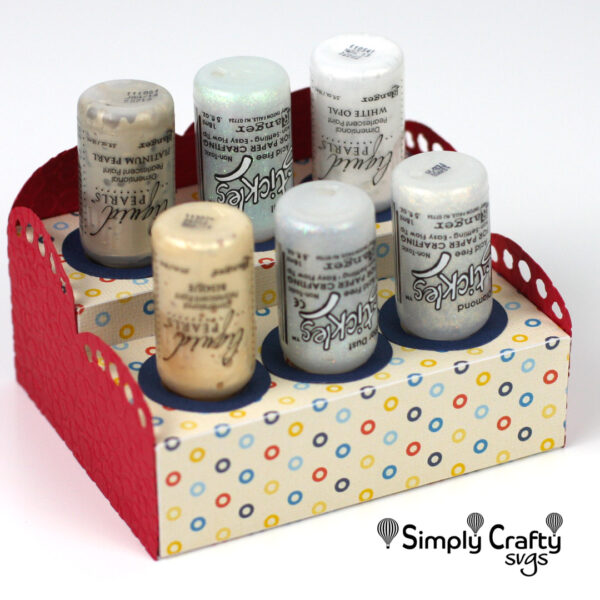
Shown with a few 0.5 fluid ounce bottles of Liquid Pearls
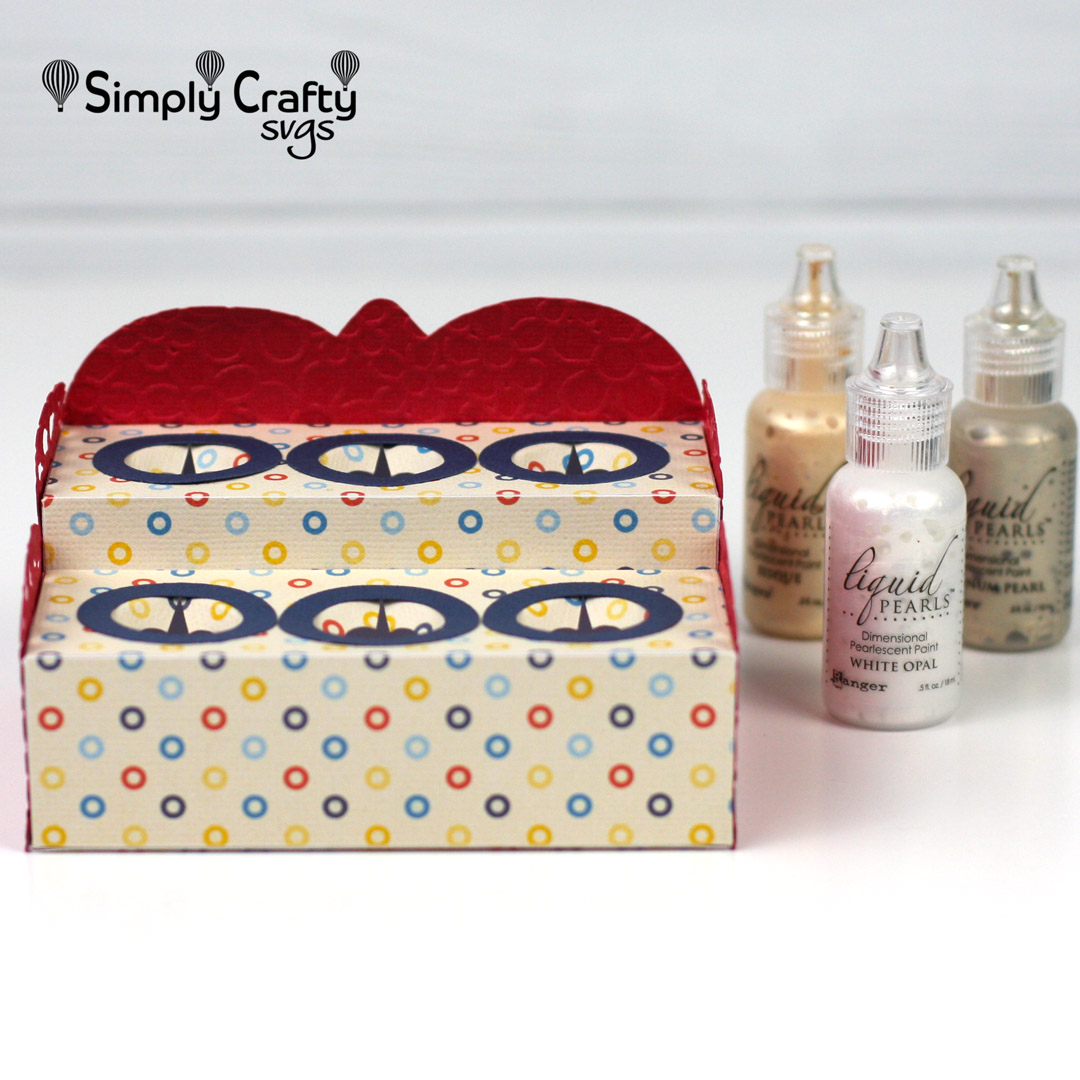
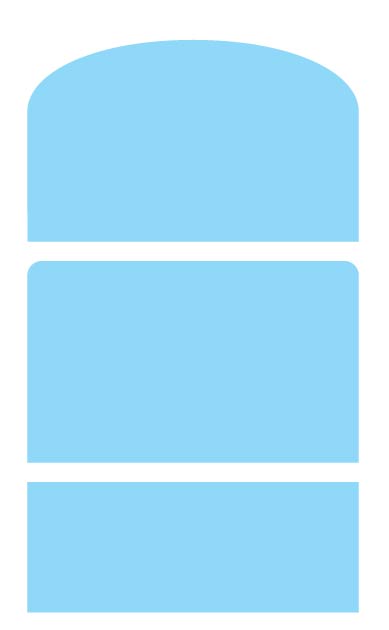
Alternate Side & Back Panels (Added with August 2022 update)
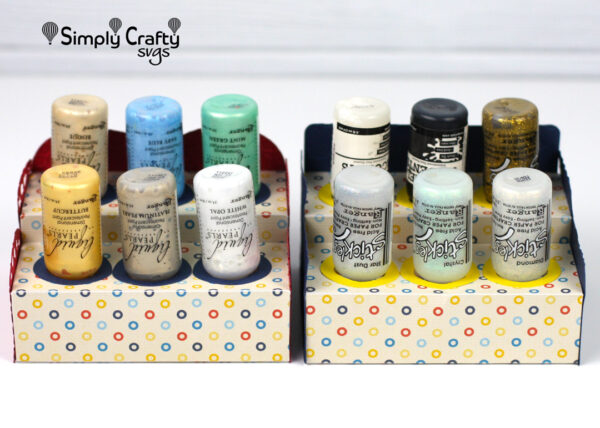
On 8/8/22, the Glitter Glue Bottle Holder SVG file was updated to include alternate side and back panels. Here is a version with the rounded rectangular sides and back panels. If you purchased it previously, log into your account to download the newest version.
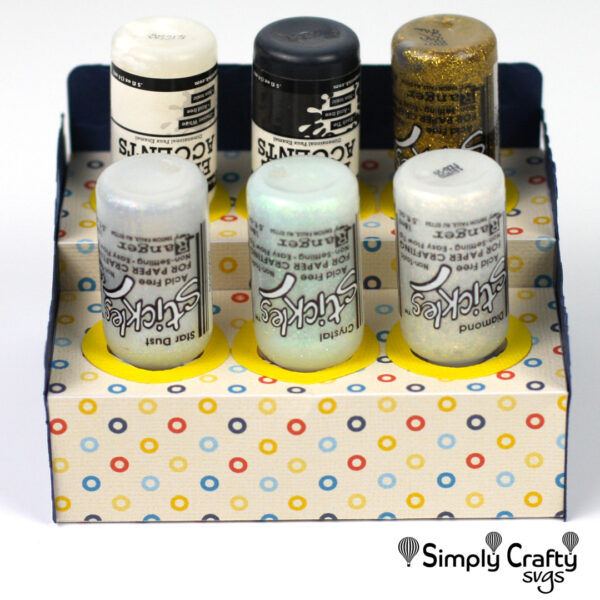
These are easy to make, especially if you follow our assembly tutorial video. I find them handy to store my most frequently used Stickles and Liquid Pearls.
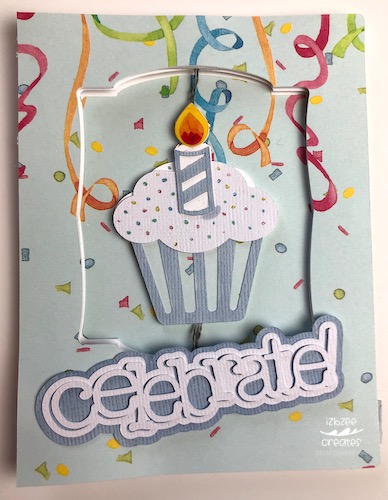
Your recipient will love the “extra” in this cupcake spinner card!
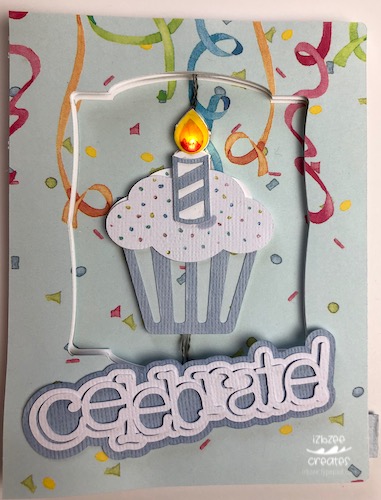
Cupcake Spinner Card – with light on
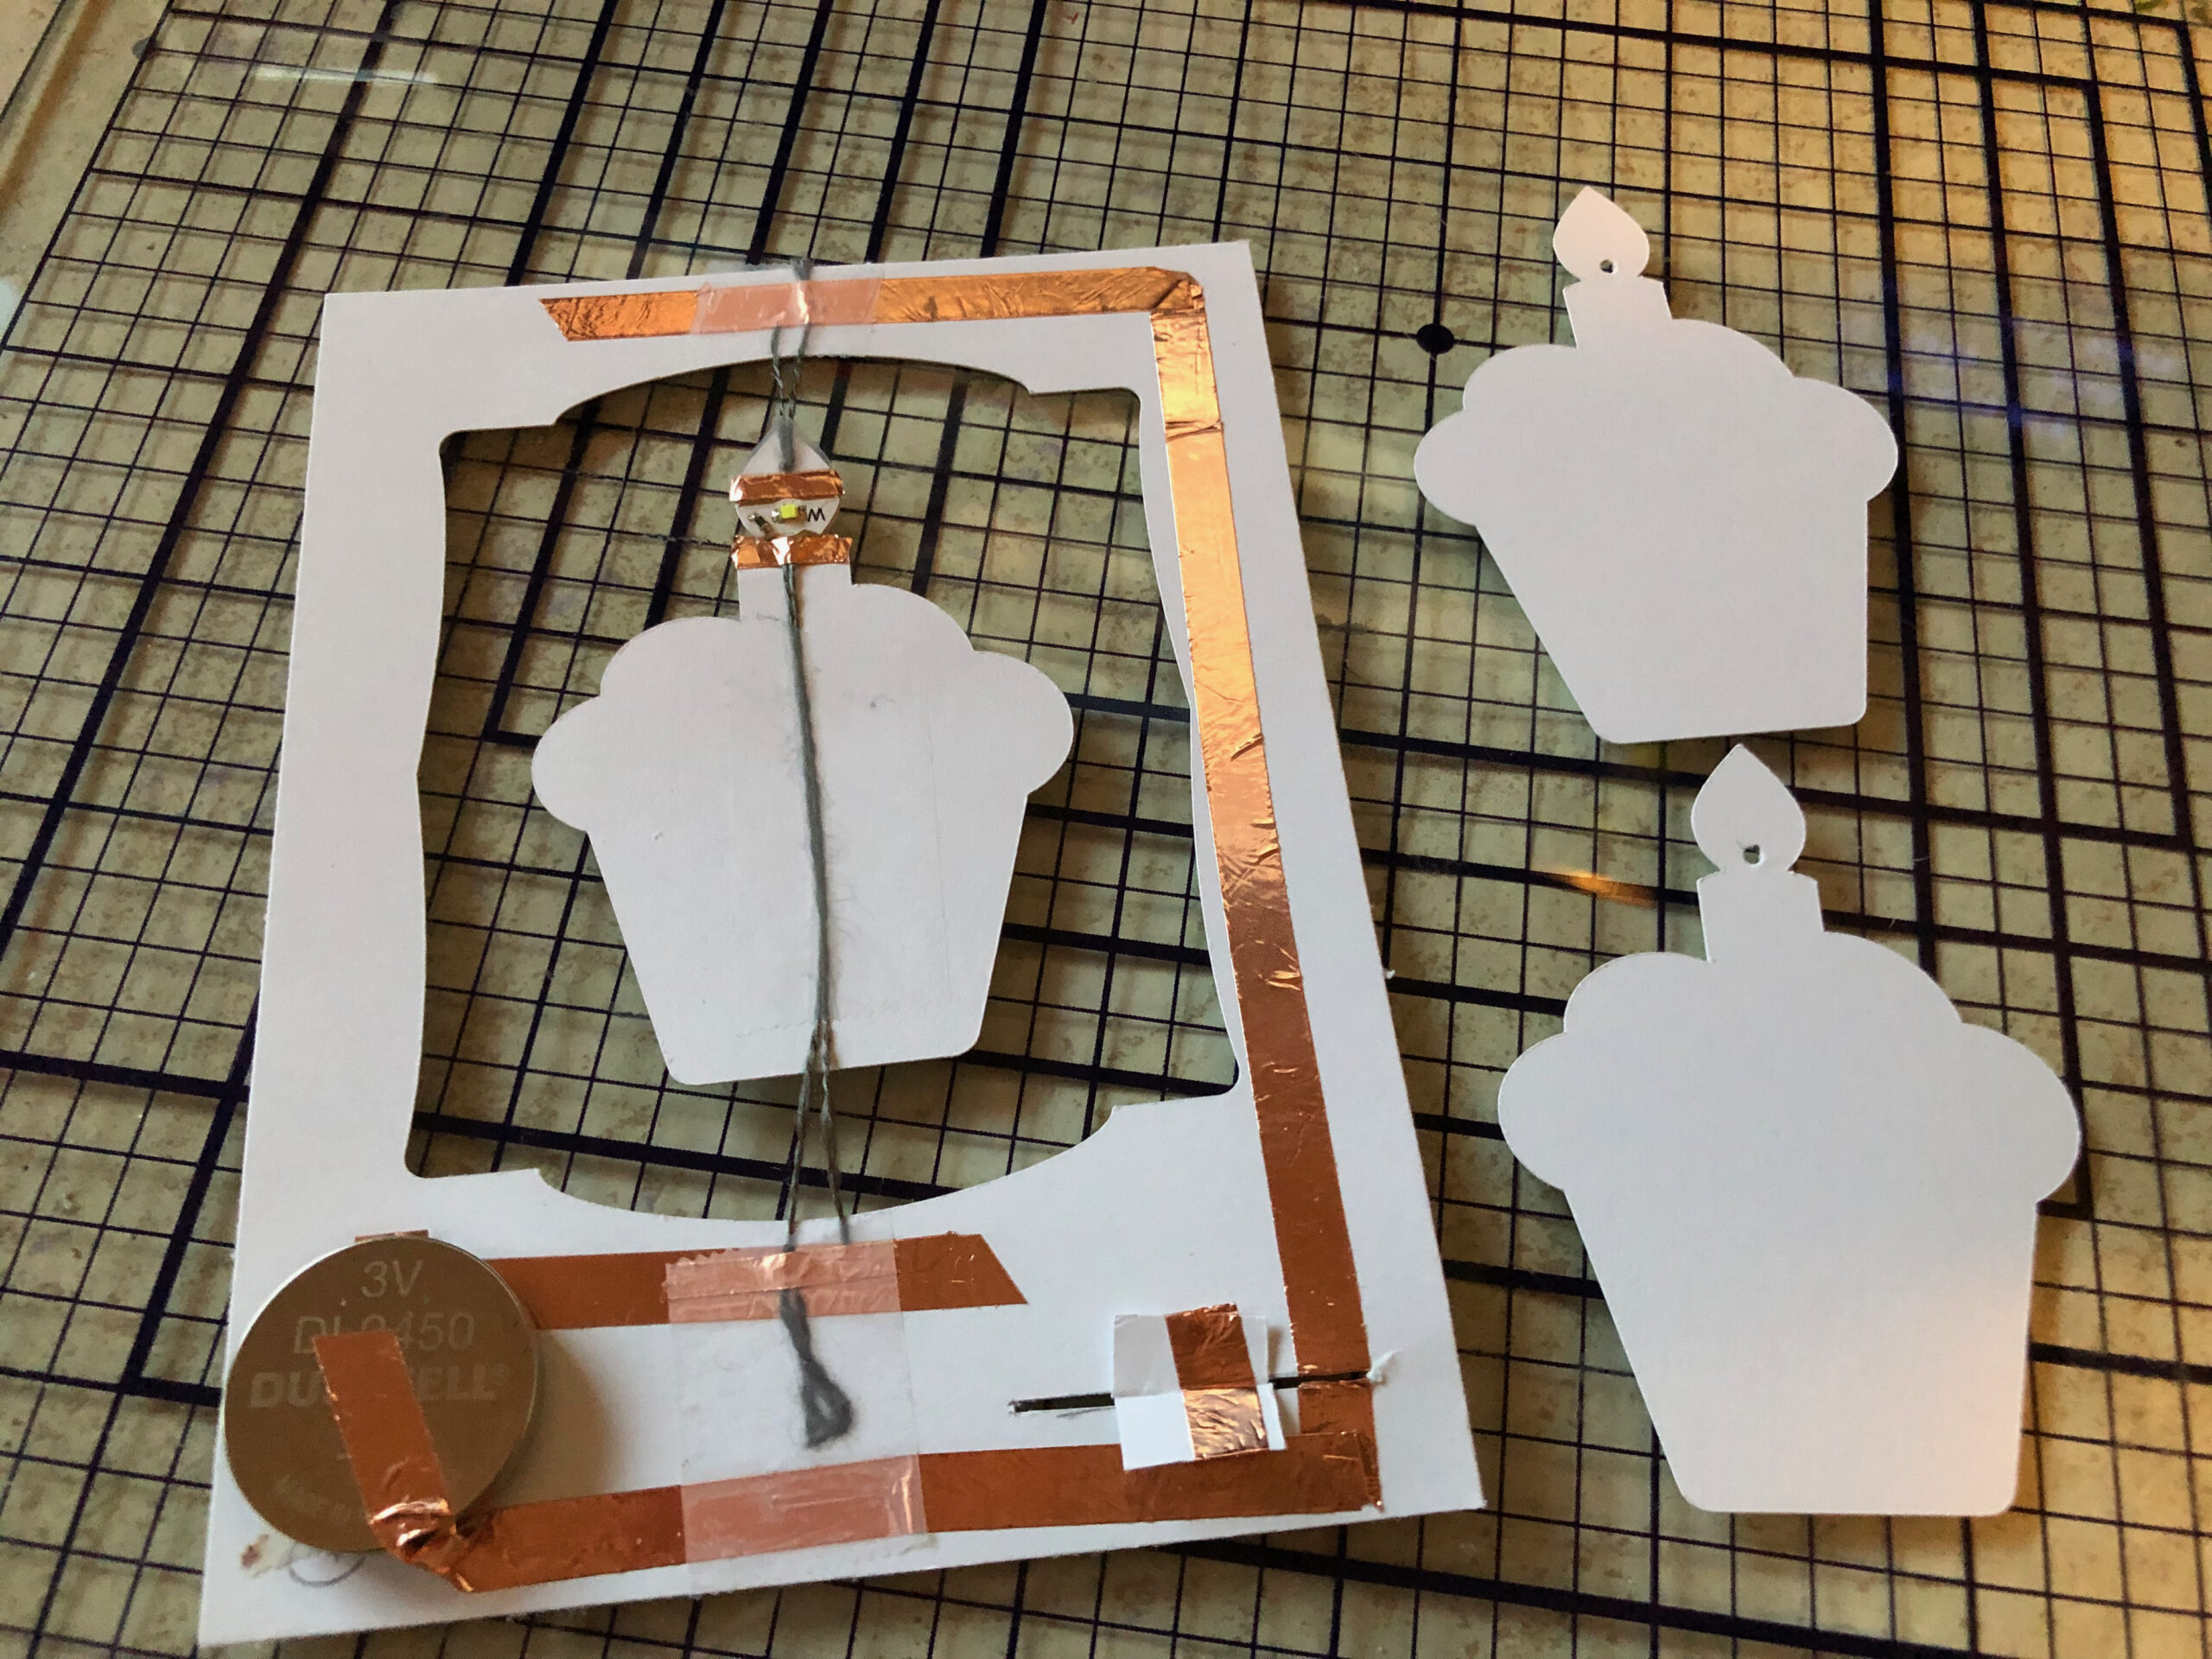
Circuit
Building the circuit requires a couple of extra cuts. You’ll find some basic guidelines for creating the circuit and needed cuts to complete your cupcake spinner card here. Eiko also has a link to a YouTube Video for additional details and specifics to make the spinner using the conductive thread.
Cupcake Spinner Card – circuit
Once the circuit is ready and the cupcake pieces added to the spinner, add the pull tab to the slider switch. Pull the tab to make sure the switch will still slide and complete the circuit.
Assemble the card.
Once you’ve completed the circuit and added your pull tab, assemble the layers: Card base > circuit > patterned paper card front. Use foam tape between the card front and the circuit layer. Open the card just enough and spin the cupcake to prepare it for the recipient. You’ll need a larger envelope to allow for the extra dimension of the card – and it may cost you a little more to mail.
This card can also be made without the light or circuit – using just the spinner. Just follow the directions in the video found here for the Reindeer Spinner Card and if you need additional help with assembling the cupcake, you’ll find those directions here.
We hope this card inspires you to create a Cupcake Spinner Card of your own for an upcoming special occasion or just because.
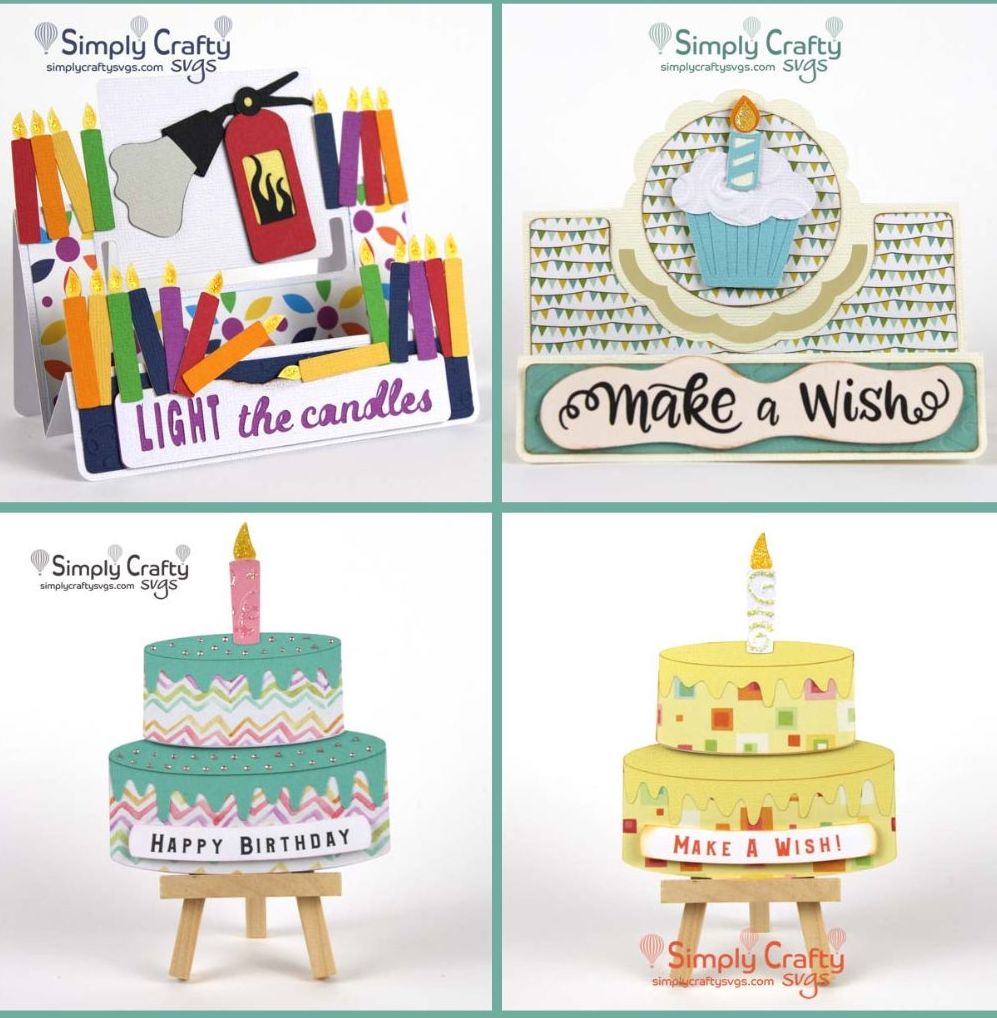
Need a few more card ideas for an upcoming birthday? You’ll find them here.
If you choose to make this spinner card or another using files from Simply Crafty SVGs, please share them with us! We’d love to see them. You can share them on our Facebook Creator page or tag us on Pinterest or Instagram using the tag: @simplycraftysvgs.
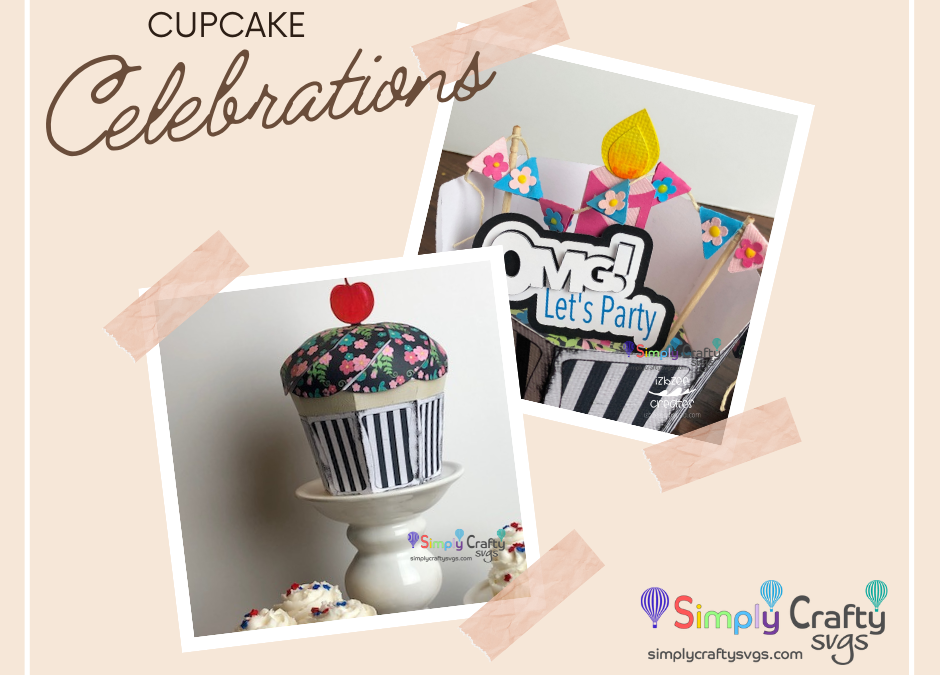
There’s always a reason to celebrate and choosing a fun box to get things started is always a welcome sight!
The cupcake box from Simply Crafty SVGs is always a hit! And this one is no different. Jan has used the Cupcake file, and elements from: Milkshake, Vintage Camper, Cupcake Center Panel Card and Cupcake Stand files to complete this one-of-a-kind cupcake for an upcoming celebration.
Mix up some fun patterned papers; cut, ink and assemble the cupcake for your upcoming celebration using the swirl top pieces and panels. Add the cherry from the Milkshake Box file to top the cupcake box.
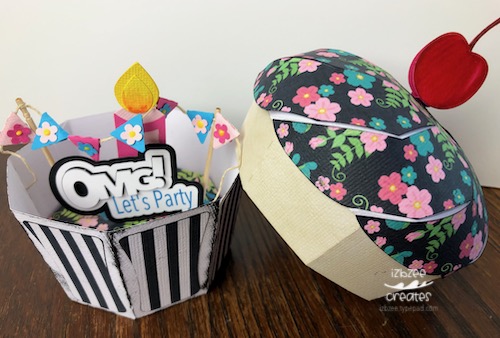
Lift the lid…
There’s always a reason to celebrate – inside the lid of the Cupcake
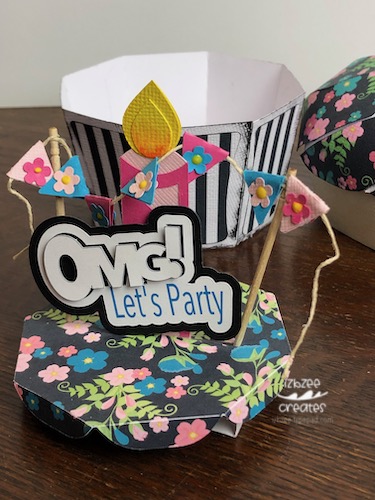
and there’s a party inside! The platform in the bottom of the box consists of the panel from the Cupcake stand file. Jan scored the scalloped edge to fold down. She cut a slit in the center and placed this piece on a piece of cardstock scored and folded to create a rectangle open-sided box. Attach the elements directly through the slit of the panel to the rectangle below. Aren’t these fun additions?
There’s always a reason to celebrate – lift out the platform
The candle is from the Cupcake Center Panel Card and the flags for the banner are from the Vintage Camper file.
Take a peek at the files you have in your stash and it’s likely you’ll have some options for details you may not have considered previously. It’s always fun to play!
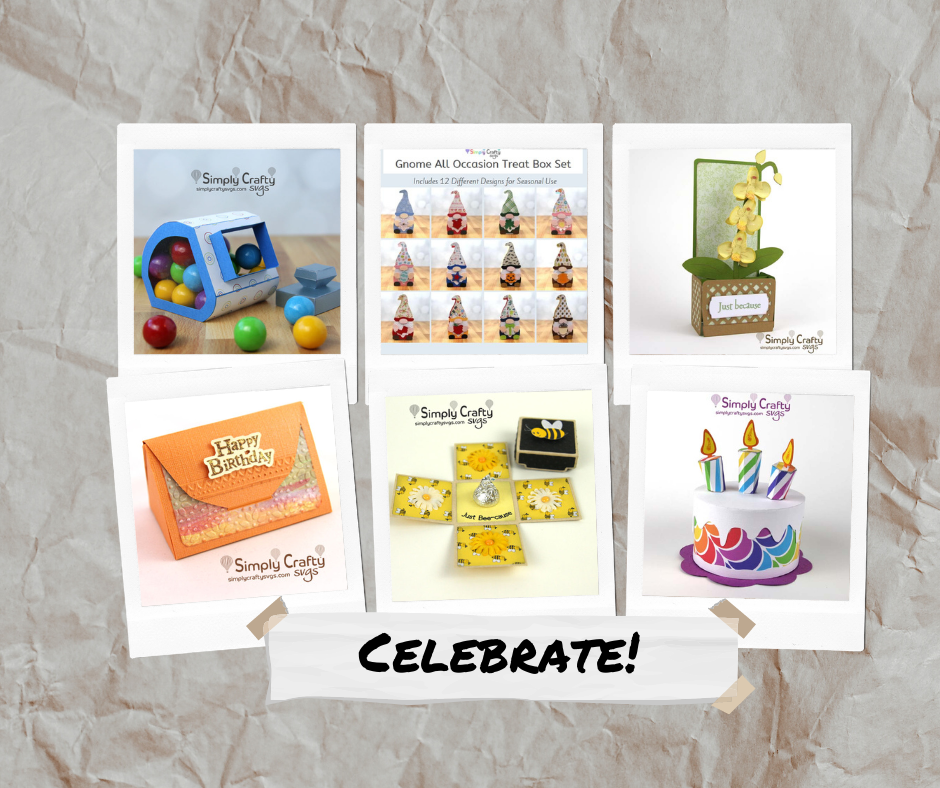
Need a few additional ideas? There’s always a reason to celebrate!
Peek at these:
There’s always a reason to celebrate – SimplyCraftySVGs