Today, I decided to do something a little different. We used the Bonus Basic Sticky Notepad Holder from the Decorative Sticky Notepads SVG File to make this Camping Sticky Notepad holder with a Camping Trailer on it. I could have easily used any of the notepad designs from this set…the only difference is the front of the holder. For most of our designs, it is simple to modify the designs to customize it to a specific theme. Often, you are looking for a gift and cannot find a completed project that fits your needs. This is when it is helpful to utilize some of your software’s tools to get it done. For this project, I used Cricut Design Space 3.
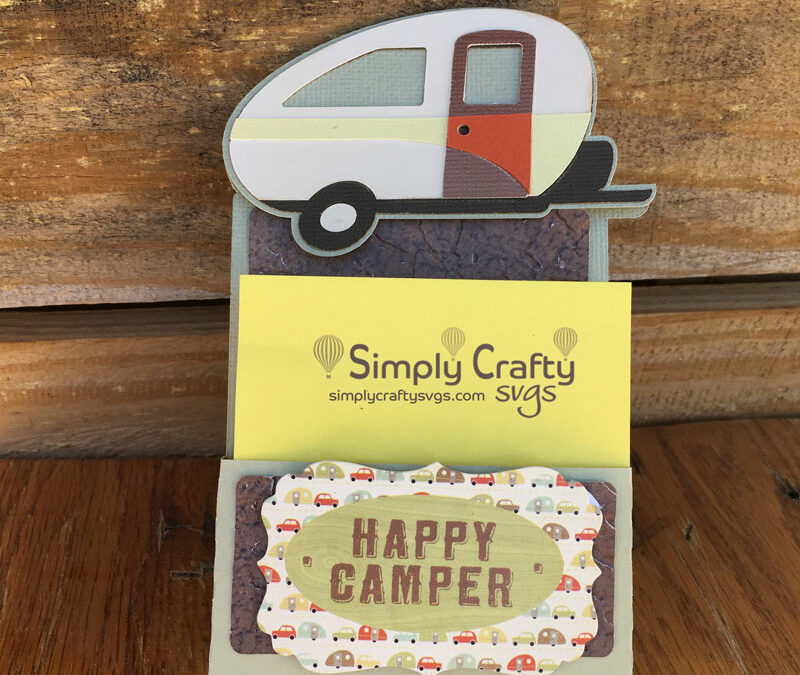
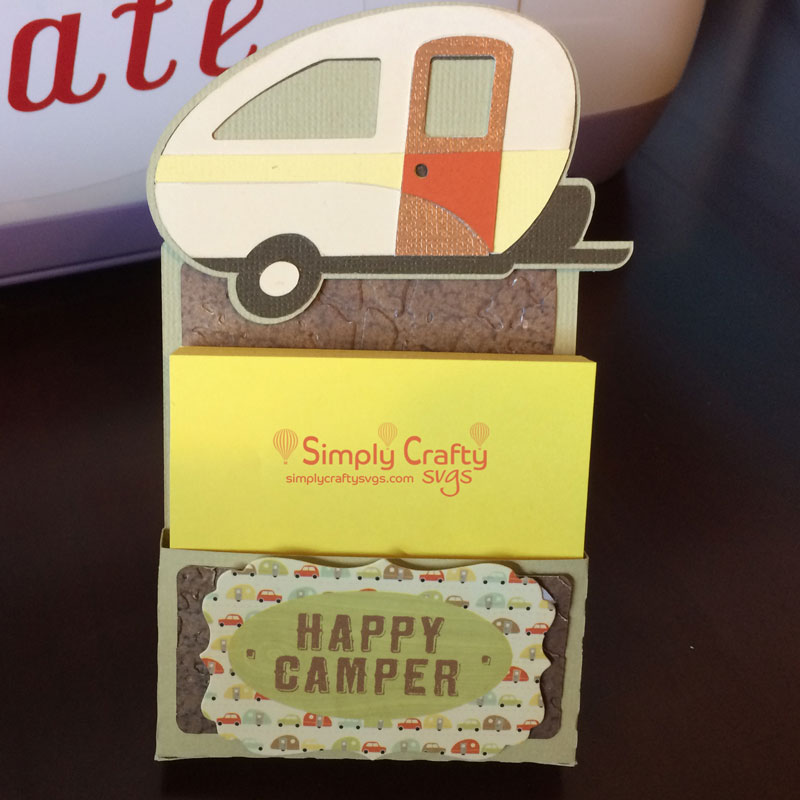
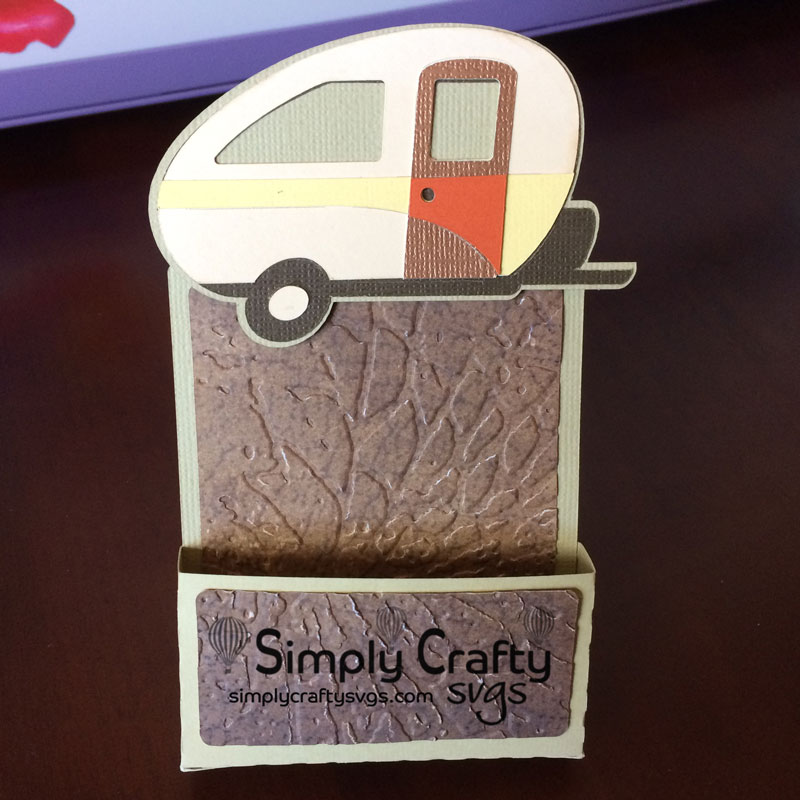
Here is the completed holder with a 3″ x 3″ notepad. I love these holders, as they are so easy to customize and make. AND they are a great gift for anyone that works in an office. You can make them any theme.
Watch this video that shows how I combined our SVG file with a Cricut camping trailer image within Cricut Design Space 3 to create the final project.
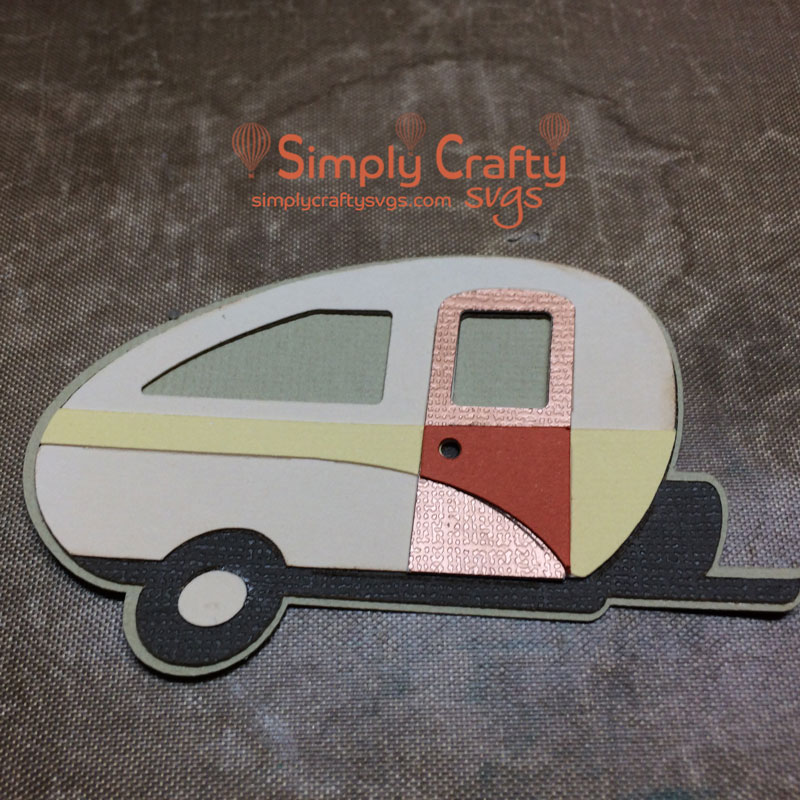
I pieced together the trailer from Campin’ Critters Cricut image set.
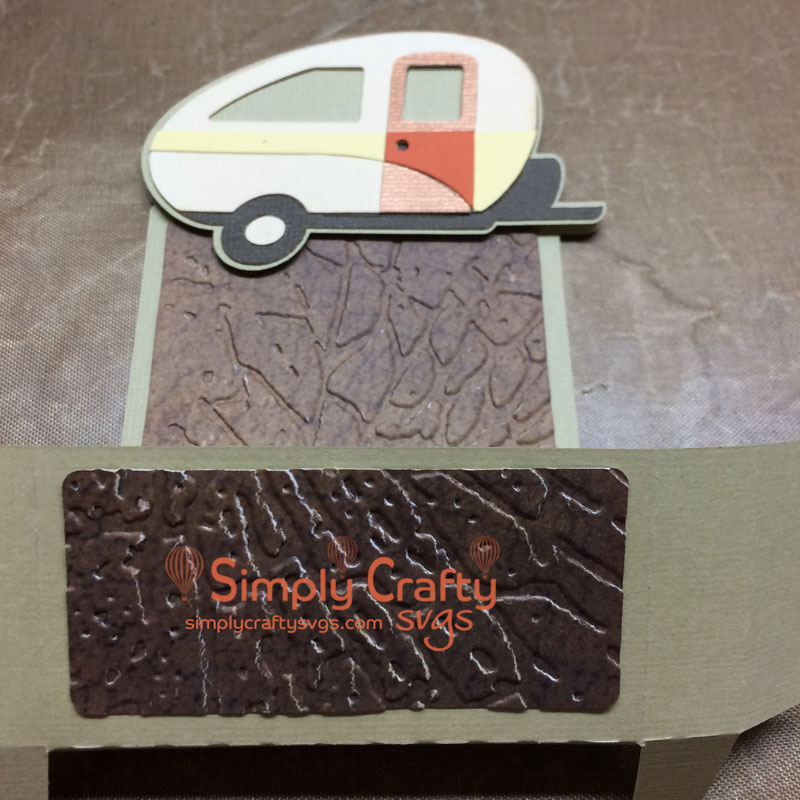
Then folded front of the holder as shown, folding the little front piece of the holder up. Prior to assembly, I added the trailer and panel sections.
Then added the back piece of the holder to stand it up. Basically, this completes the holder. I also added a pre-printed die cut “Happy Camper” sentiment that I had on hand in my craft room.
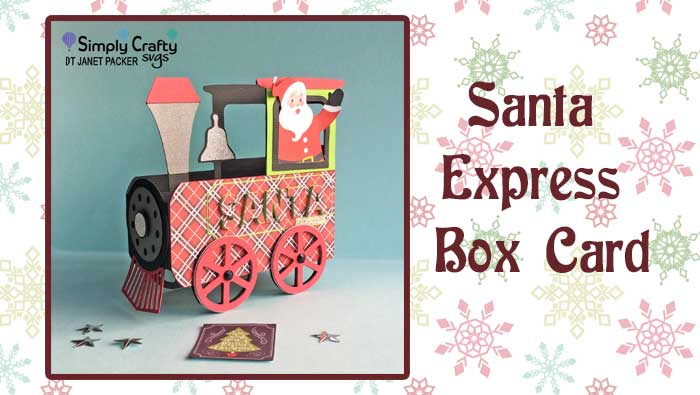
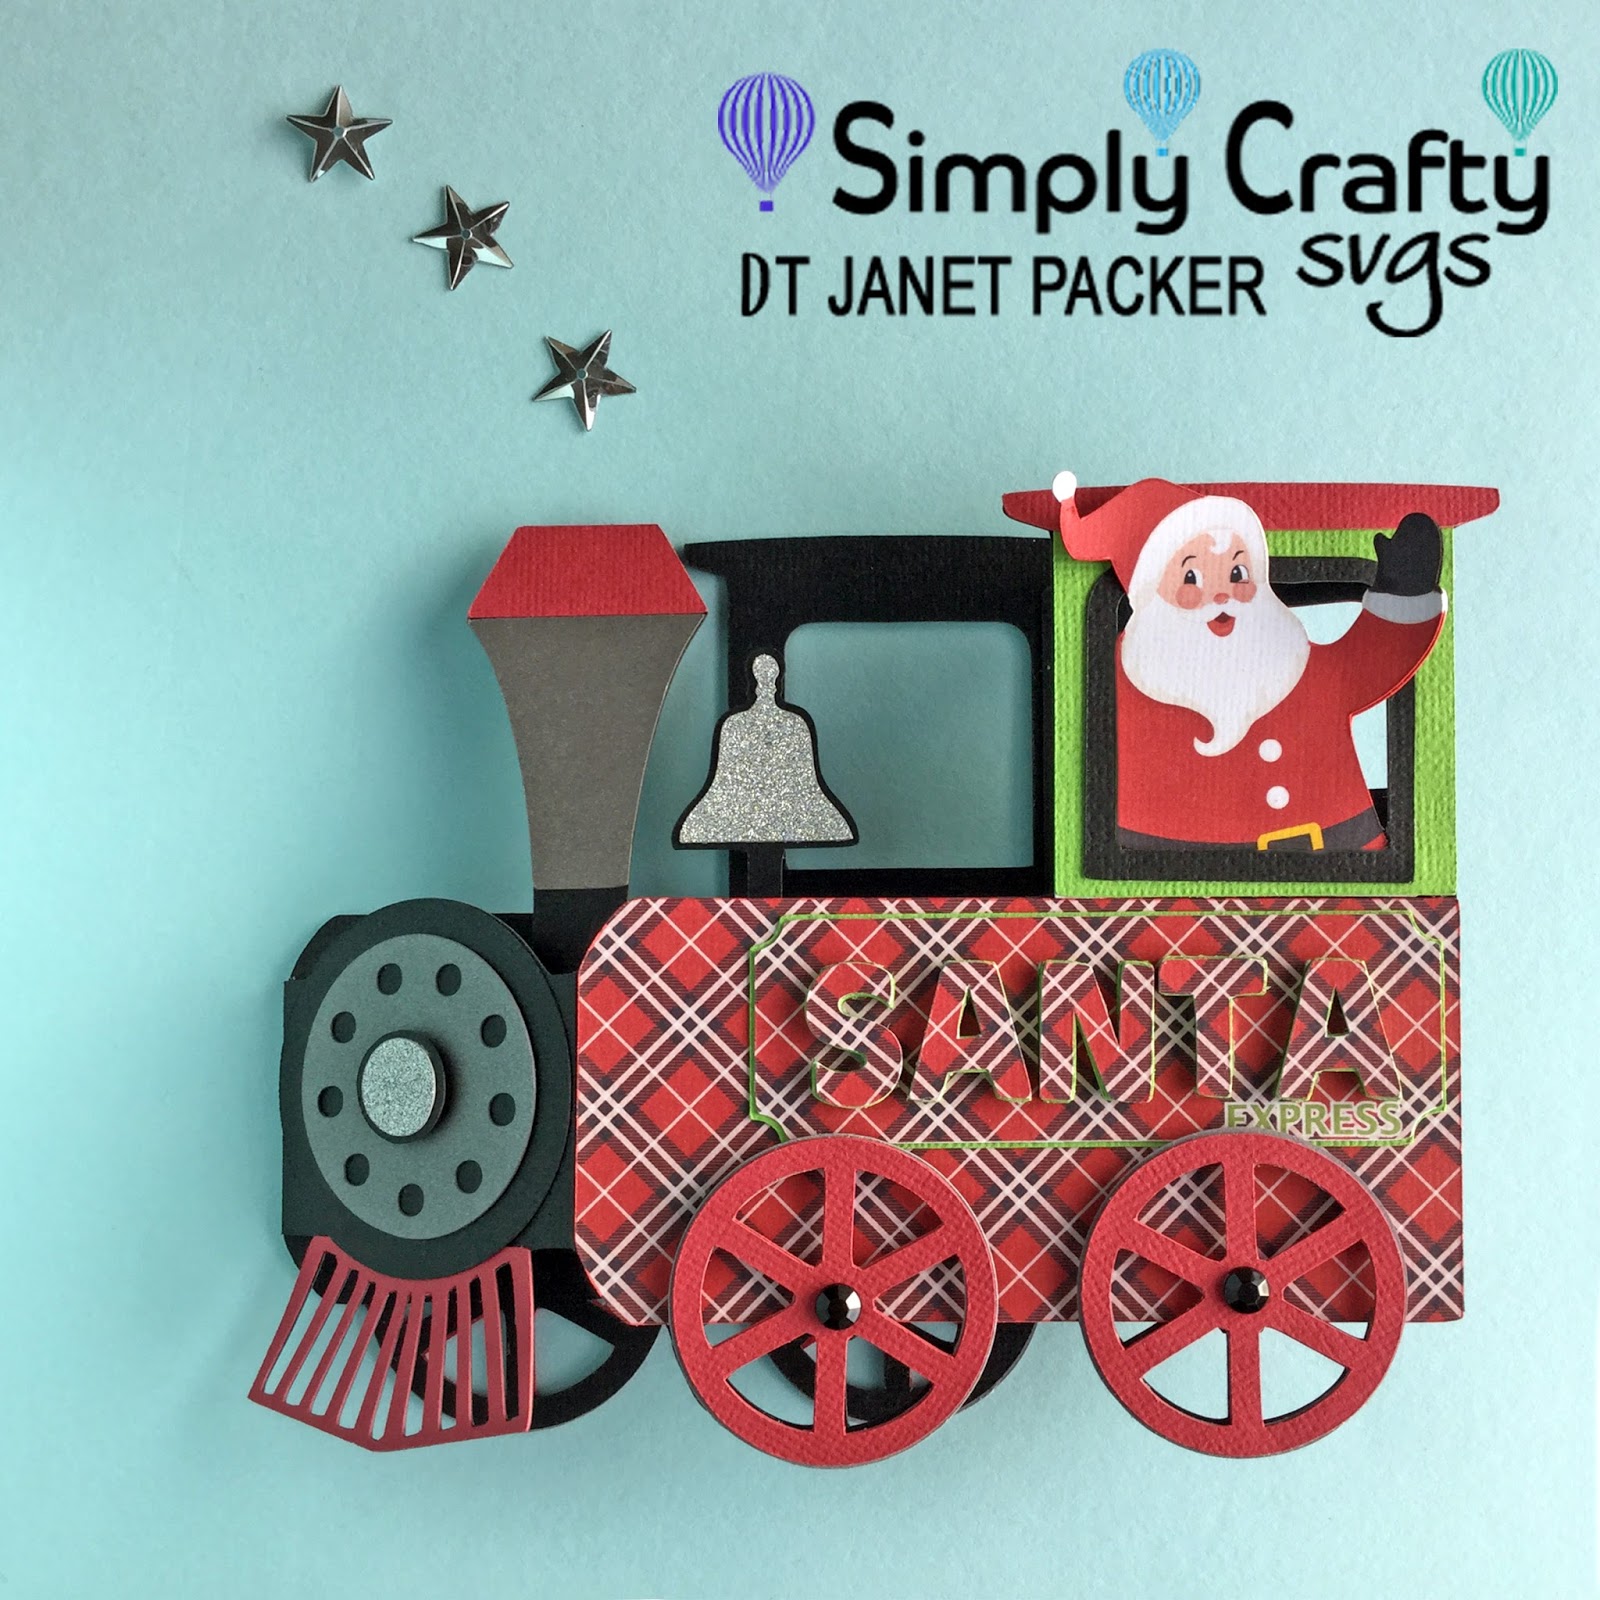
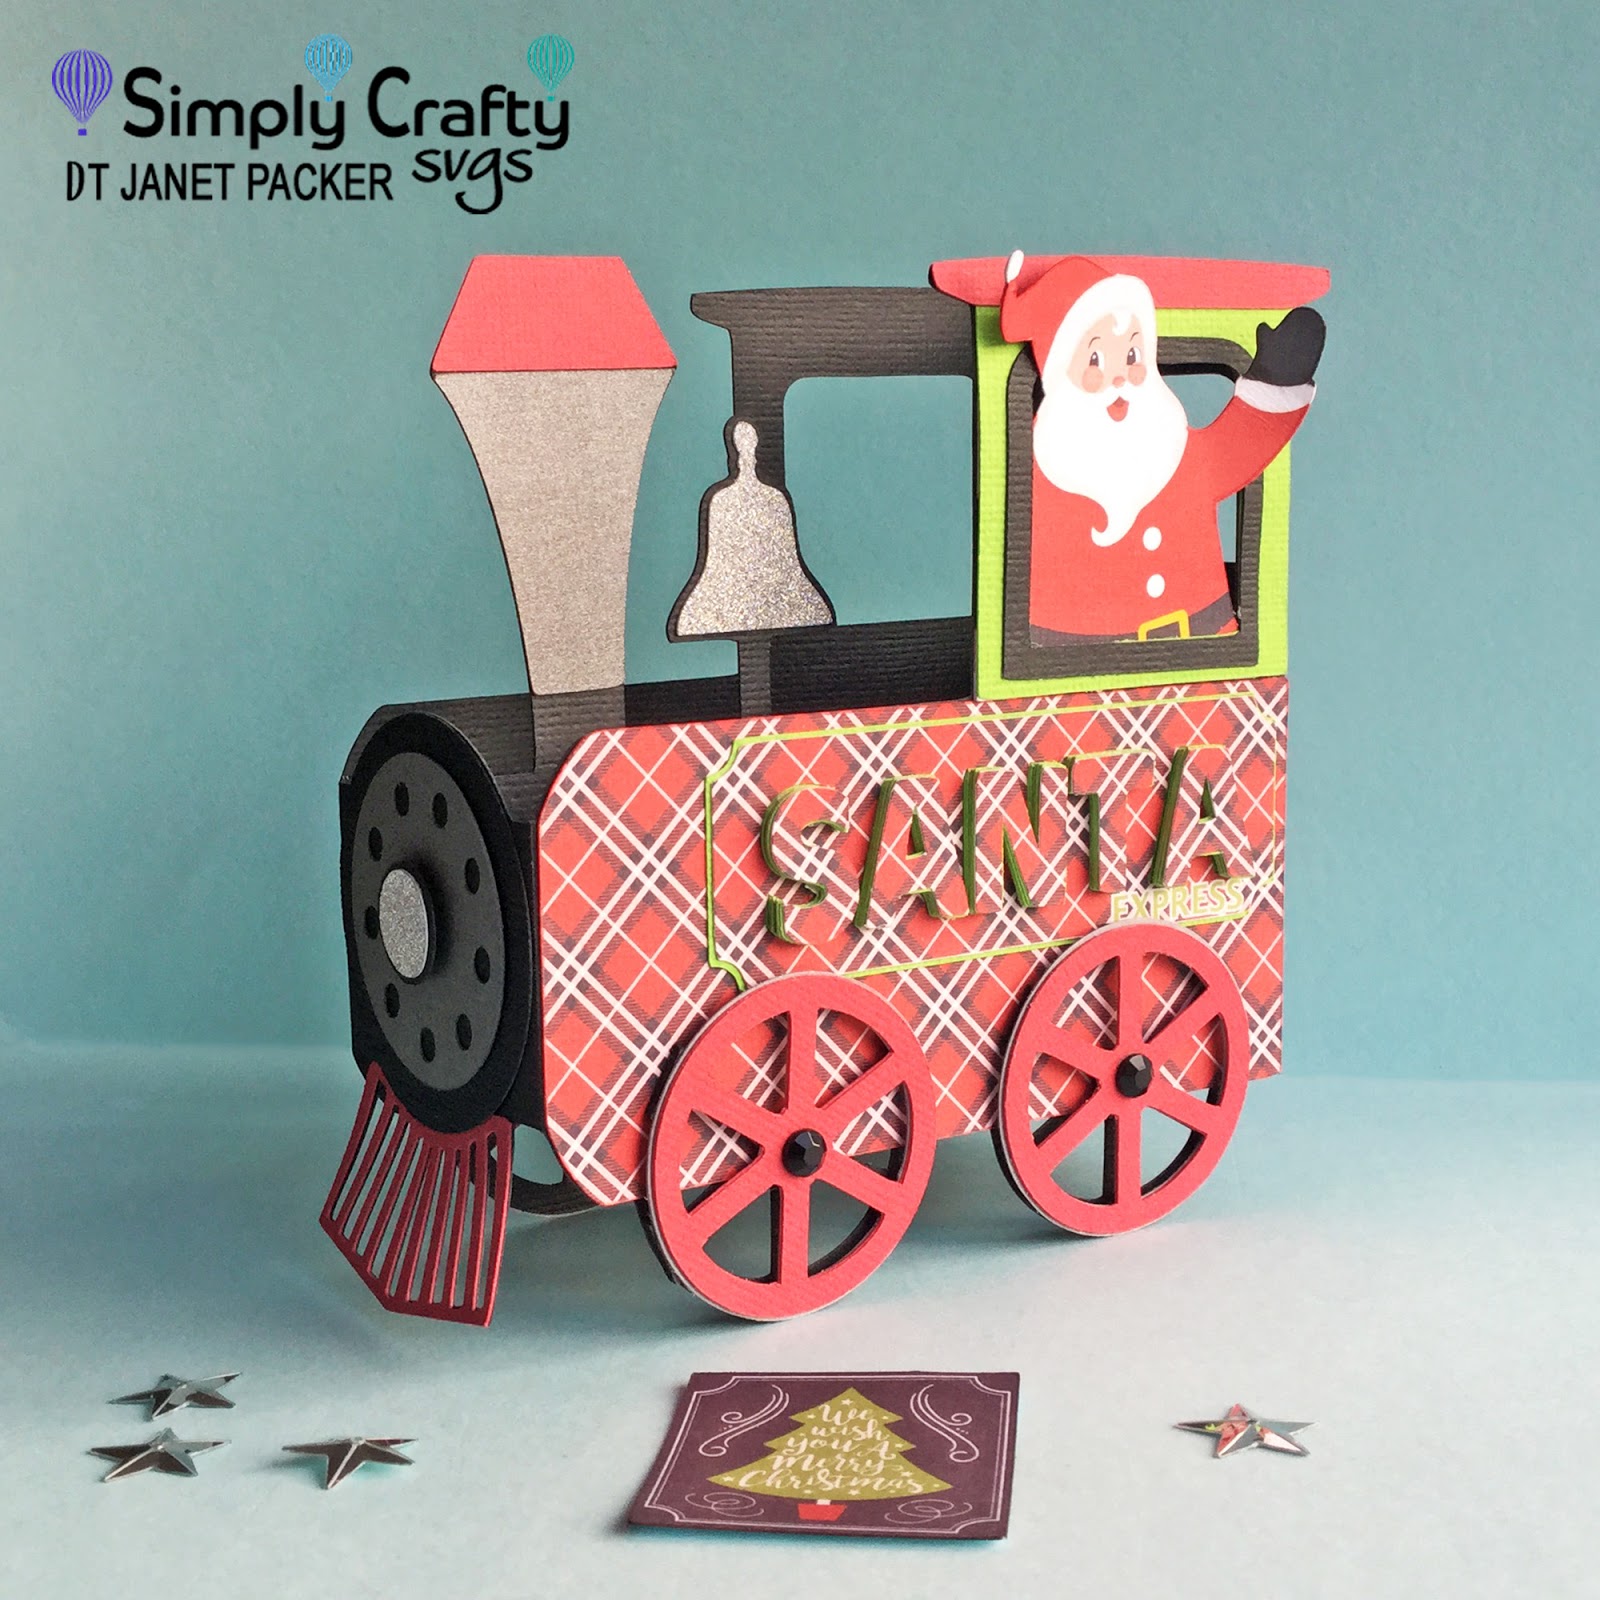
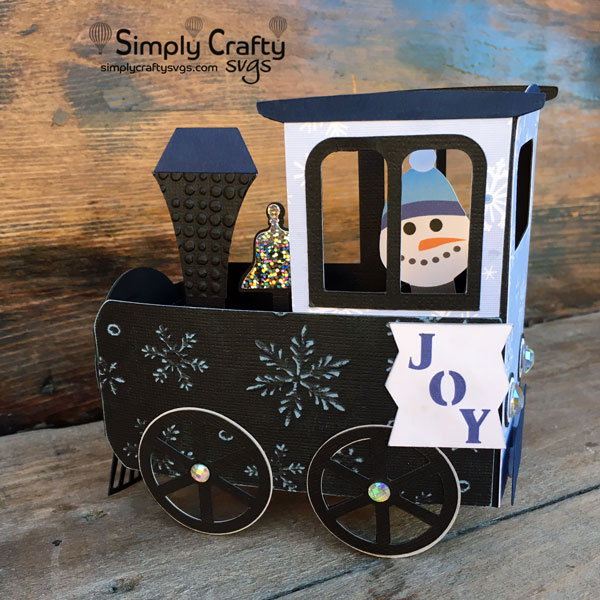
Here is another version of the Train Box Card. This time in a winter theme with a Snowman engineer! The train card was cut with my Sizzix eClips2, with the exception of the Joy tag and snowman.
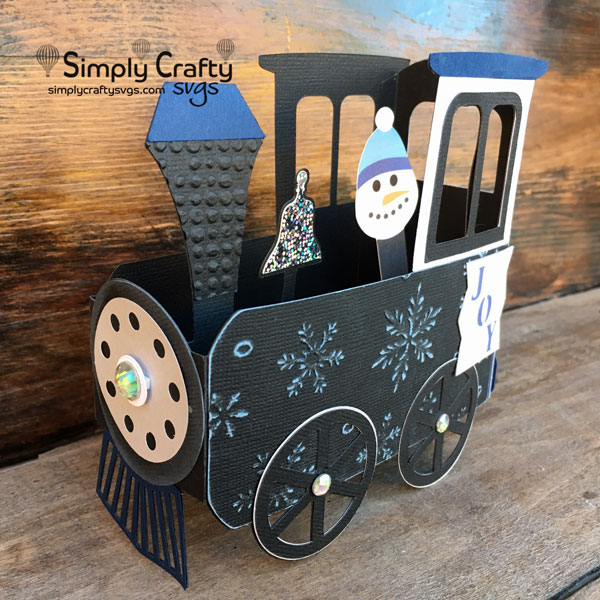
I embossed the front train panel using the Darice Embossing Folder Snowflake Background 5″X7″. This black cardstock from Core’dinations has a light blue core. Paper pack used is Core’dinations Black Magic Cardstock , Hocus Pocus, 6″ x 6″. After embossing, I lightly rubbed sandpaper over the raised areas to expose the blue core.
Then used different size adhesive rhinestones for the front, back light and wheels.
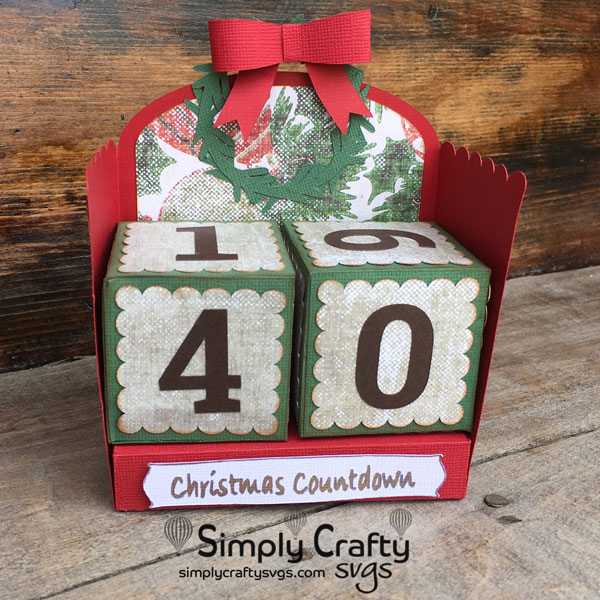
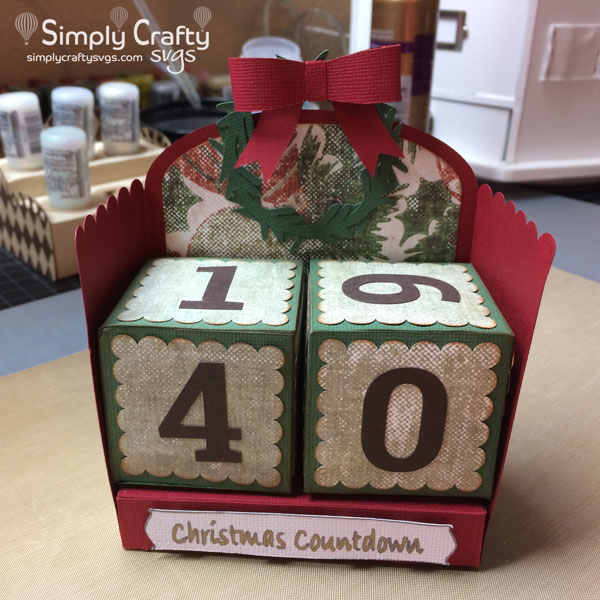
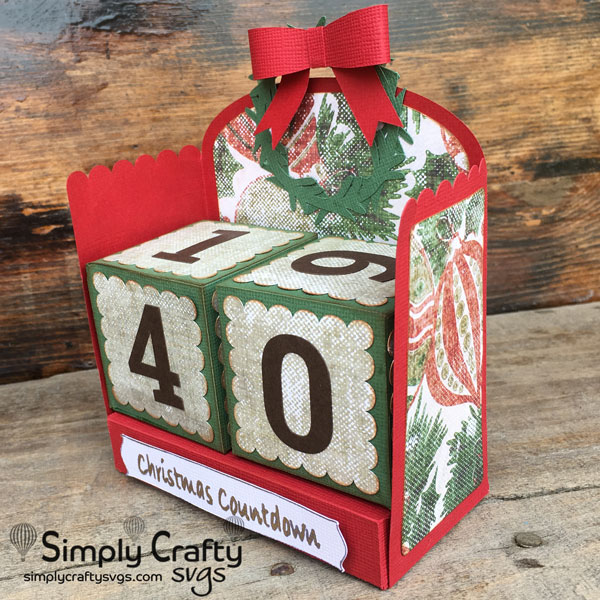
I thought it would be fun to make a Christmas Countdown. This is my version using the Perpetual Calendar.
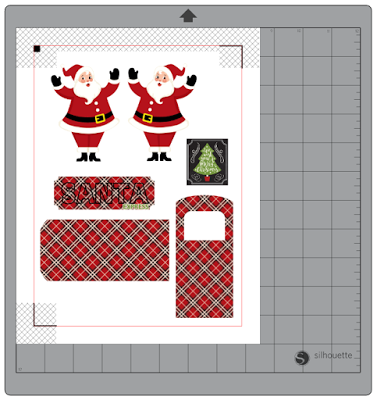
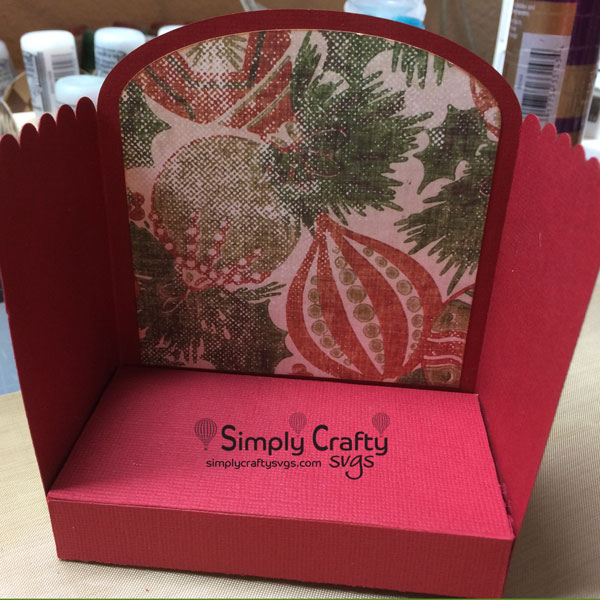
I first created the base and added the panels. I used the Red and Forest Green Cardstock from Cricut.com. Although American Crafts Cardstock is my preference, Cricut cardstock cuts well, just not as sturdy (in my opinion). The Christmas paper I received from a friend and has no markings. It went well with the Cricut cardstock colors.
Then I assembled the number blocks. When using the number blocks, if you use the configuration in project instructions, the highest number of days will start at 32, even though I am showing 40. To make the countdown go all the way up to 67 days, make an additional number block with the numbers 1,3,4,5,6,7. The wreath and bow is from the Holiday Lamp Post.
I use a variety of cutting machines. For this project, I used the Sizzix eClips2. For the “Christmas countdown” sentiment, I used the Sizzix eClips Pen Adapter (http://amzn.to/2zU3IFy) with a generic gold gel pen to write the sentiment. It took a little adjusting, but I finally found the right size collet to hold the pen. I used a modified tag from the eClips library.
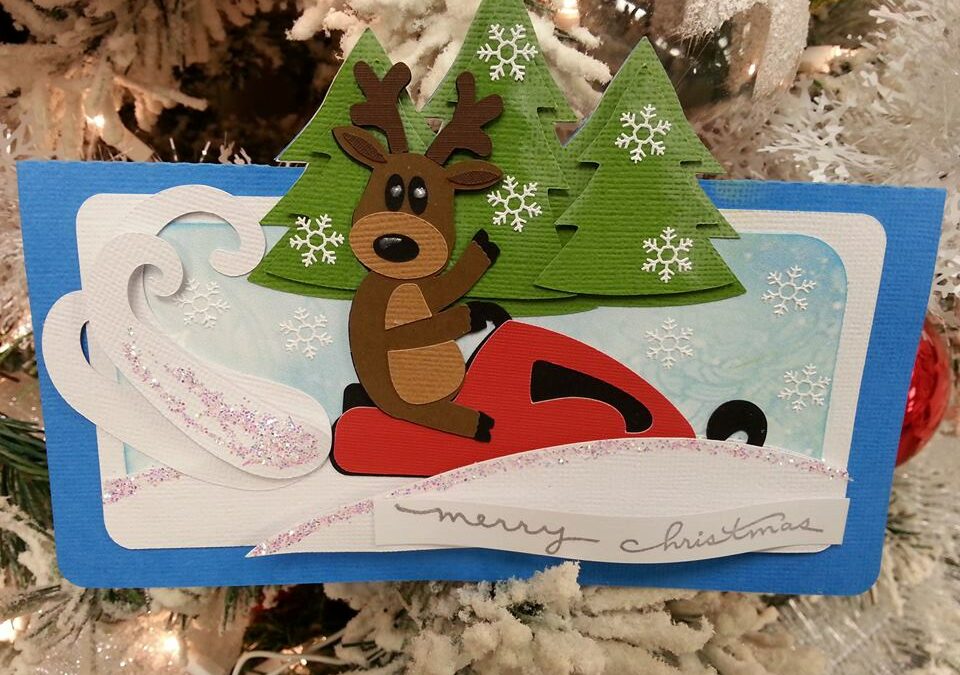
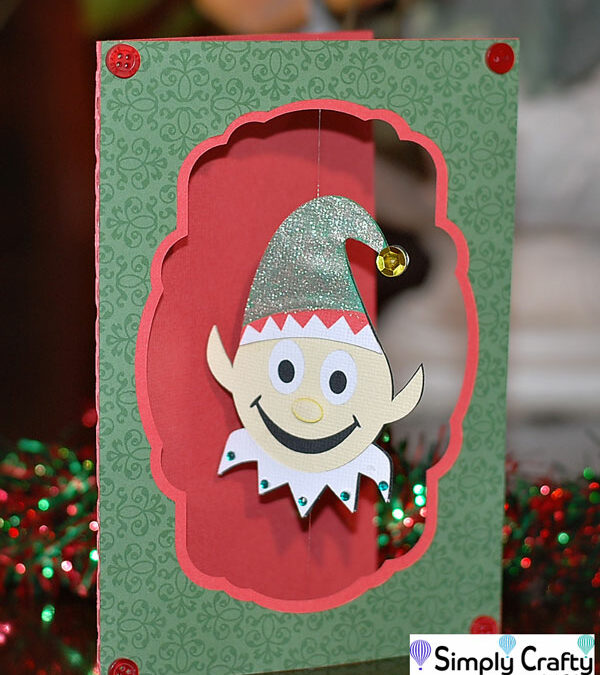
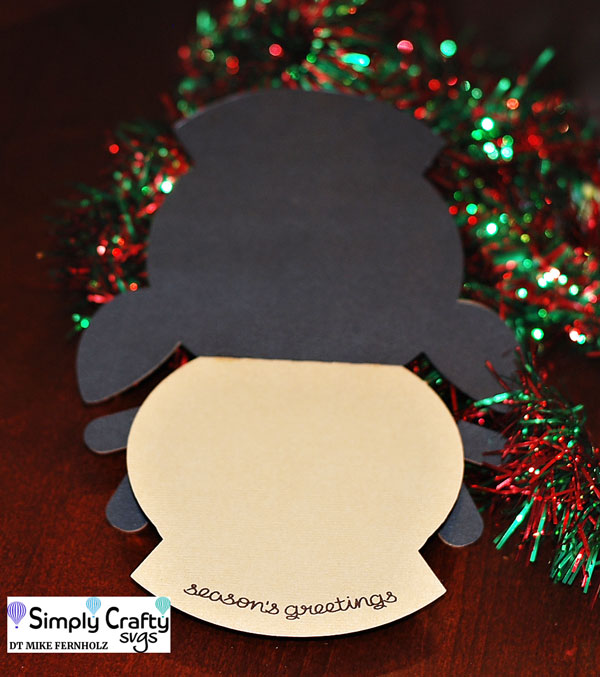
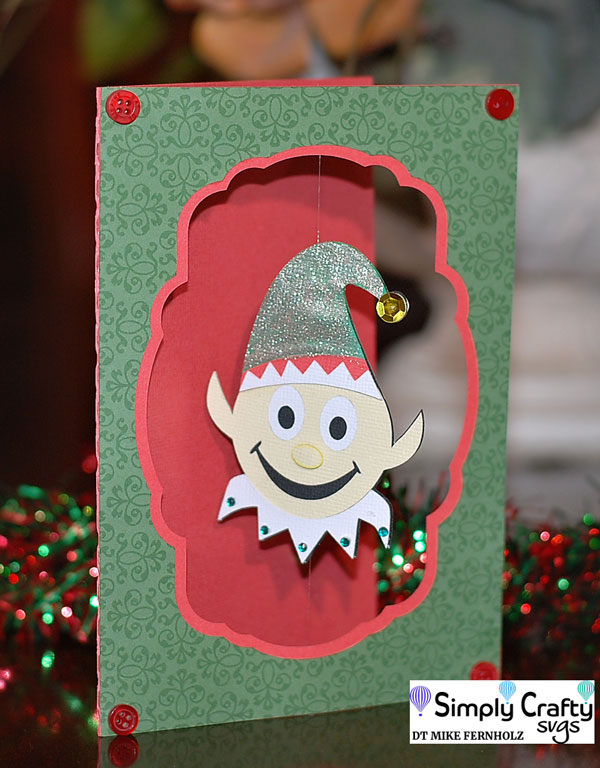
Check out DT Mike’s “spin” on cards using our Smiley Christmas Treat Box Set. He used the reindeer and elf images to create two very cute and interactive Holiday cards!
Here is a shaped card he created with the Reindeer. What is not to love?
This the the Elf Spinner card. Just so fun!
Mike Fernholz from DeZinesbyEM, DT Member Simply Crafty SVGs