Here is another Cricut Design Space tip for my Cricut Explore users. For this video, I will show you how to move and rotate images on the mat preview within the Desktop version of Design space, so you can easily use different size papers and scraps. If you take the default layout from Design Space, it often does not arrange the images optimally on the mat for paper usage.
For iPad Cricut Design Space users, you can also move and rotate images within the mat preview with your finger or stylus. There is also a lot of Material Size options within the iPad IOS App. There is also a feature called SnapMat that allows you to take a picture of your mat to optimize scraps. Click here to view Cricut’s SnapMat FAQ.
If you like this video, sign up for our newsletter to get the latest news, tips and product updates. For signing up, we will send you a 20% coupon for your next order! If you use Facebook, we would appreciate a like on our Simply Crafty SVGs Facebook page too!
For those that use Cricut Design Space, I would like to share a tip I use in Cricut Design space that will help you conserve valuable paper and cardstock.
Often, when cutting from within Design Space, I notice a lot of paper waste when viewing a project in the mat. For those paper lovers out there that want to conserve paper, here is a tip on how you can use the Attach option within Cricut Design Space to do just this!
Tune in next week for another paper saving technique I use in Cricut Design Space.
If you like this video, sign up for our newsletter to get the latest news, tips and product updates. For signing up, we will send you a 20% coupon for your next order! If you use Facebook, we would appreciate a like on our Simply Crafty SVGs Facebook page too!
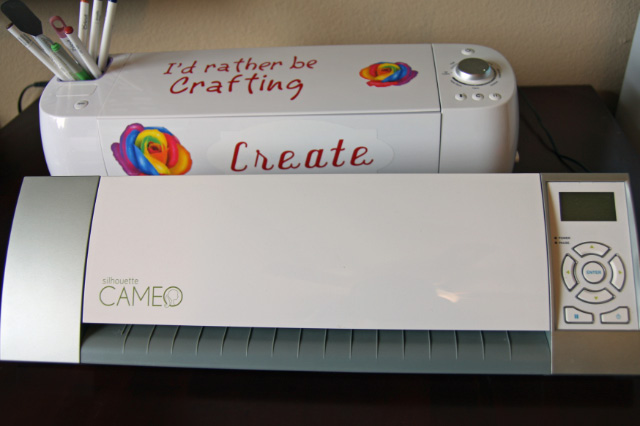
I love the idea, you can design and cut paper via die cutters now. I still love my scissors, but using these machines is a time saver and it is amazing what you can do with them. I currently own 3 die Cutters (a Cricut Explore, Cricut Explore Air, and original Silhouette Cameo). For my paper designs, both machines are very equal in their capabilities. However, I prefer to use the Cricut when working from my laptop, due to Bluetooth capabilities and Smart Set Dial. The newly released Silhouette Cameo 3 does have Bluetooth capabilities and a new AutoBlade, but my original Cameo is a workhorse. I cannot justify another machine quite yet.
Die Cutting Software
For cutting and designing simple SVG files, here are the three software packages I use frequently (other than Adobe Illustrator).
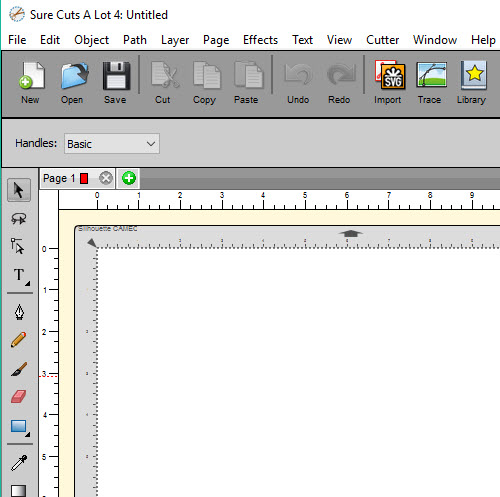
Sure Cuts A Lot (SCAL) from CraftEdge
Mostly, I like Sure Cuts A Lot for the ease of creating SVGs, the ability to cut directly to the Silhouette Cameo, and the ease of exporting Cricut Design Space (DS) compatible SVGs. It is like a mini Adobe Illustrator for Die Cutting machines. Whatever die cutter you own, it is worth taking a look. They have a Trial version available to try the software. You can curve text by using the Text on a Path or use other effects to change shapes easily. Or add a background by using the Shadow Layer effect.
Silhouette Studio (Designer Edition)
Even though I am able to cut designs on the Cameo using SCAL, I also use Silhouette Studio. I use the Designer Edition, which is a minor upgrade that grants the software additional capabilities, like the ability to import SVG files. As with SCAL, it has some advanced design features that are not found in Cricut Design Space, like Offset feature and curved text by adding it to a curved path or circle, or any type path for that matter.
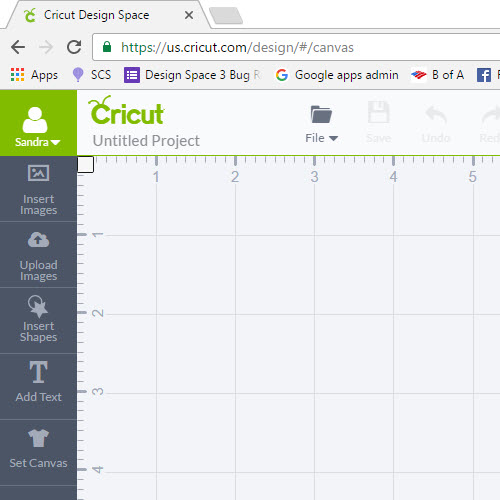
Cricut Design Space
Design Space is the cloud-based software used to cut to the Cricut Explore. You can upload SVG files for free. I like how the software groups images with same color on separate mats, rather than having to manually move the images about on a virtual mat. I also like the Custom dial settings you can set from within the software, for non-standard paper and materials, like glitter and sticker paper. It is cloud-based, so it stores your saved projects and uploaded SVGs and Internet connection is required. Mostly, I design outside of Design Space and use DS to cut to my Explore devices. I do design Cricut DS image only projects, so I do use it for that purpose also. Many times, I just want to work offline. This is when I use SCAL or Silhouette Studio to cut to my Cameo.
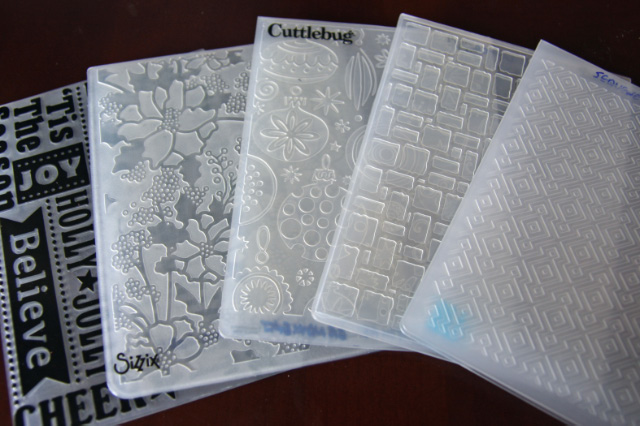
Embossing Folders
I LOVE, LOVE, LOVE embossing folders! They easily add texture to paper designs and can quickly take a box or card from “cute” to “fantastic”! I use a Big Shot manual die cutting machine, because it is a workhorse. I can also use it with the few dies I still have. There are other smaller embossing/die cutting machine options available that do the same, like the Cuttlebug.If you have not read it, check out 5 Fun Embossing Folder Tips.
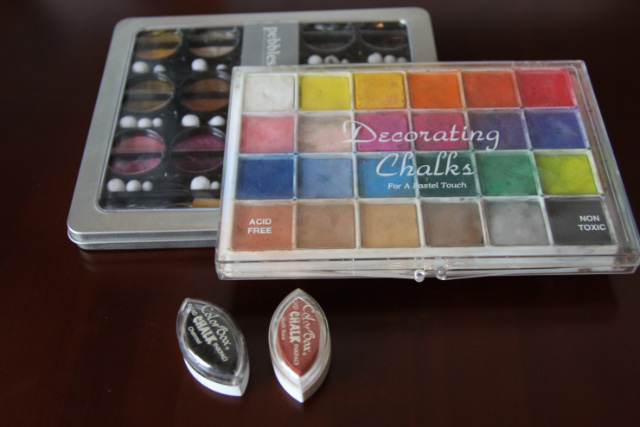
Chalk and Chalk Ink
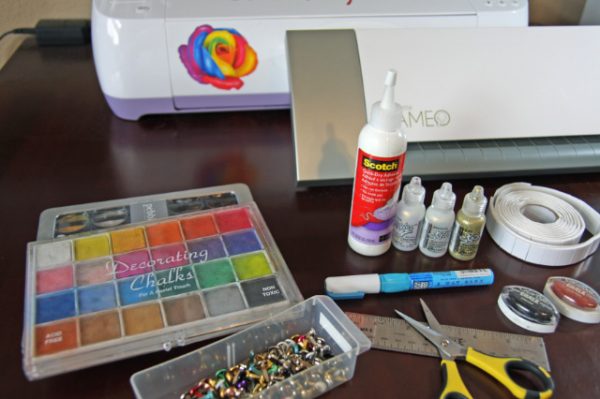
Besides embossing folders, I use the technique of chalking or inking regularly. I use both to enhance a design. I like to use both to outline cuts to give them depth. Chalks are easier to work with and if I make a mistake, I can erase the chalk easily with a white eraser before it sets.I primarily use Pebbles Chalk sets and Craf-T Decorating Chalks (not sure if they are in business anymore). You can create shading and different colors by layering different chalk colors.Most of the time, I use Colorbox Cat’s Eye Chalk Ink to ink paper edges, but mainly for larger pieces, as it is hard to manuever the ink into small parts. It is permanent, so once it is there, I cannot take it back. It just depends what look I want.
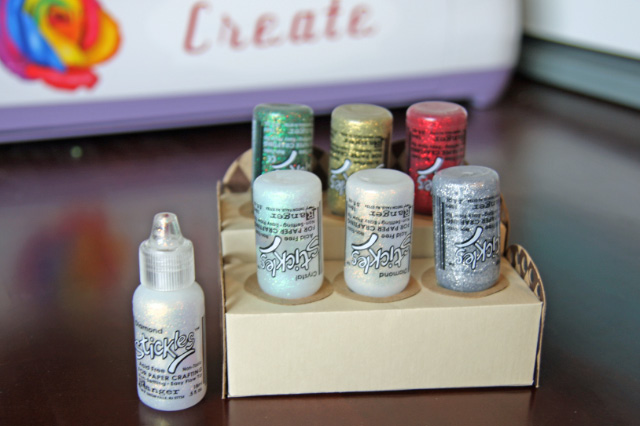
Glitter Glue (like Stickles)
I like to add little glitter touches to my designs. Every design needs a little bling. For this, I mostly use Stickles and honestly, I use the clear colors the most. Using colored paper, I sometimes just want to add a sparkle, so I will add a bit of Diamond or Crystal Stickles. It just makes it pop a bit from the design. I do have every color Stickles though! Never too many supplies!
The latest glue I have been using is Scotch Quick-Dry Adhesive. It dries very quickly when working on 3D boxes. However, I prefer the Quick Dry Tacky Glue. It does not dry as quickly, but gives me a little more time to move things into place before it dries. I also use Zig 2-Way Glue pen for small pieces and foam tape to give a design element a more dimensional look. I am always looking for a better glue.
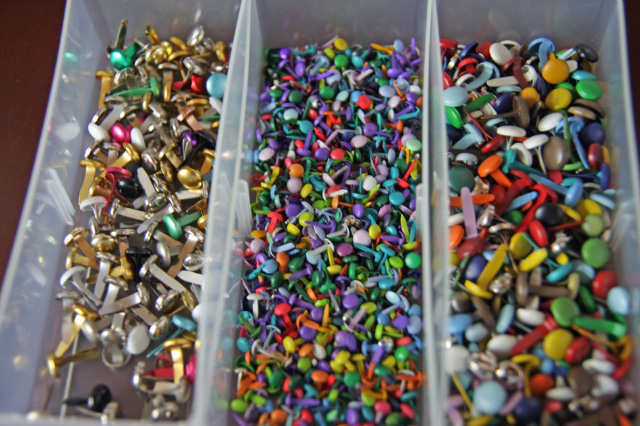
BradsBrads are a great way to add a 3D design element. I use brads a lot on the corners of card mats. I also like to use them to make a pattern on a card or design or to attach a word tag or label.
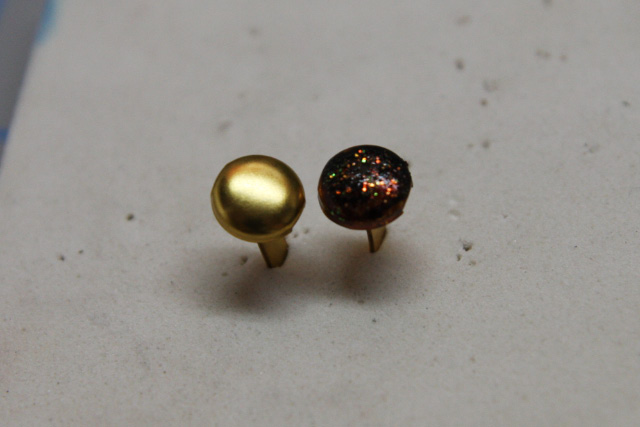
TIP: If you have lots of permanent markers, ink and/or Stickles (like me!), you can get spruce up a plain metallic brad easily. I changed a standard gold into a glitter brown brad with a brown dye ink stamp pad and Diamond clear Stickles. I can just make any color I need!
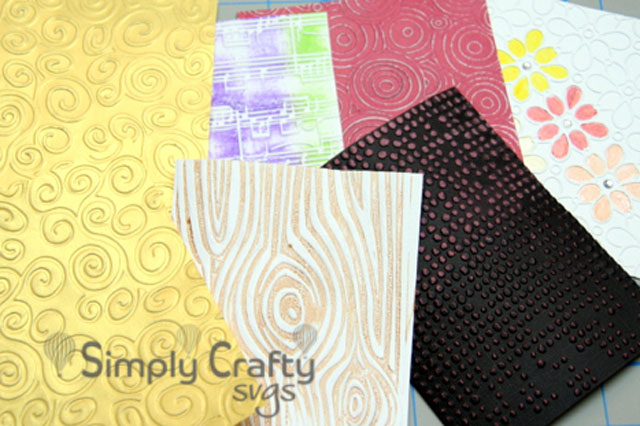
Here are 5 Fun and Easy Ways To Use Embossing folders. I love how a quick use of an embossing folder can make your card or 3D project pop! These are not new tips, but these are the ways we like to use them. Perhaps some will be new to you!
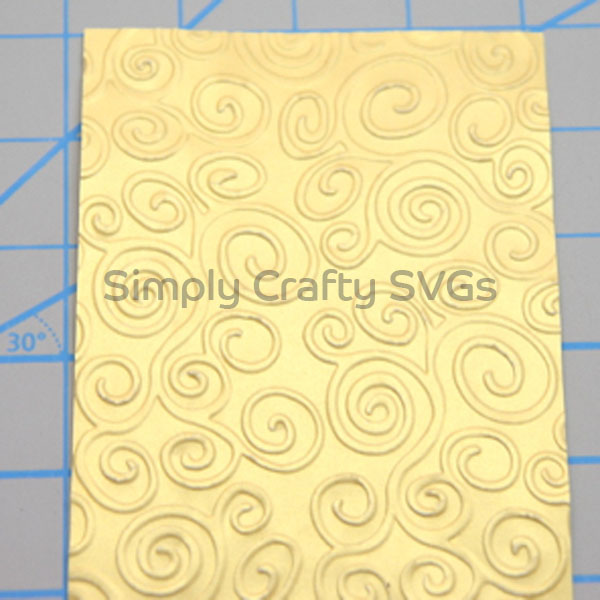
Emboss it!
Using the embossing folder traditionally adds texture to a plain piece of paper to jazz it up quickly. It can take a plain background to a “fandancy” background!
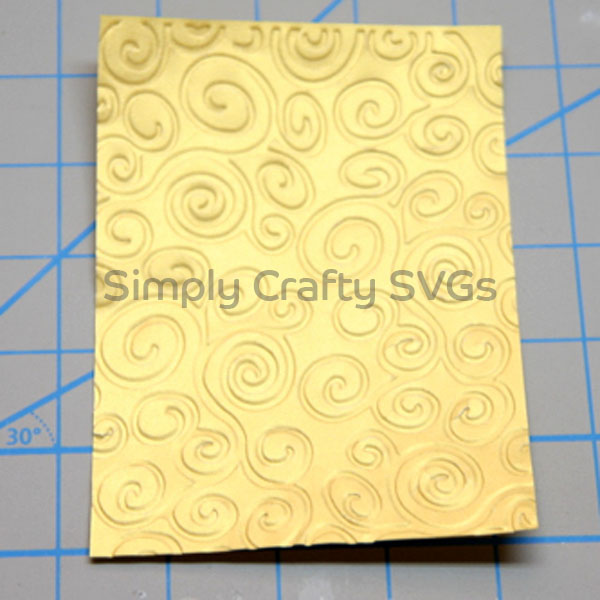
De-Emboss it!
Use the de-embossed side instead of the raised embossed side. Just turn the embossing folder over and instead of a raised design, you will have a inset design and opposite features embossed.
Sand it!
Accentuate the embossed portions of the designs by sanding the embossed portions. This can we done with light sand paper (look up grit) or craft sandpaper. If you have white core cardstock, the design will pop. It is a fun technique to use with Core’dinations cardstock too! Below, I sanded only the top portions to show the difference.
With Core’dinations CardstockWith White Core Cardstock
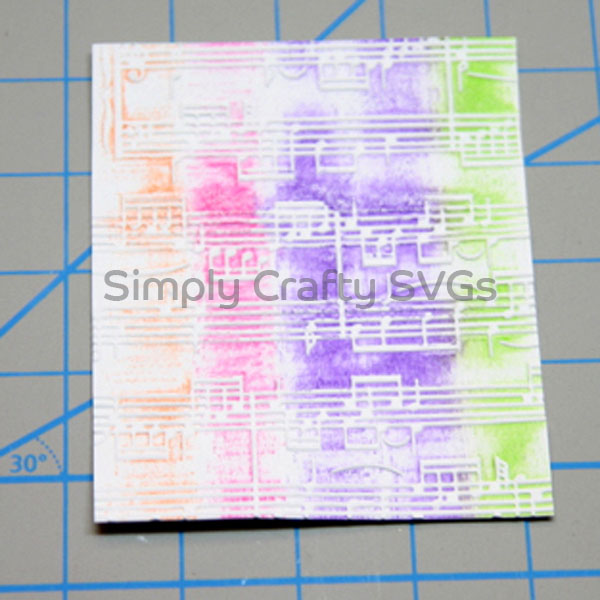
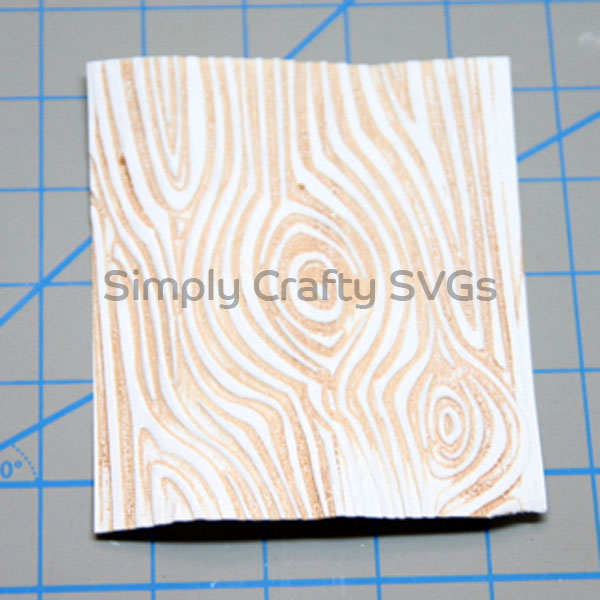
Use Ink!
Just dab an ink pad on the top portion of the embossing folder before embossing. Insert paper and run the folder through your embossing machine. This will give it a cool effect, as most everything but the embossed portion will have the ink color. Try inking the back side too to see how the de-embossed version comes out. Sometimes, it just gives you a entirely different look!
Using Multi-color Stamp InkWith Distress Ink
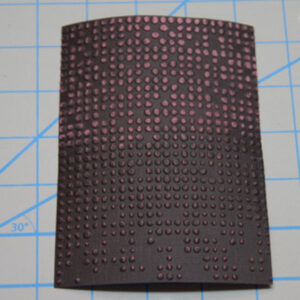
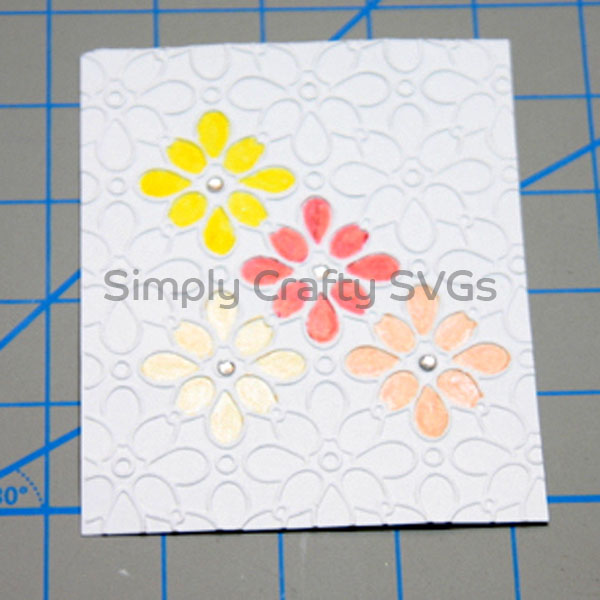
Embellish It!
Decorate embossed paper using raised elements or with pens. Use embellishments, such as jewels, to compliment embossed pattern. Or use pen to color in portion of a design. On this, I used Smooch to color in portions of pattern and also added I-Rock gems.
Embellished with Smooch & I-Rock Jewels
The limits are really your imagination and scrapbooking supplies. Most of us have a lot.