NOTE: This design contains intricate cuts, so make sure you pick appropriate paper. Fibrous or really thick paper will not cut well. Each machine handles cuts differently.
This tealight is easy to assemble. Assembly instructions are included within the ZIP download. Here is an overview of the process.
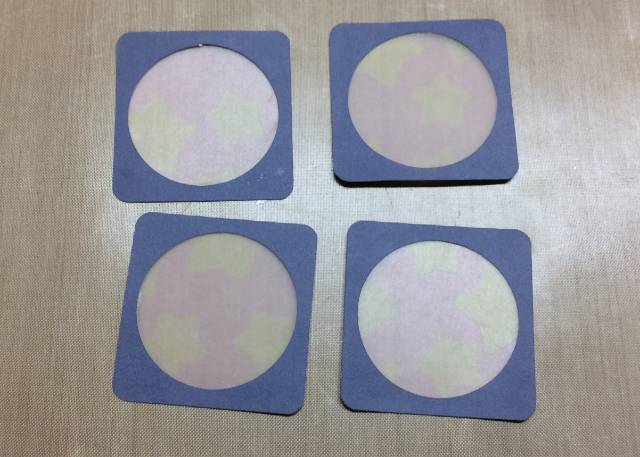
After cutting out the files, piece together optional vellum inserts. You can make the box without the inserts. Use vellum or translucent paper, for best results.
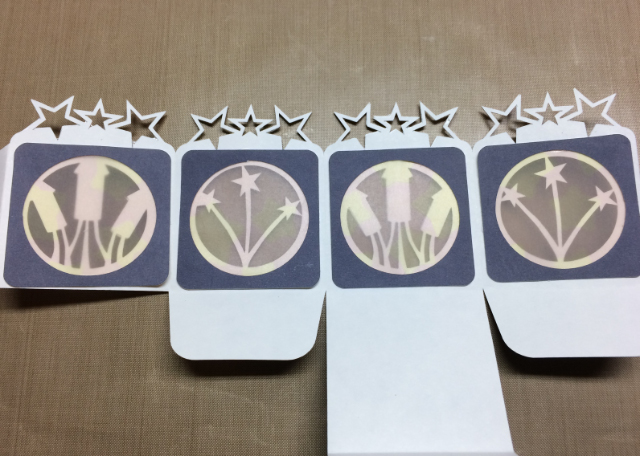
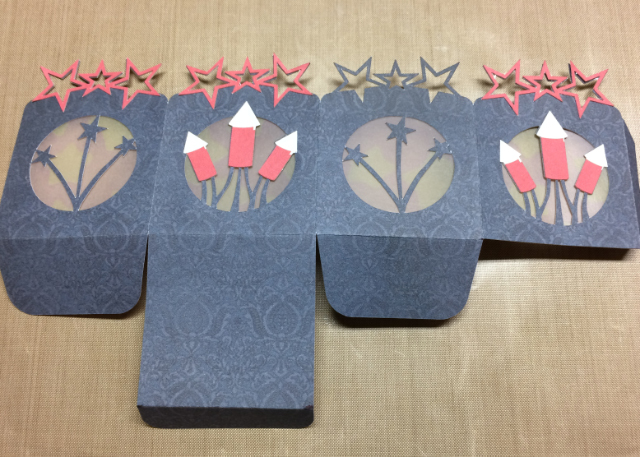
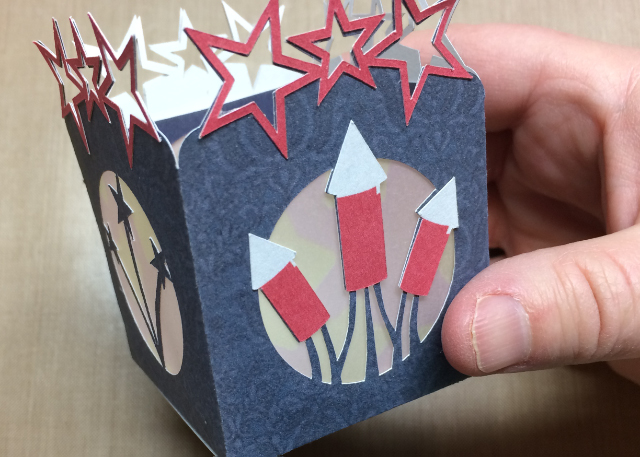
Score and fold the box. Glue the vellum inserts to the inside of the box and glue on star and firecracker pieces.
Add glue/adhesive to the side tab and glue to the inside of the opposite side of the box. Fold over the side flaps and close bottom of the box, tab in. No glue is required on the bottom of the box, as I wanted to make sure this box could be stored easily. To store, simply open the bottom tab and flaps and fold flat!
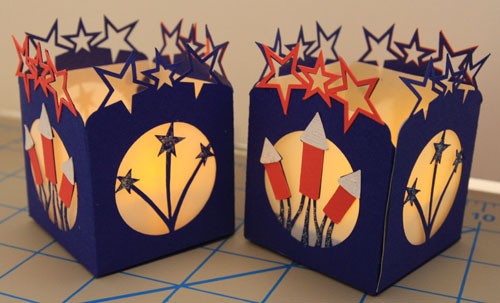
It just looks cool when the light flickers! Here is what a few of mine looked like!
Go now and make some for your household or for a friend/family member. Share this info with a good friend! Happy 4th, you all!
Hi! I am here today to share the assembly of an Easter Side by Side Box Card. The card comes with seven different inserts, including the bunny, for multiple celebrations and/or holidays. You can also add your own personalized insert to expand its use.
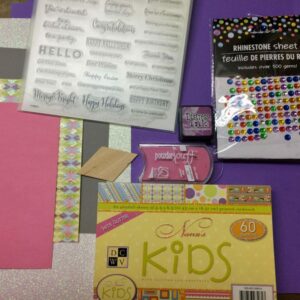
Here is what I started with, showing all the different papers, stamps, ink, and embellishments used to create the final card. See end of post for complete supply details.
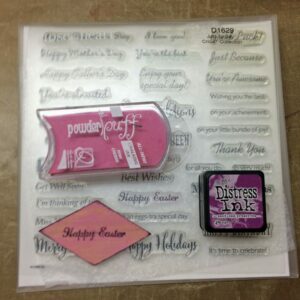
Before cutting the SVG file with my die cutting machine, I created a small sentiment embellishment. I inked a small wood cutout from my crafting arsenal and dabbed on the pink PowderPuff chalk ink. I then stamped “Happy Easter” using with the Close To My Heart stamp and Distress Ink from Ranger. I also chalked the edges of the wood piece with the same purple color.
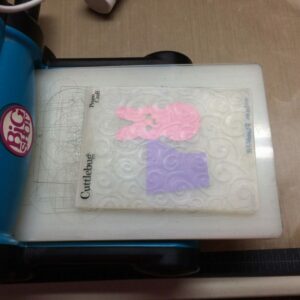
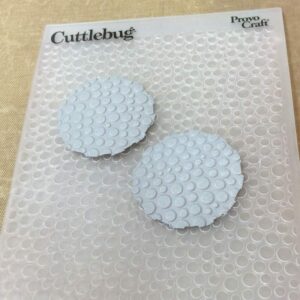
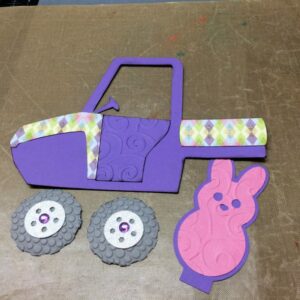
Since I LOVE embossing folders, I embossed both the top layer of the bunny “peep” and the UTV door with the Cuttlebug Musical Flourish embossing folder. I used the Cuttlebug Tiny Bubbles embossing folder to emboss the tires.
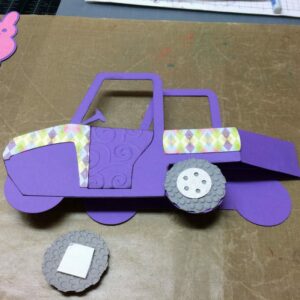
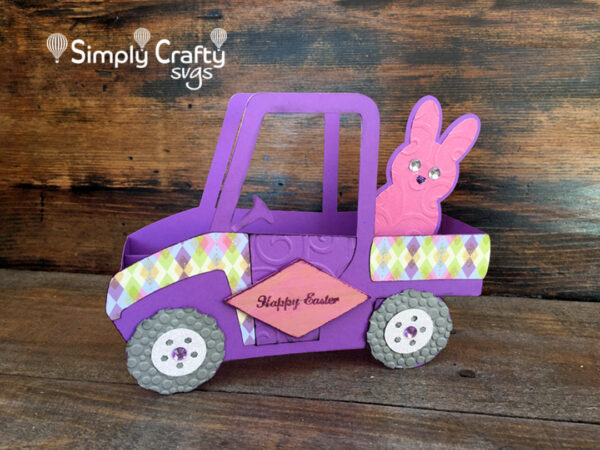
Then I pieced together the front panels, tires and bunny insert and completed assembly of the card. I used Cricut glitter cardstock and purple Dollar Tree Rhinestones for the hubcap. I attached the tires with foam adhesive for a dimensional effect. In the end, I also added a couple pearl stones for the bunny eyes.
Voila! A cute Easter card with a stowaway bunny peep, ready to be sent to a special someone! It folds flat to fit within a standard A9 size envelope at 8.5″ wide x 5″ tall. Card is a little shorter than an A9 envelope, but I have never had trouble. If you do not have an A9 size envelope, get our FREE Basic Envelope Set to make one!
Hope you liked this Easter project! I cannot wait to make another for 4th of July!
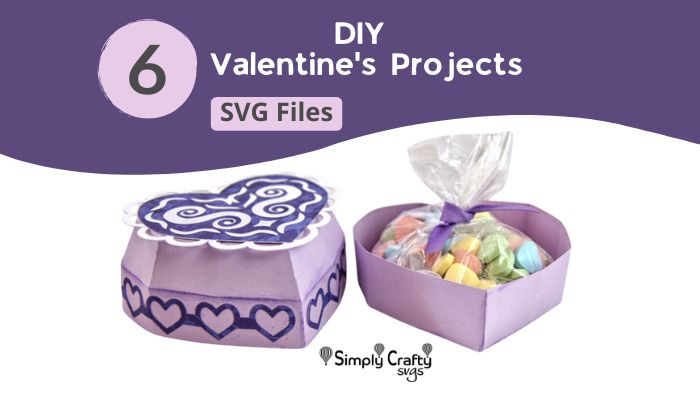
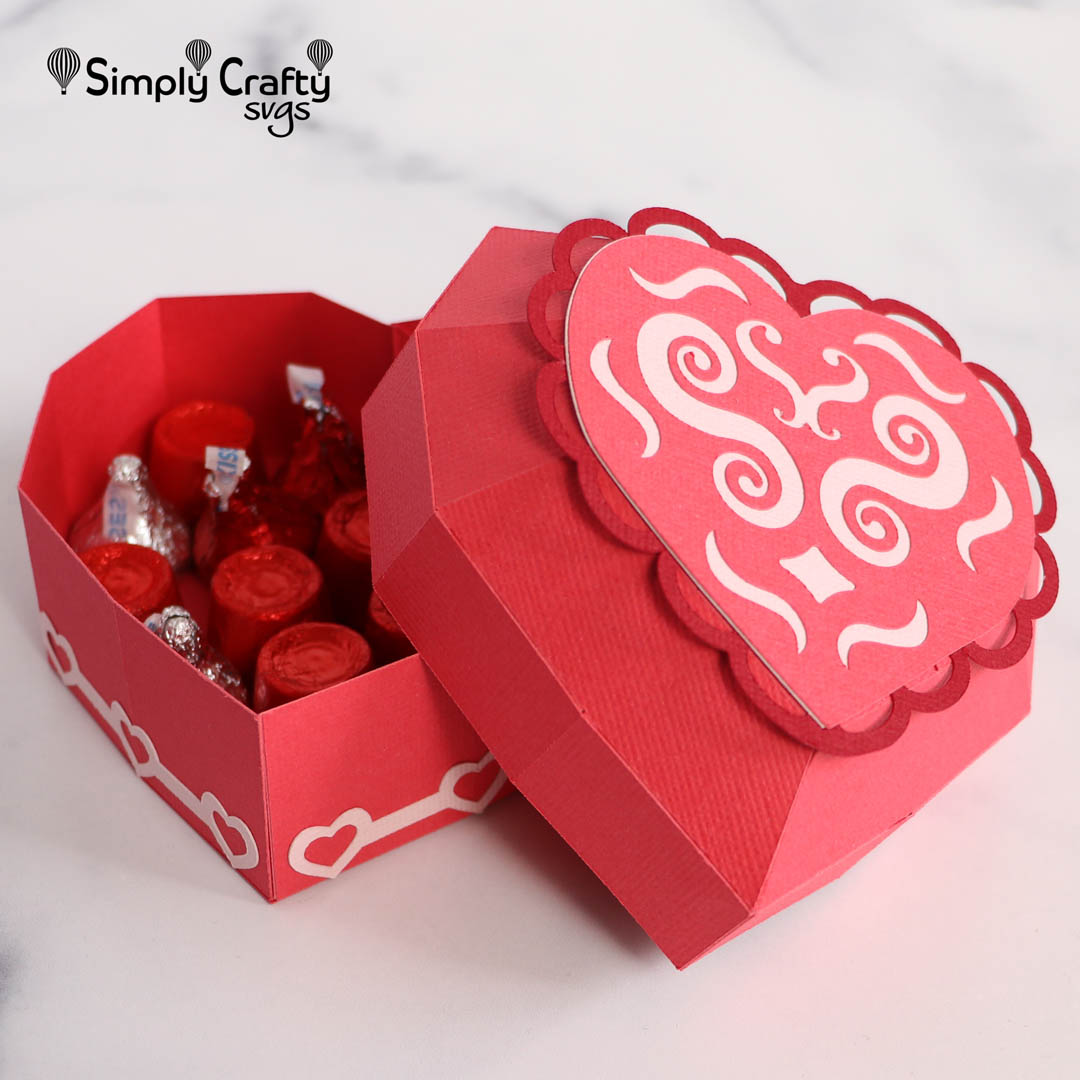
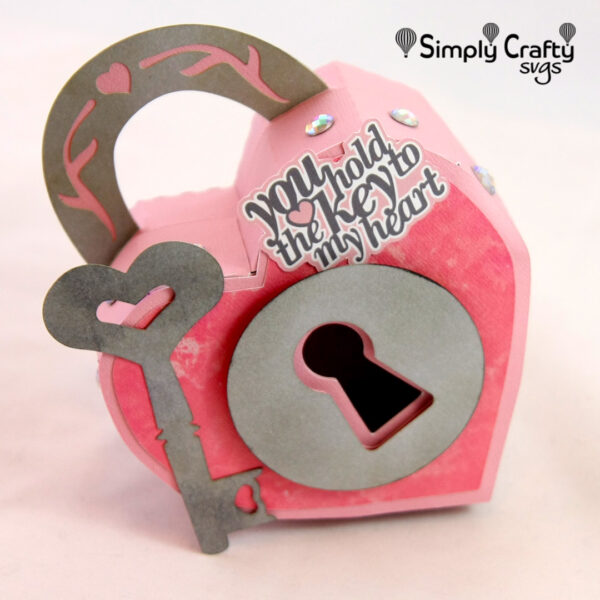
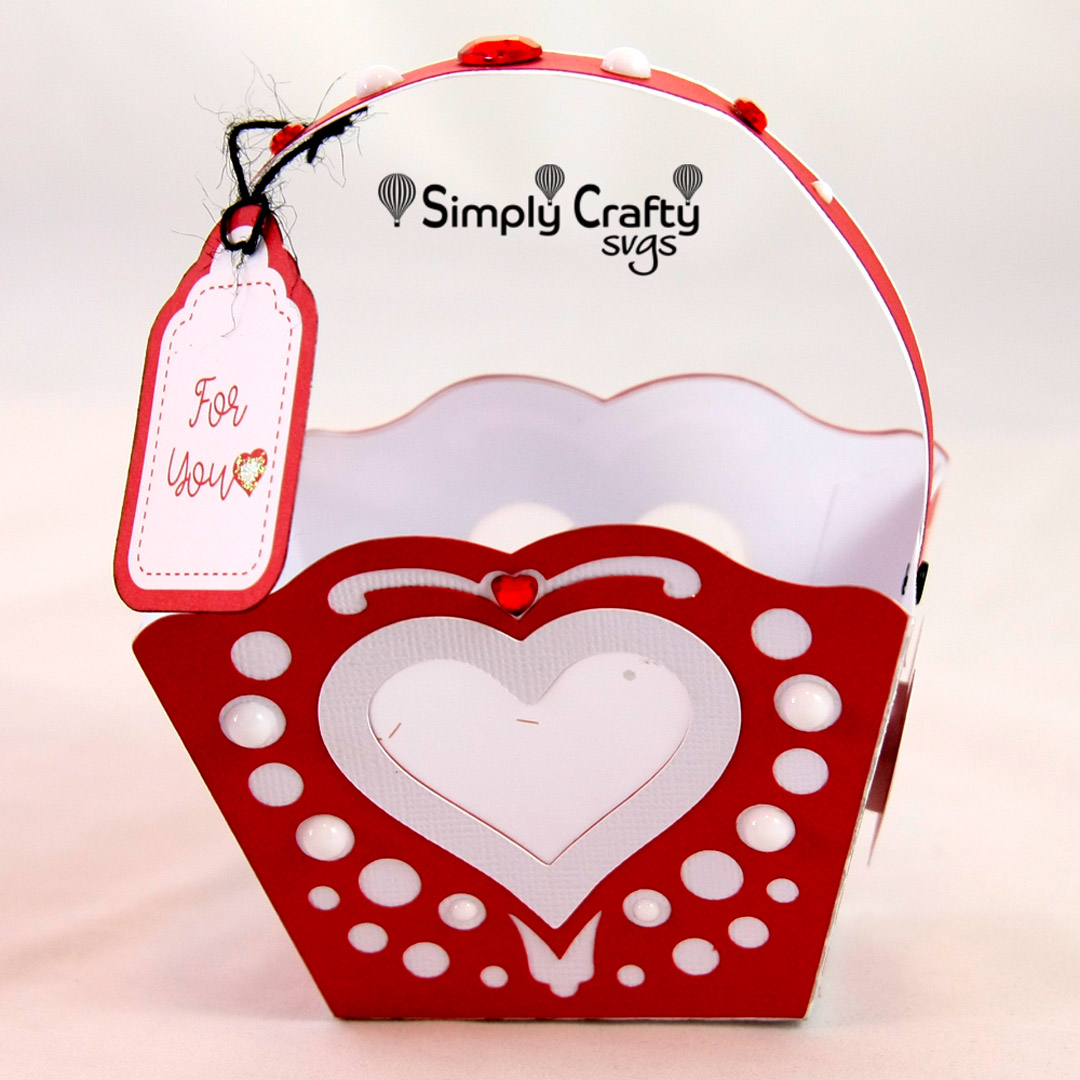
Celebrate love with a few DIY Valentine’s Day gifts. It is a day for many to celebrate love and friendship. Here is an sampling of our Valentine’s Designs we offer to help you celebrate.
All designs include a video assembly tutorial or written assembly instructions within the PDF.
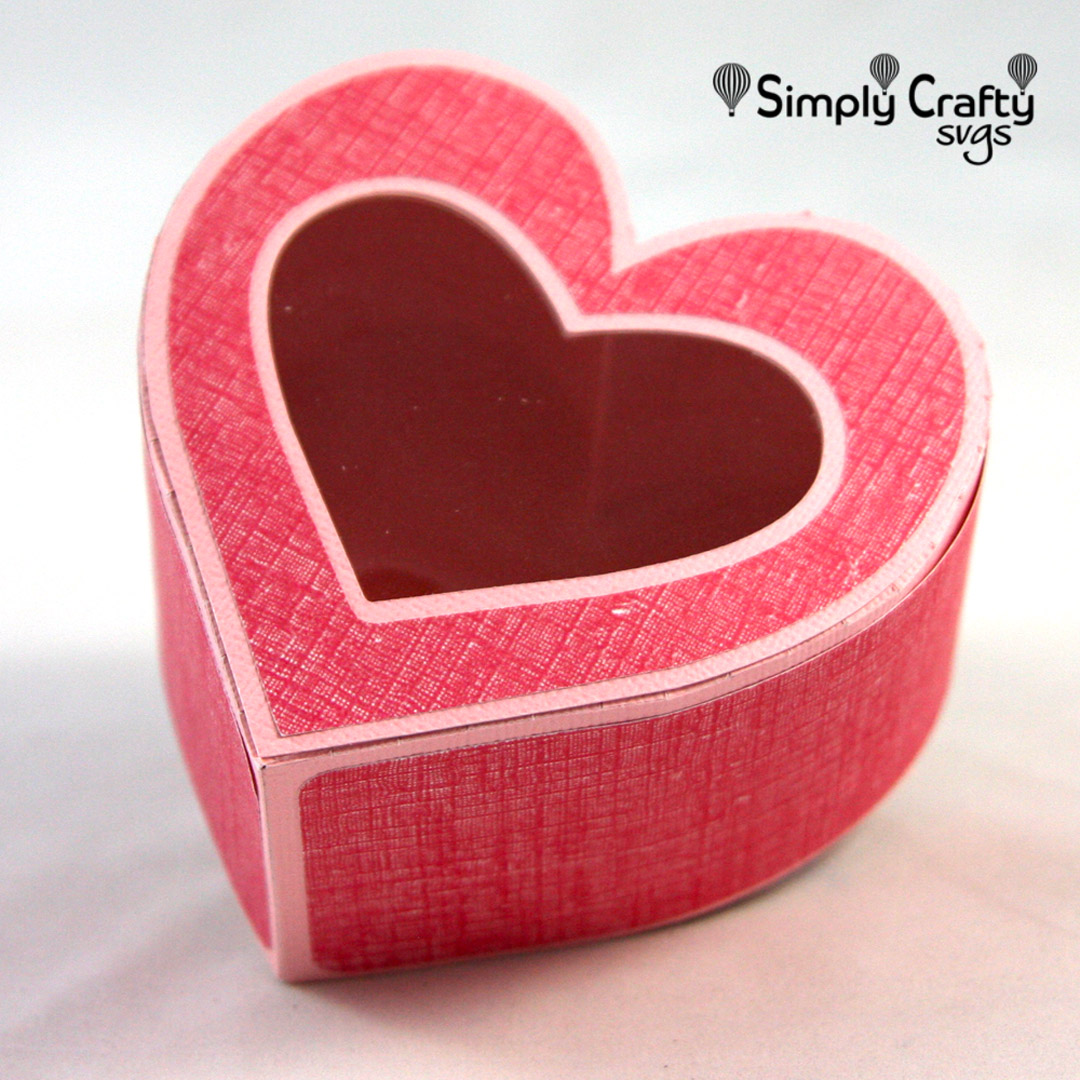
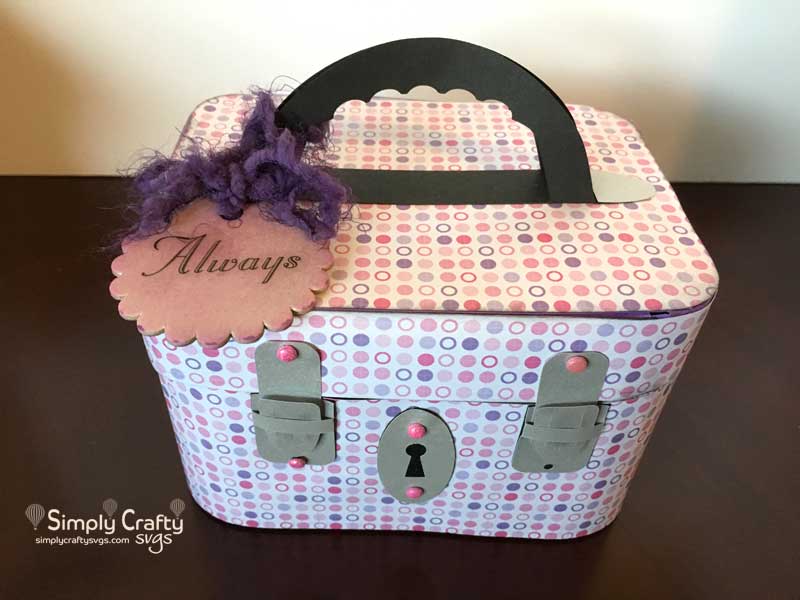
Our Vintage Vanity Case or Vintage Suitcase designs could easily be modified for Valentine’s Day too! Here is our Vintage Vanity Case in pink, ready to gift to someone special.
Whatever you make, love each other every day, including the day on which Valentine’s Day falls on!
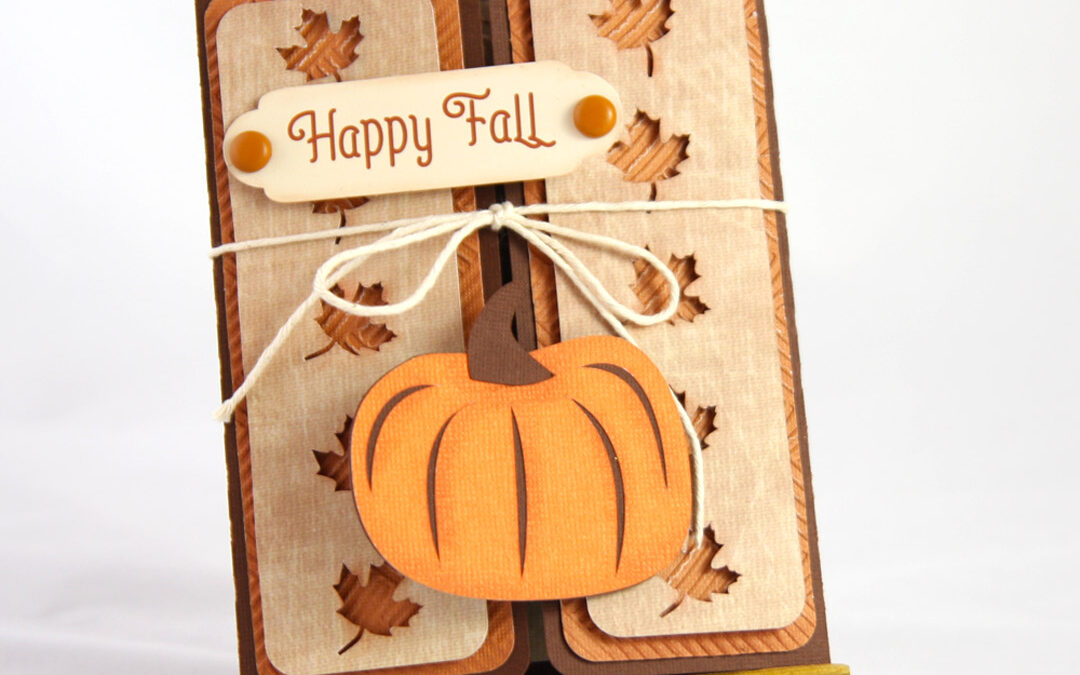
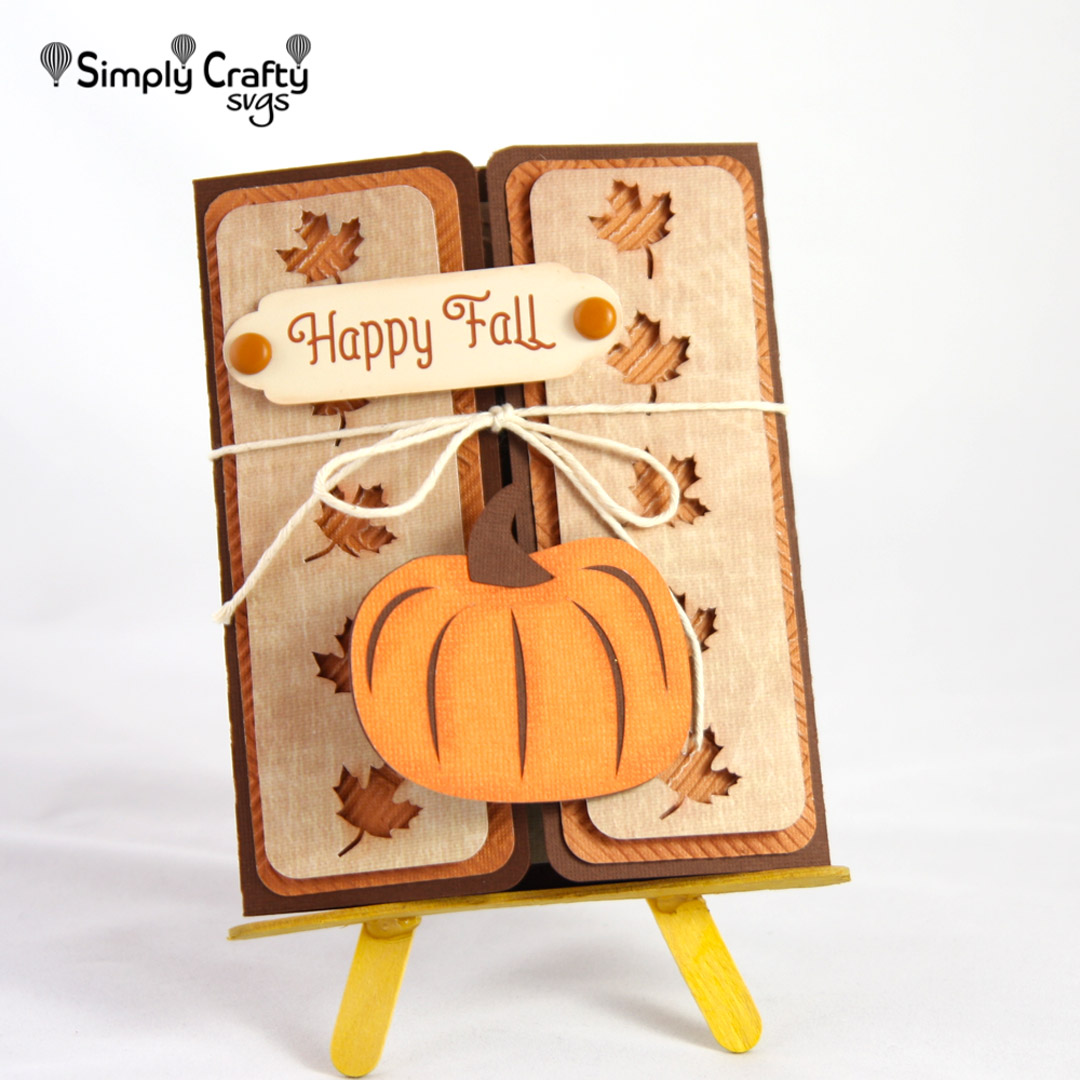
Looking for a quick Fall or Thanksgiving design? This could help! Get our free Fall Pumpkin Gatefold Card! It is sized to fit in an A2 envelope.
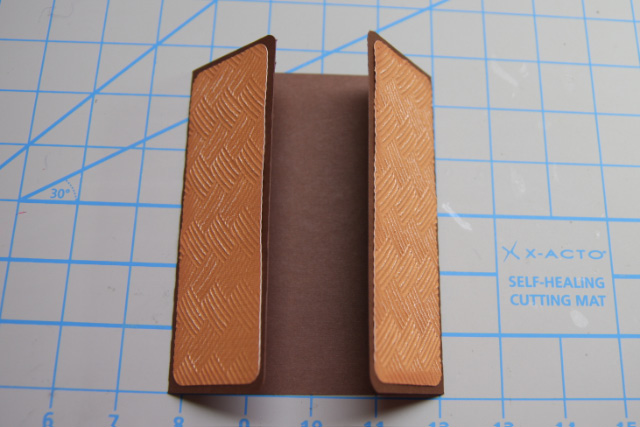
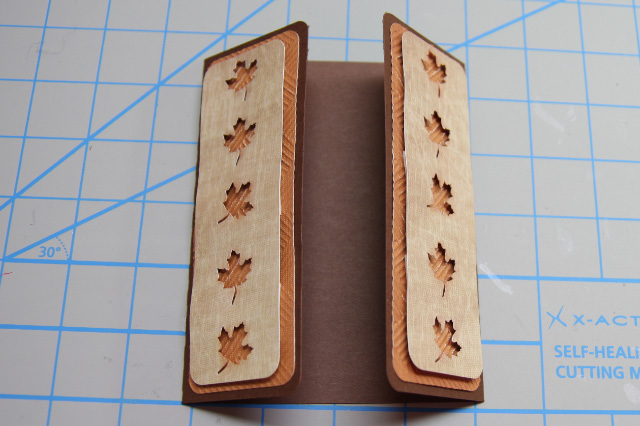
Once cut, this card goes together quite quickly. First, just add the front, side panels. I used the Darice Thin Lines embossing folder for the texture.
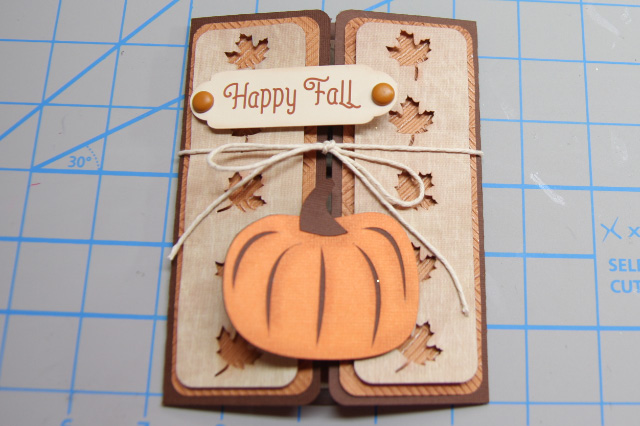
Then the top side panels with the fall leaves cutout. I used foam tape to lift the panel up, to give it a bit more dimension.
Next, I attached the pieced pumpkin the right side card flap.
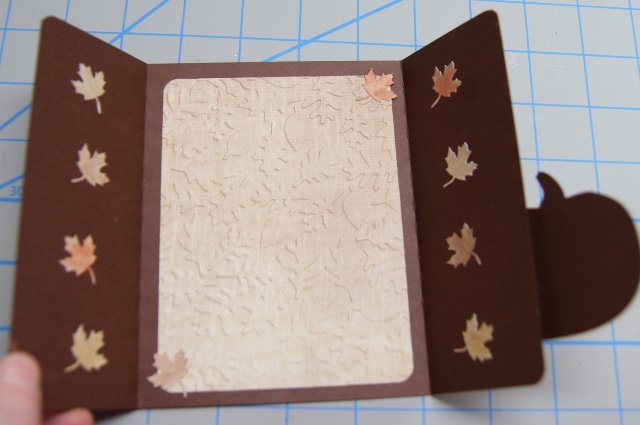
Add the inside panel. I decided to emboss the inside panel with my Sizzix Alterations Leaves embossing folder. I plan to add an additional word frame or tag to write on prior to sending. Since I do not like waste, I used the cutout fall leaves from the front panel on the inside.
Then, I attached a Happy Fall word tag (not included) to the left card flap and a string to hold the card close.
Add this Fall Pumpkin Gatefold card to your SVG collection by clicking here.