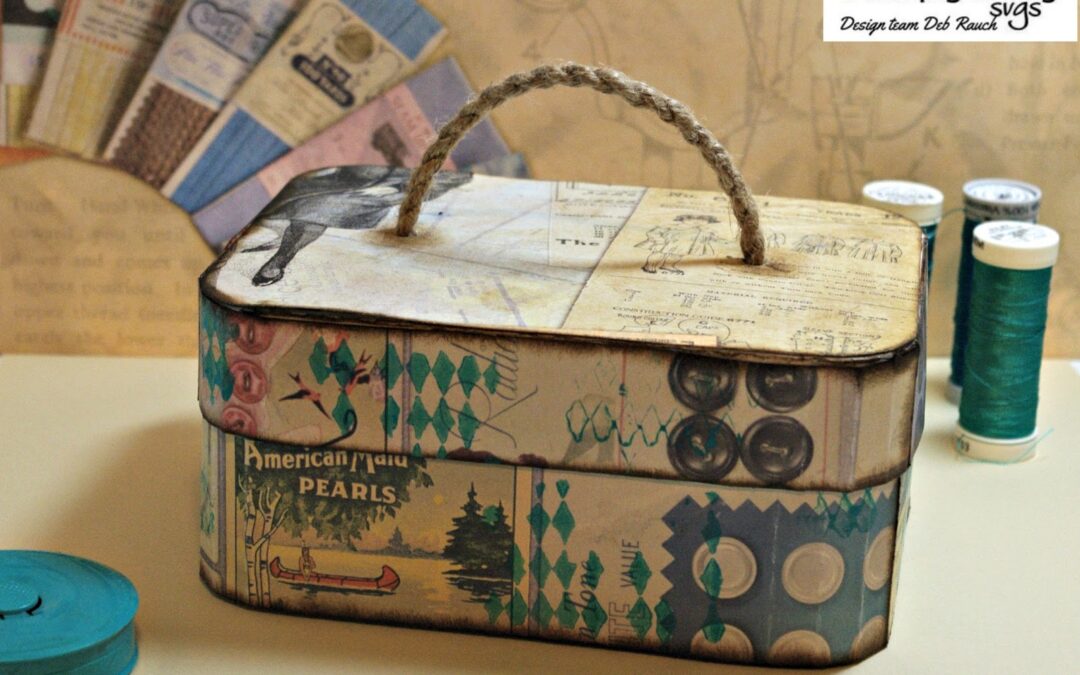
Sewing Box using Vanity Case SVG by DT Deb Rauch
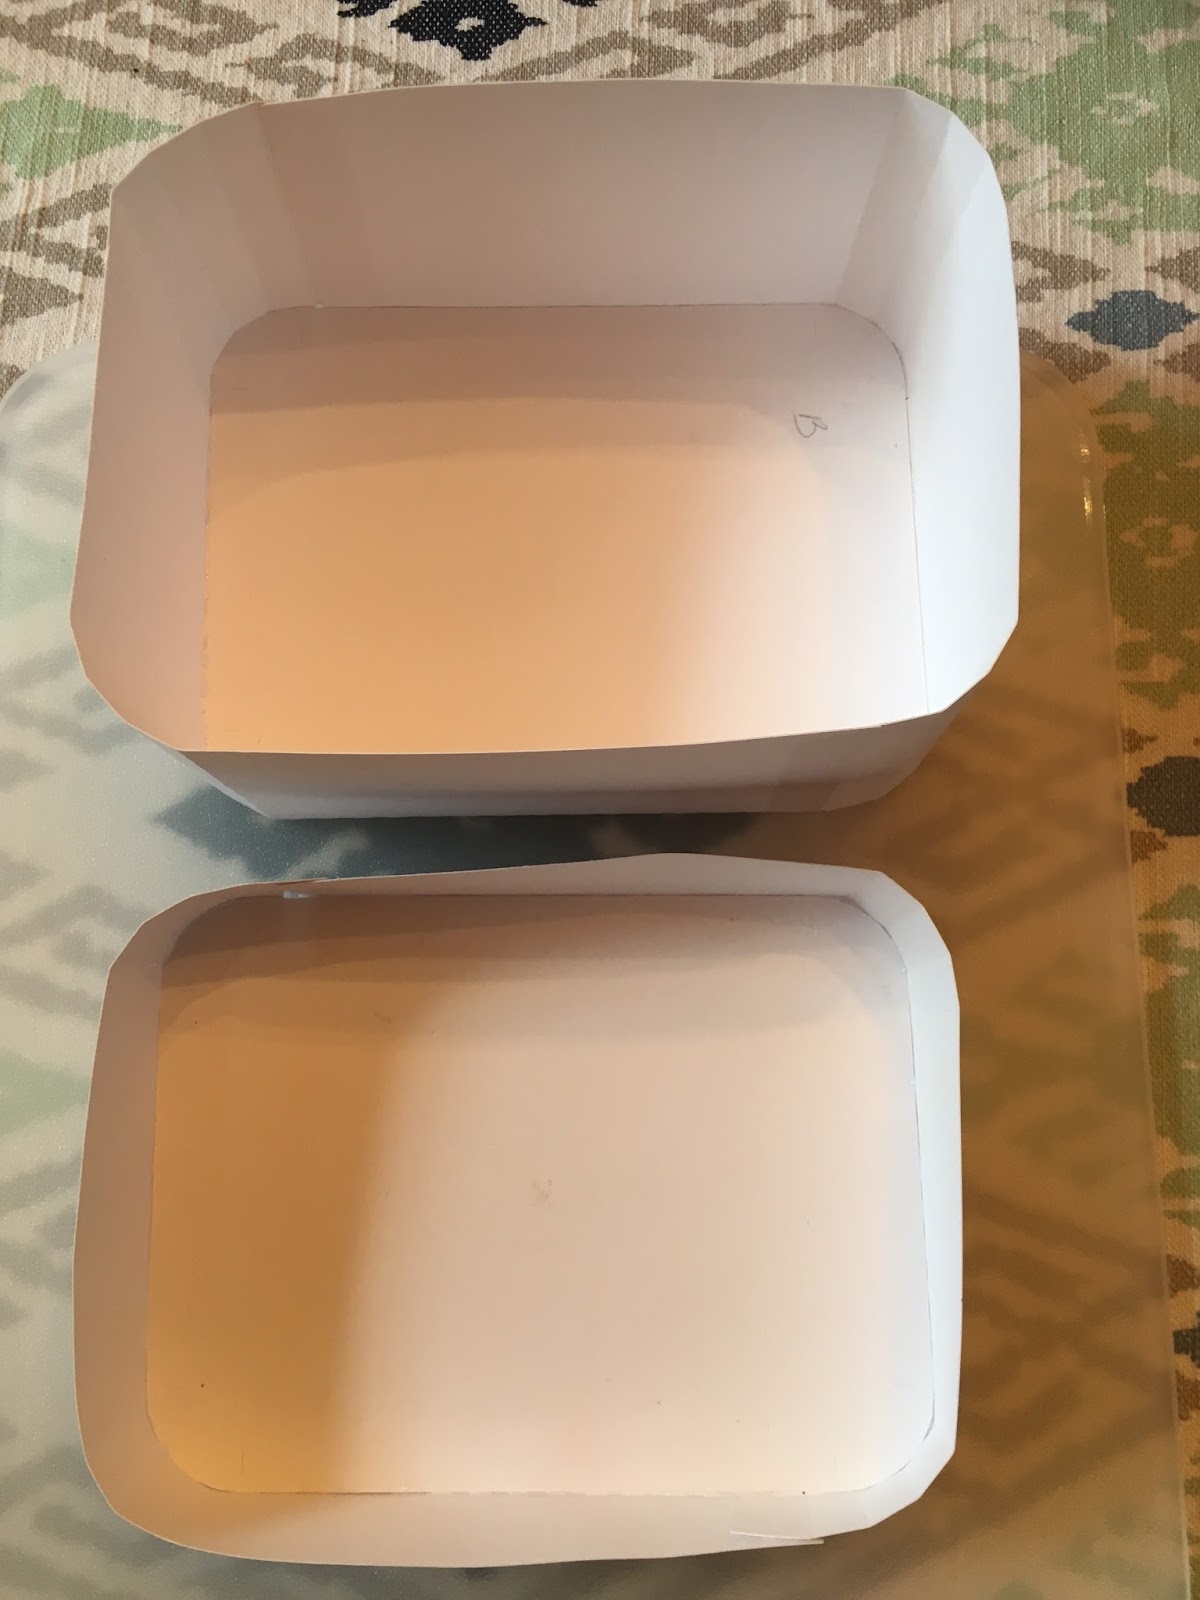
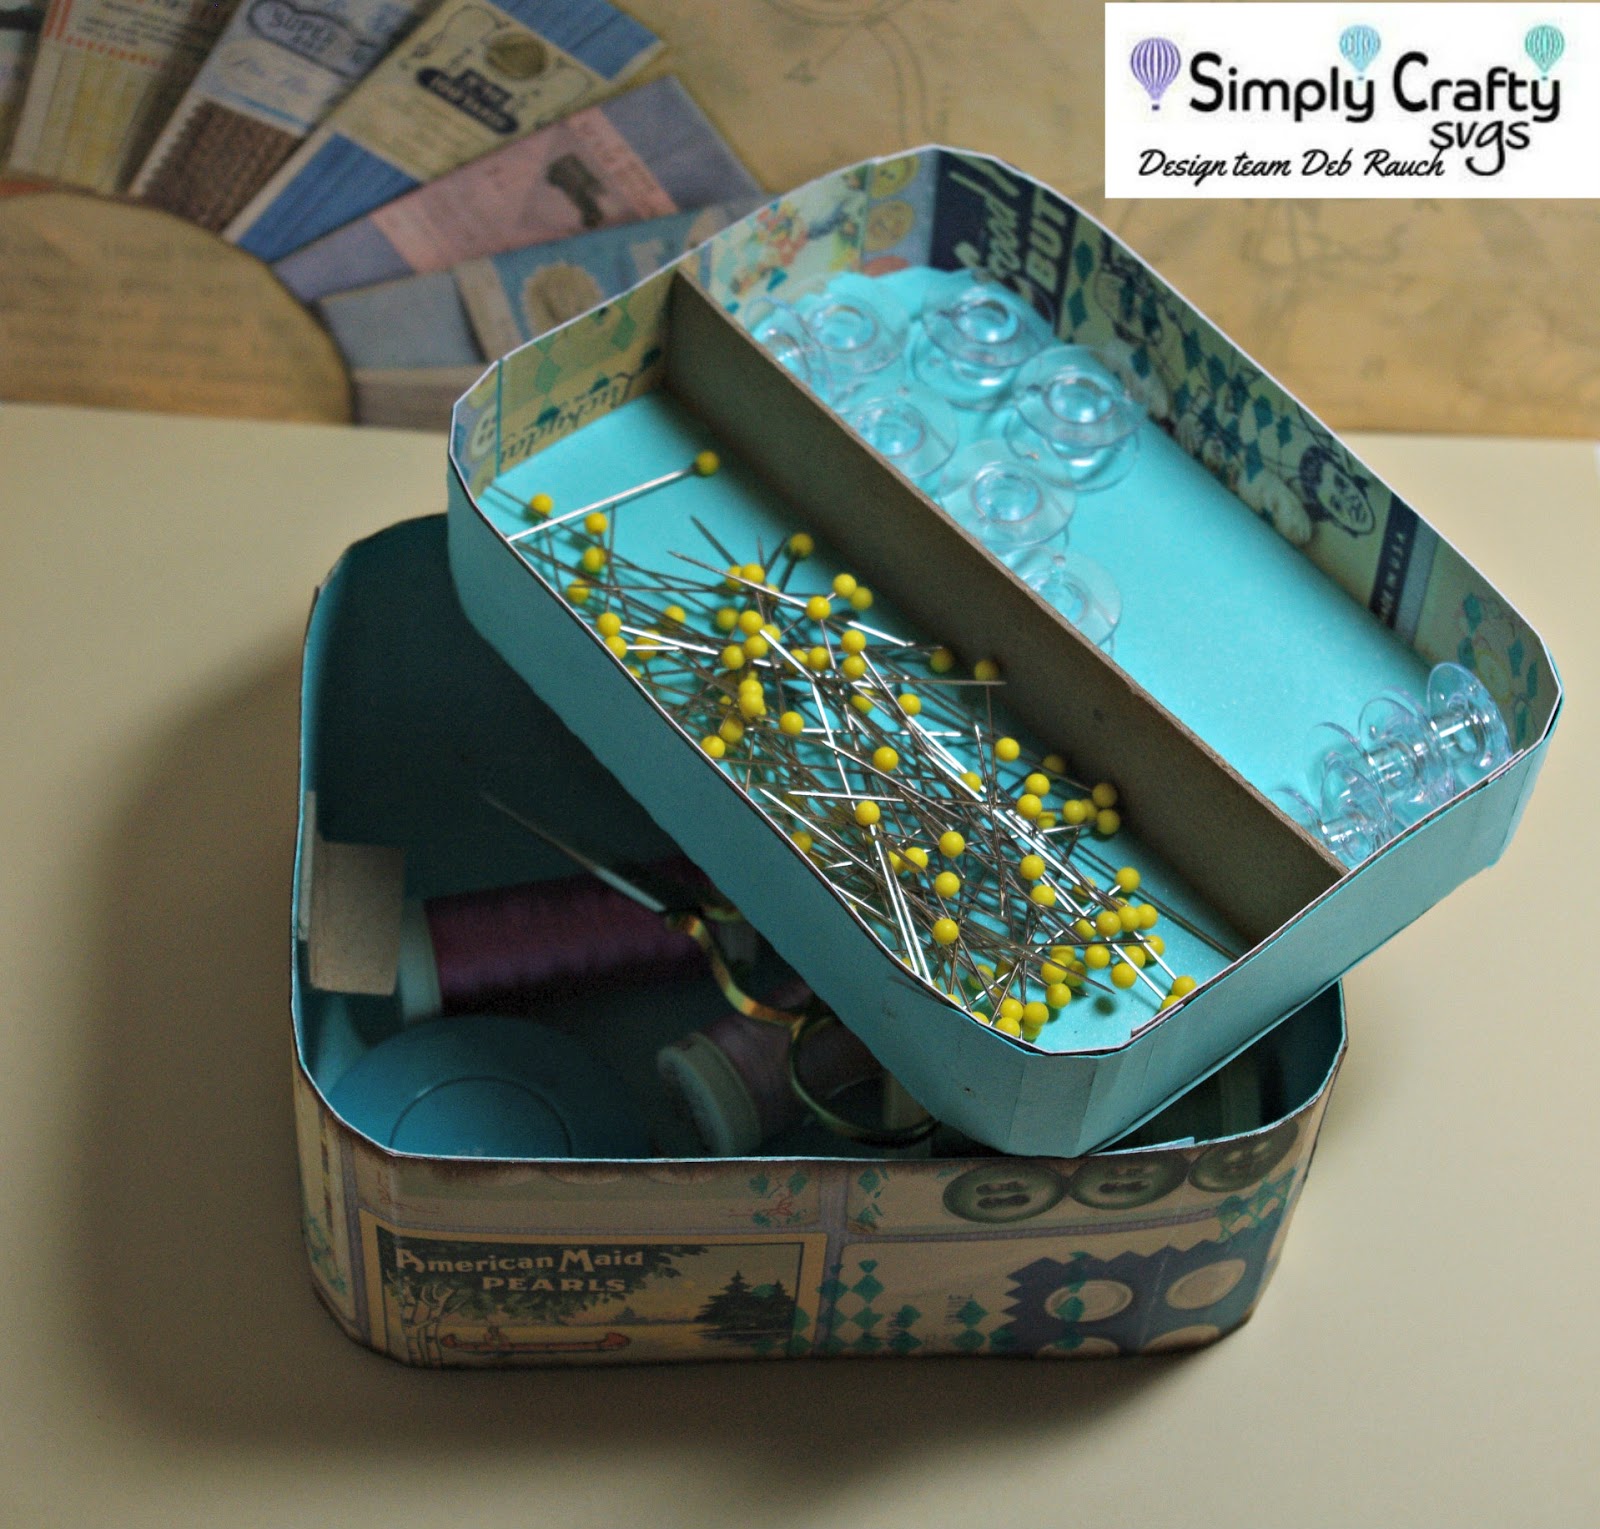
Hi there! I’m back today with my version of Simply Crafty SVGs Vintage Vanity Case. When I saw the Vanity Case file, the first thing that popped into my head was a little sewing box. I did made some modifications to this file to meet my needs. The first thing I did was cut out the bottom pieces. I knew I wanted the top to overlap the bottom so I enlarged the top pieces just a tinch. For the inside tray, I decreased the top piece a small bit, but it actually took about 3 tries to get it right. With trial and error, I got all the pieces cut, put together, and they fit like a glove! It’s a good thing I have patience haha.

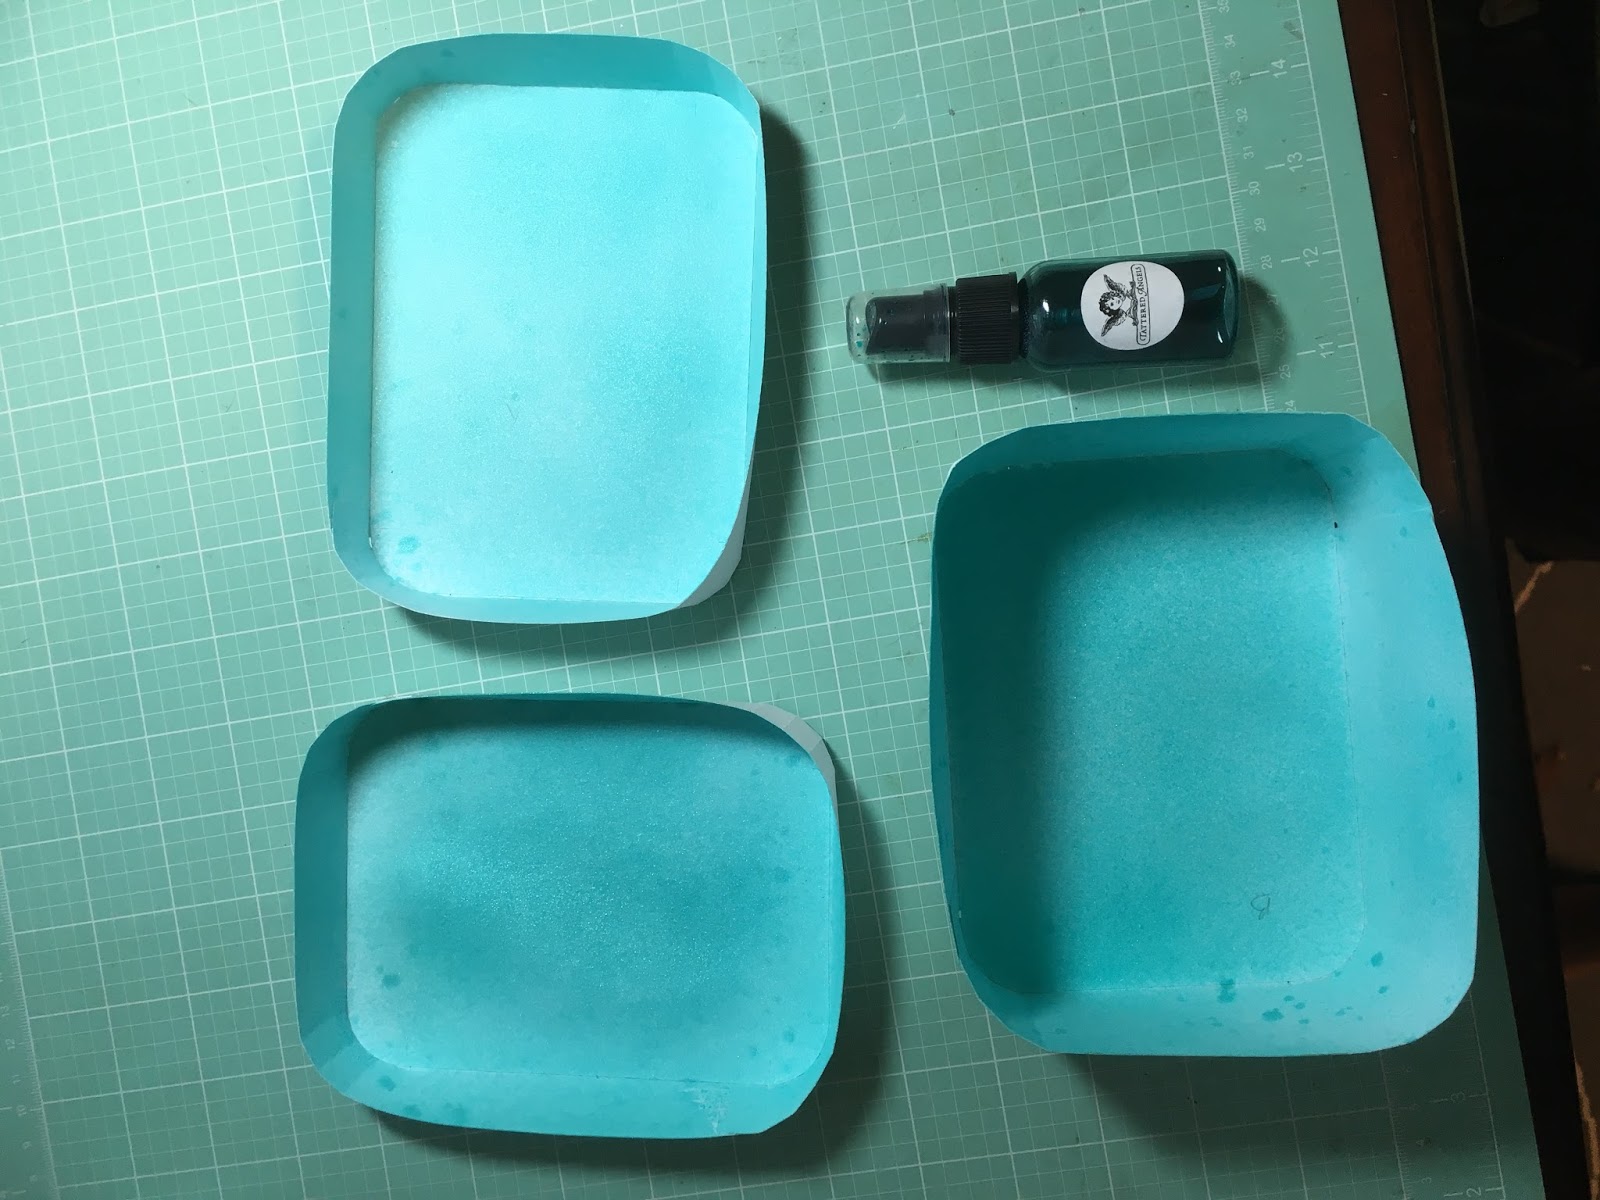
Now that I have all the pieces sized correctly, I wanted some color on the inside. I sprayed the inside of all the pieces with Tattered Angels Glimmer Mist in Turquoise Blue. I just love using Tattered Angels Glimmer Mists as they give good coverage with a nice sparkly sheen.
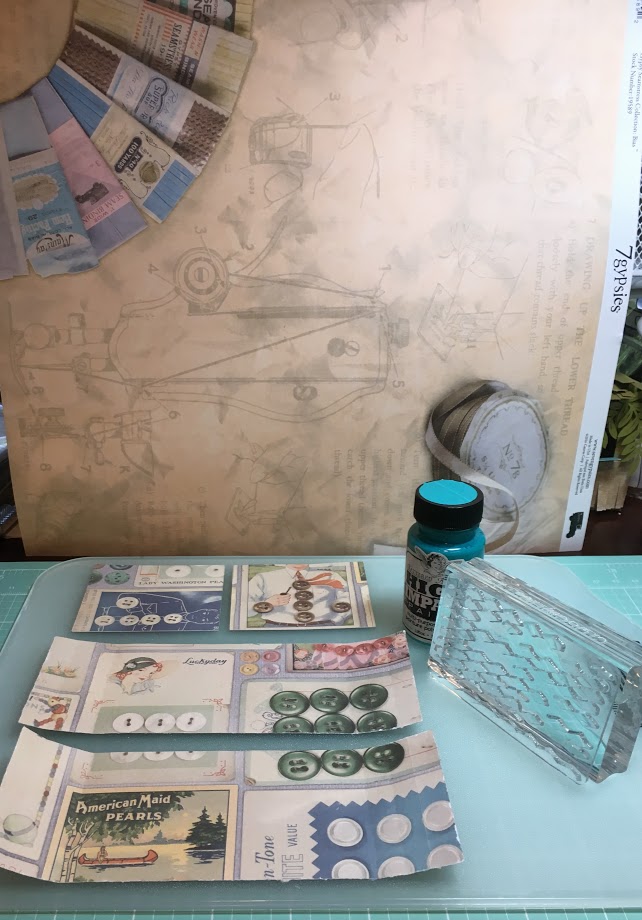
Next up was the covering for the box. I had chosen two different sheets of paper by 7 Gypsies. On the bottom and the top side I used Gypsy Seamstress 12 x 12 Buttons. For the very top of the box, I used a coordinating piece of 7 Gypsies paper, Gypsy Seamstress 12×12 Patterns. I used my electronic cutter to cut out the top and bottom pieces, making sure to make the top piece a tiny bit larger so that it fits over top of the bottom. This paper is very thick so you have to set it to Cardstock 120 lb. to get a good cut.
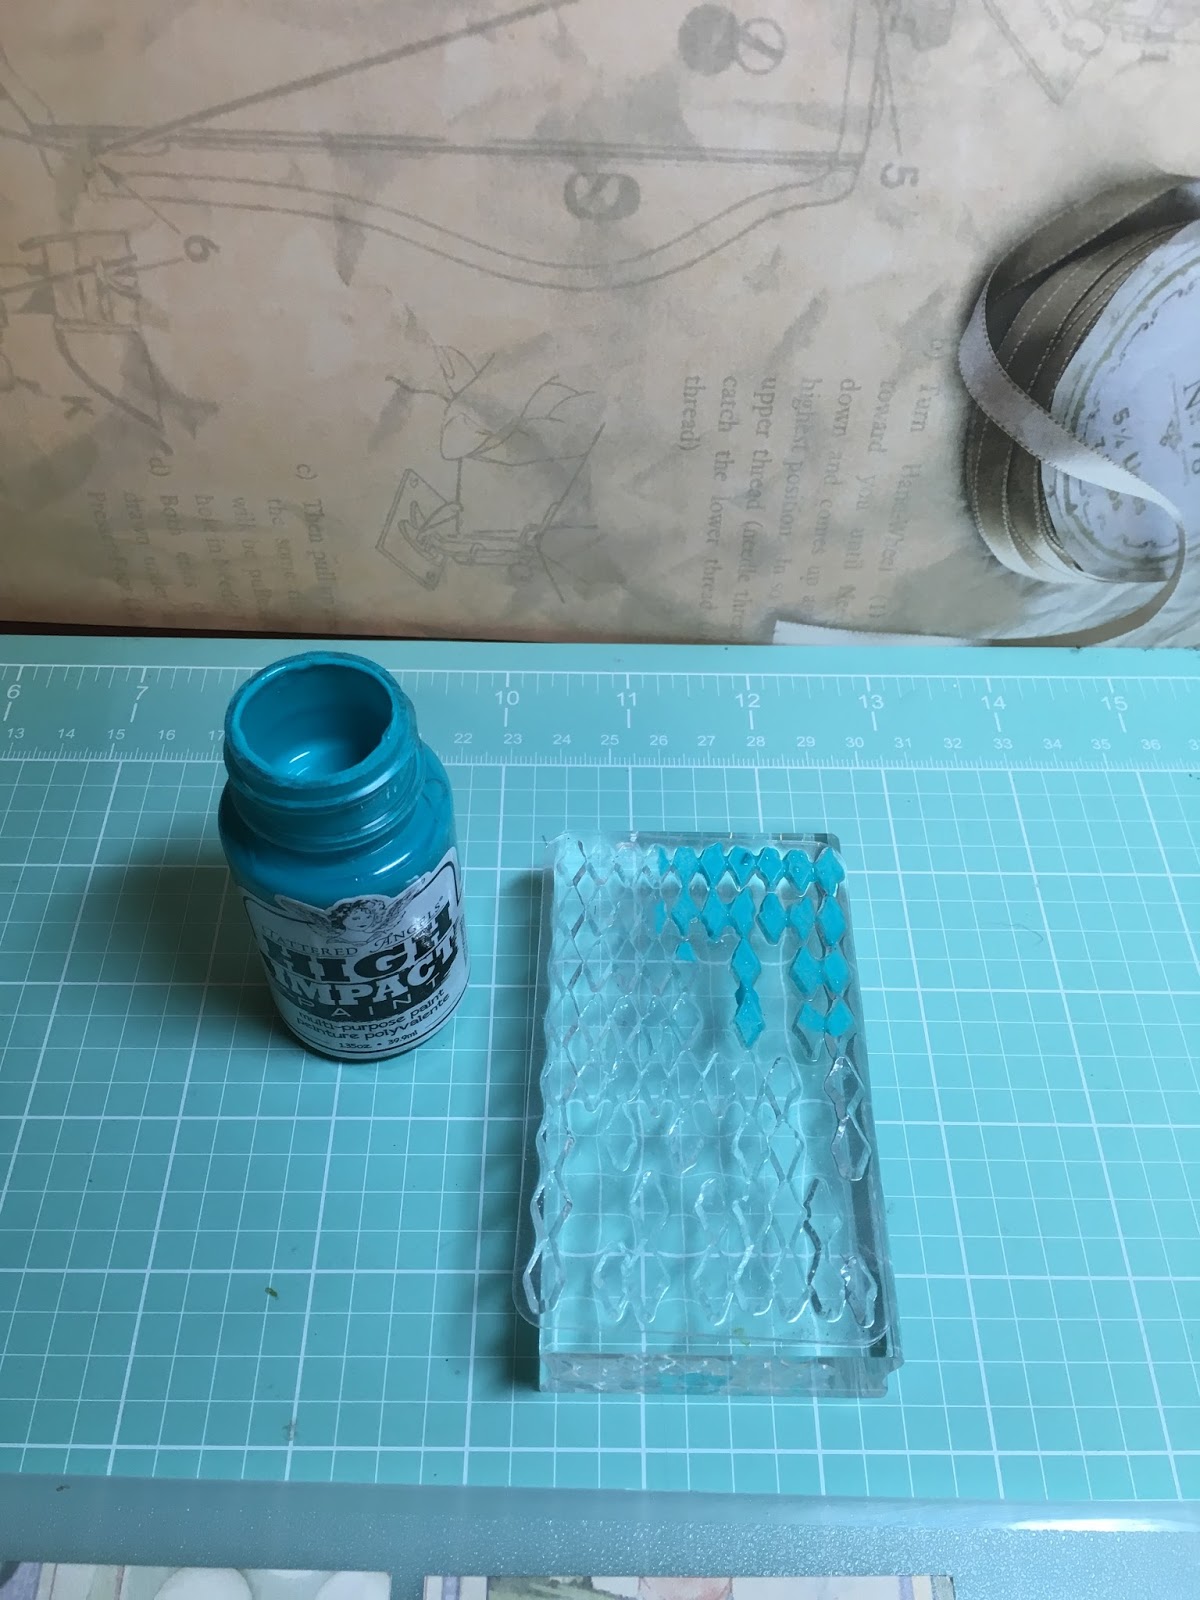
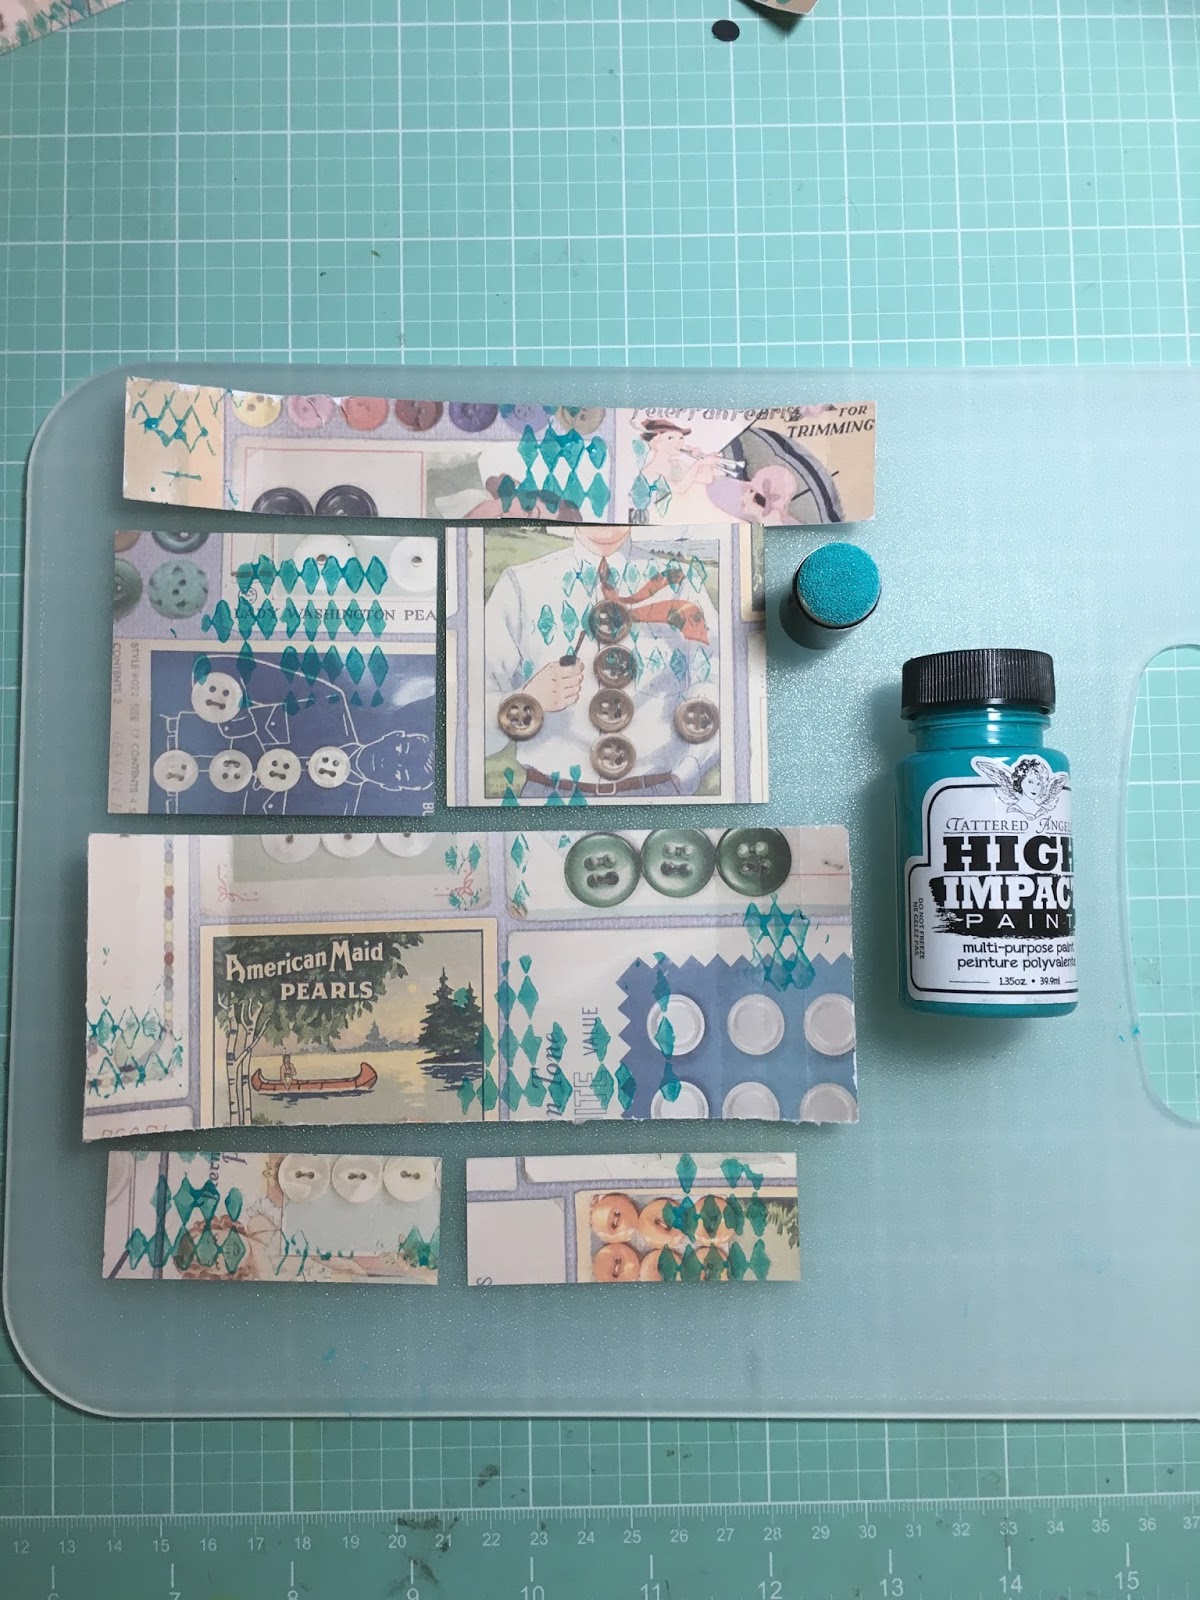
At this point, I felt like the cover pieces needed a little color and texture. I got out my Dylusions Basic Background Stamps and chose the diamond stamp, and for color, I used Tattered Angels High Impact Turquoise Paint. I used a small dauber and applied the paint to the stamp and just stamped randomly on the outside pieces of the box.
I then glued all the cover pieces onto the box. For the pull-out tray, I cut the small pieces for the top and applied them inside the tray piece. I also added a very heavy piece of chipboard to make a separation in the tray. For the tabs to hold the tray in place, I used the same heavy chipboard, cut a small square, and folded it in half. I glued one half to the side of the box. To make the tab stand up, I added quite a bit of hot glue underneath the “tab” portion that sticks out.
So that’s it! I hope you like my version of Simply Crafty SVGs Vintage Vanity Box.


Thanks for stopping by! See you next time!!
Deb, DT Member Simply Crafty SVGS
