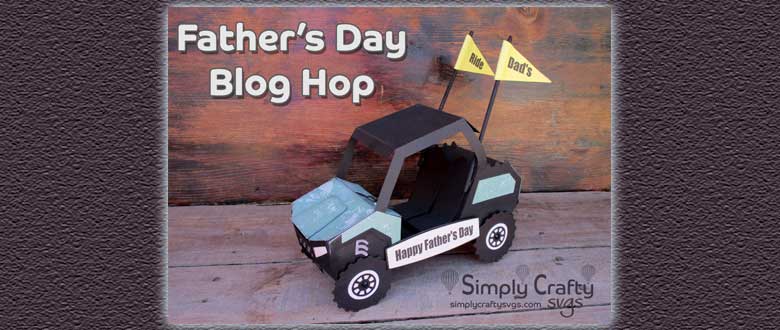
Father’s Day Blog Hop – DIY Father’s Day Gift Ideas
Hello and welcome to our 3-day Father’s Day Blog Hop. I am excited, as this is our first ever blog hop at Simply Crafty SVGS! At each hop, inspiration from our Design Team is sure to provide some Father’s Day inspiration or perhaps just some ideas for future projects!
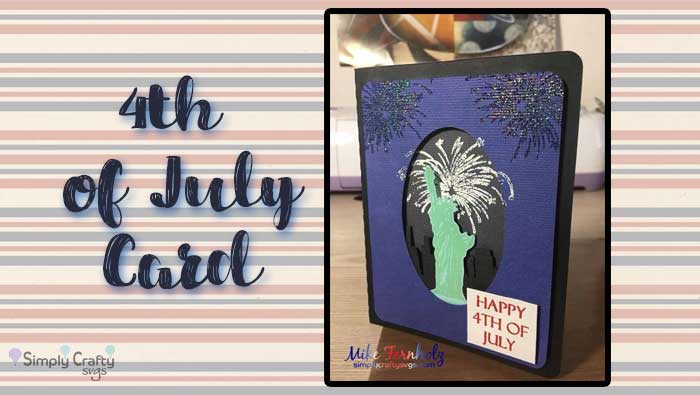
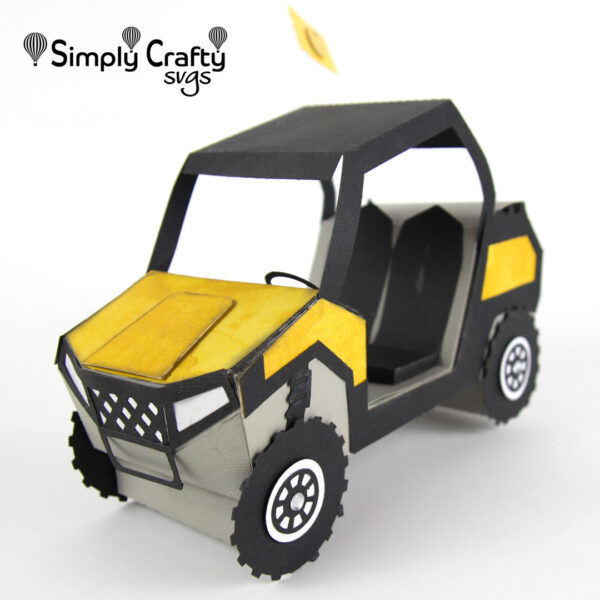
Since this is the first stop in the Blog Hop, let’s get started with a Father’s Day 3D Side by Side UTV box.
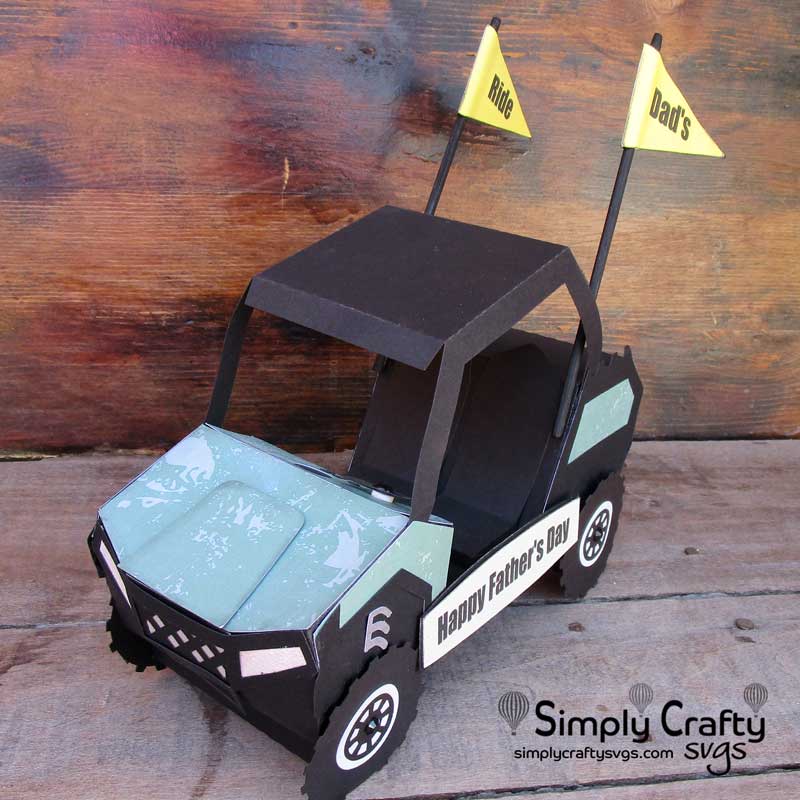
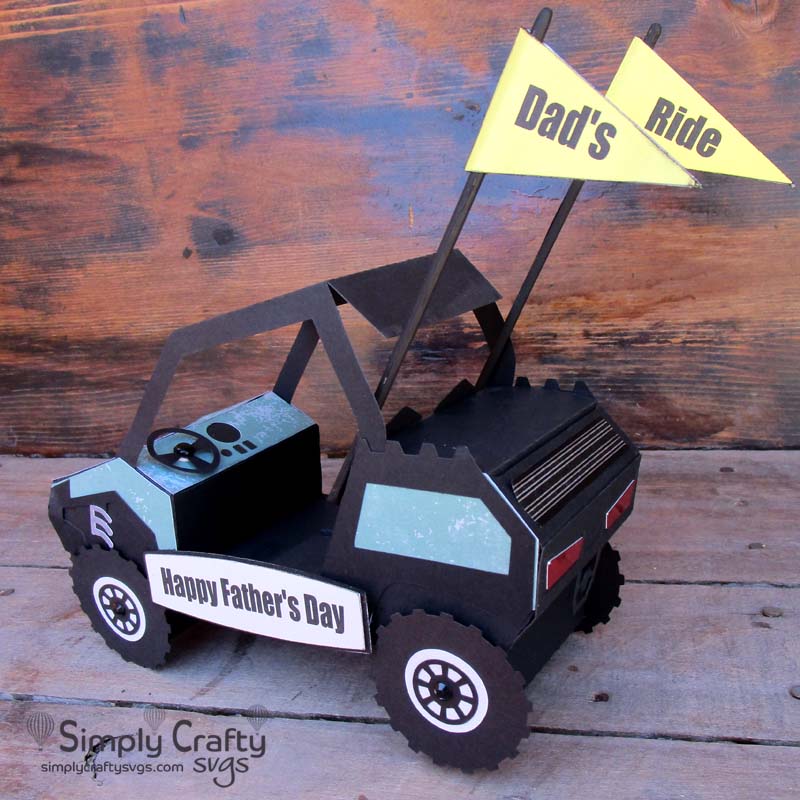
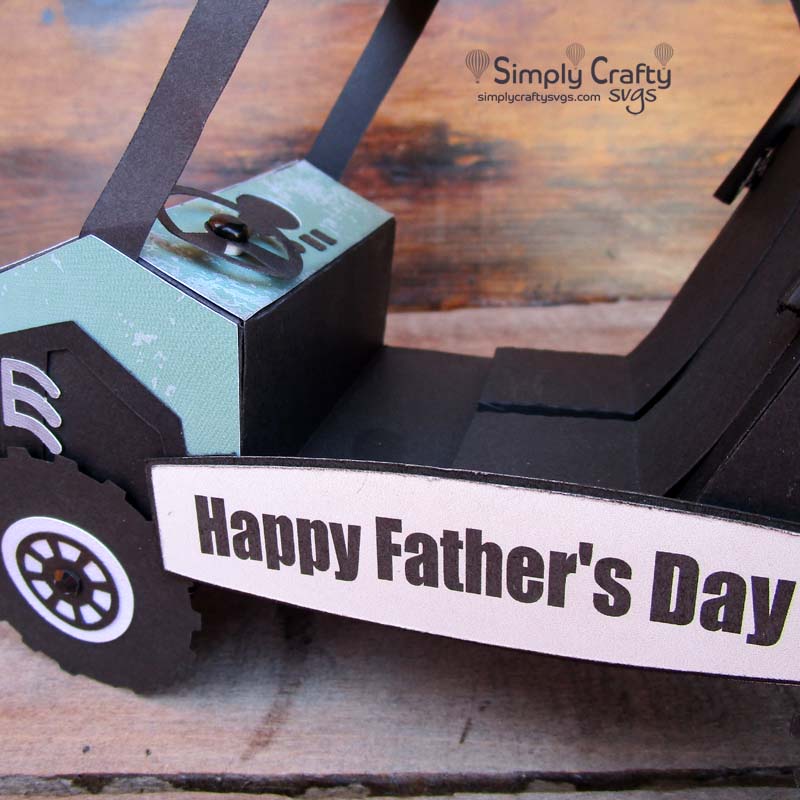
The Side by Side UTV SVG comes with square flags, but I wanted something different for this box. So, I created 2 triangular flags you often see on 4WD toys. This is easy to create within any software with basic shapes. I used triangles to make the flags with a union command from the software I was using, eCal 2. I used the Print2Cut feature to add the text. I cut and painted 2 skewers (like you get in the dollar store) black to wrap the flags around.
I also created the Happy Father’s Day label using Print2Cut in eCal 2, which is similar to the Print and Cut features in other software, like Cricut Design Space and Silhouette Studio. Then a melted perler bead, compliments my crafty sister, to the middle of the steering wheel, for the horn. A few black rhinestones form the middle of the tires.

I wanted to break up the color in the back, so I added a strip of black and white striped washi tape. I used white glitter cardstock for the front headlights and metallic red cardstock for the back lights.
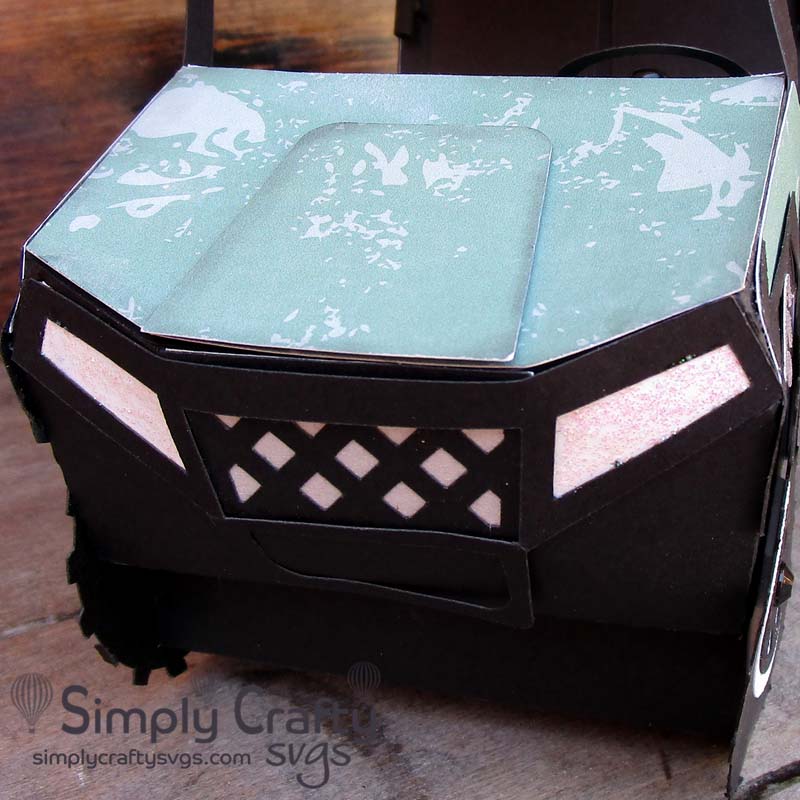
As you can see, the back open up for a place to add a gift card or some Father’s Day goodies!
If you like what you see thus far, there are a lot of other fun projects to come. Please continue the hop by visiting the next crafter on the list, which is Janet at Crafting Quine!
- Simply Crafty SVGs Blog YOU ARE HERE
- Janet – Crafting Quine
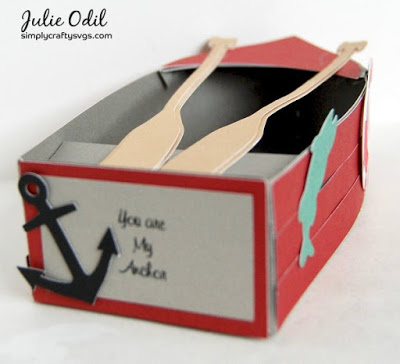
- Julie – Muddy Paws & Inky Fingers
- Lena – Lena’s Creations
- Leslie – Love To Scrap 2
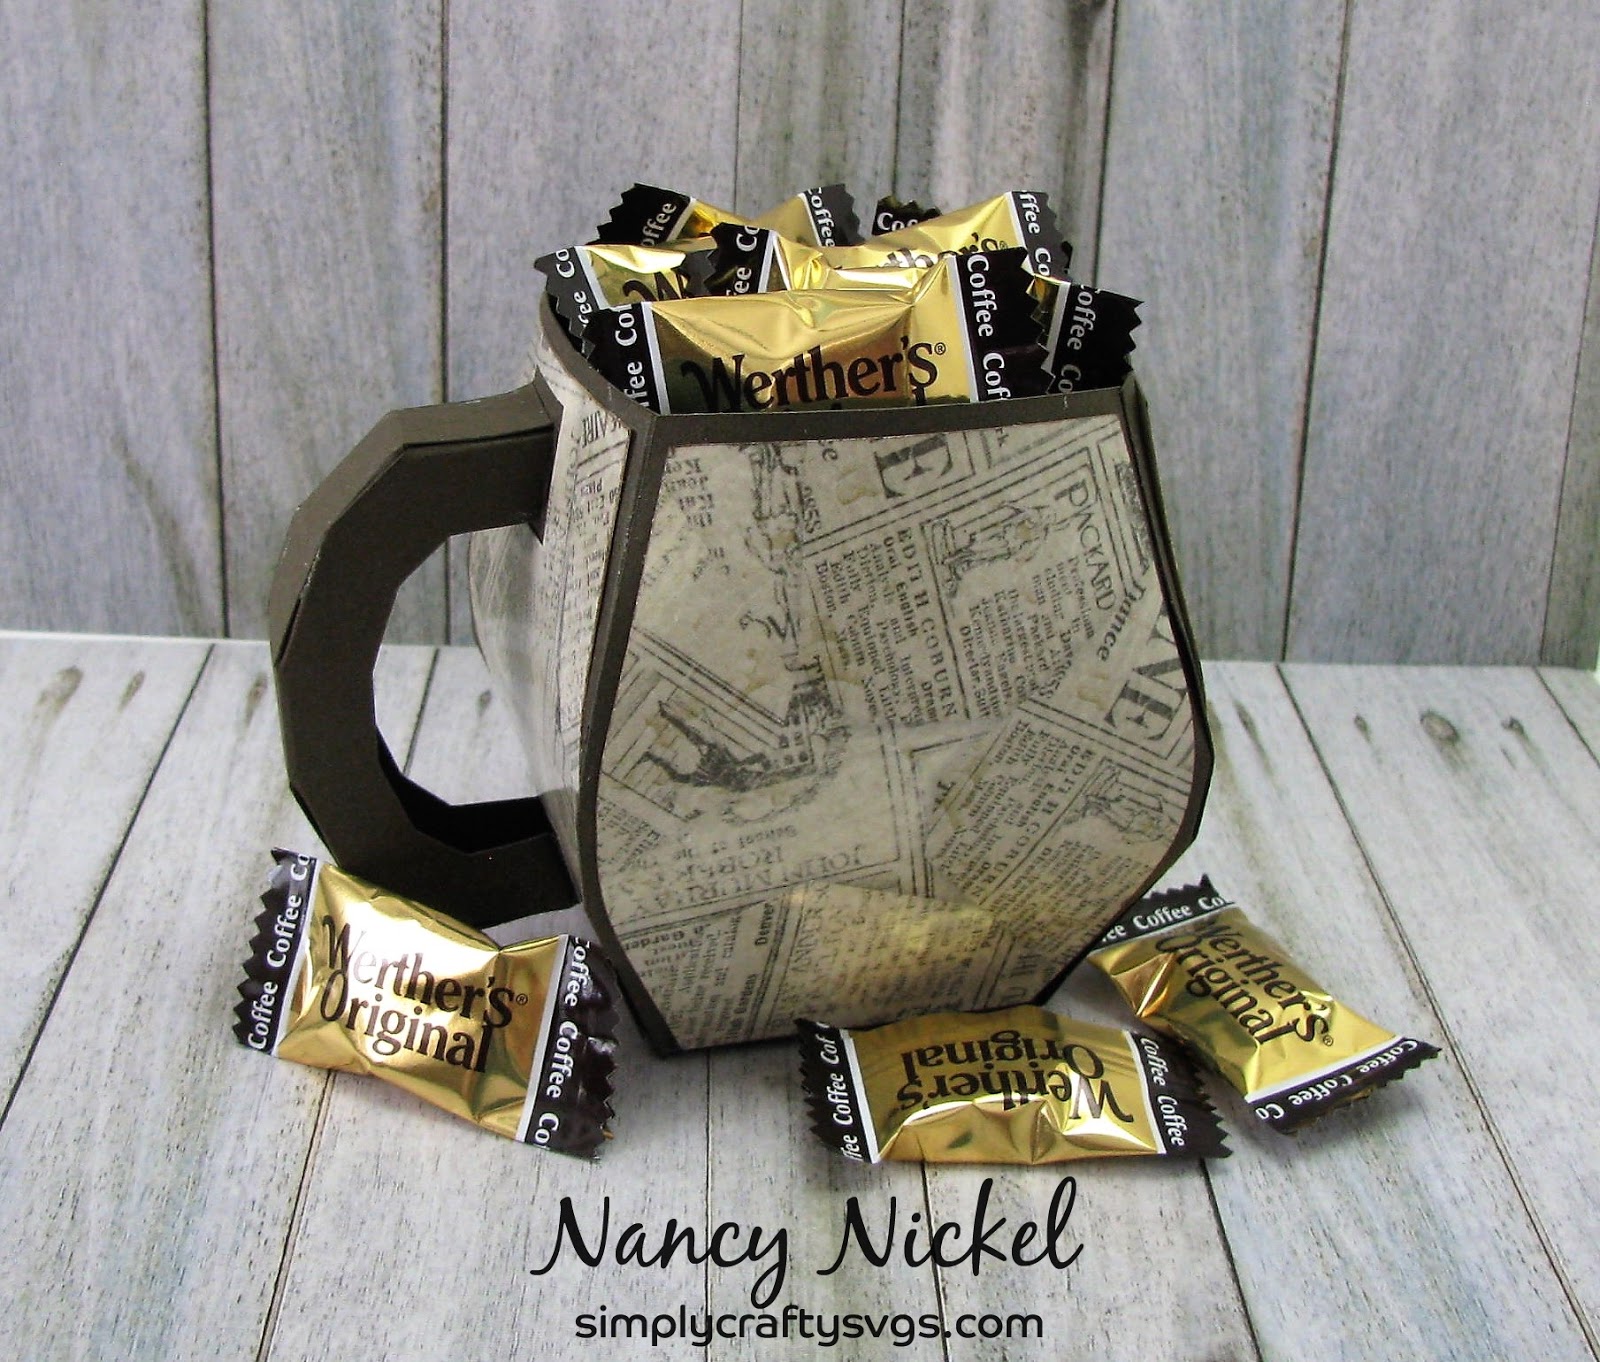
- Nancy – The Nickel Nook
Make sure you visit each one and leave a comment so that you have more chances to win! Happy Hopping!
Thanks to all that participated! The $5 Gift Certificate Winner for commenting on this blog post is Vickie D.
The overall $10 Gift Certificate Winner for the entire blog hop is Sherri G. Emails have been sent to the winners.
The winners for each of the $5 gift certificates were announced on the individual blogs. Thanks to all that participated and generally a thanks to all that continue to support us through this creative venture!
Here are all the projects created by the talented designers!
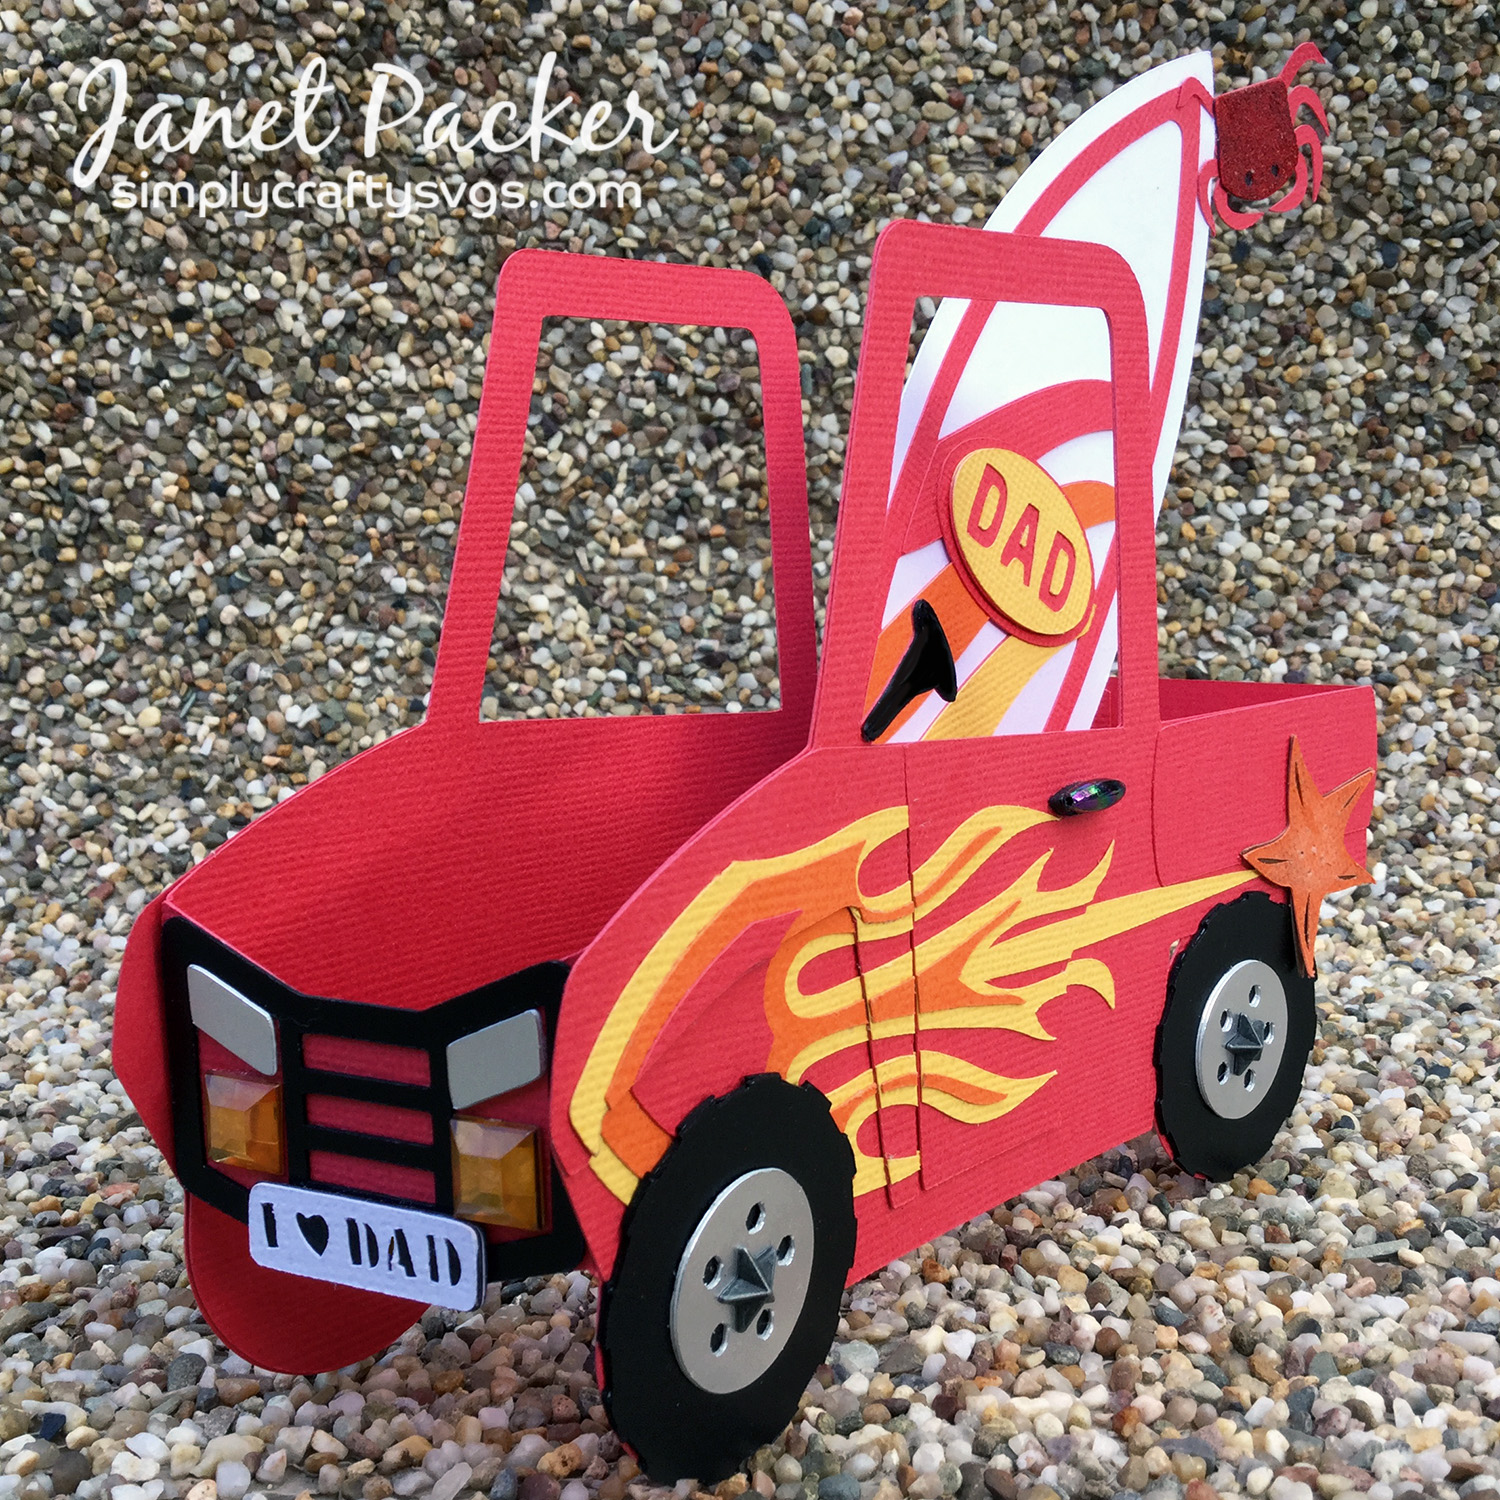
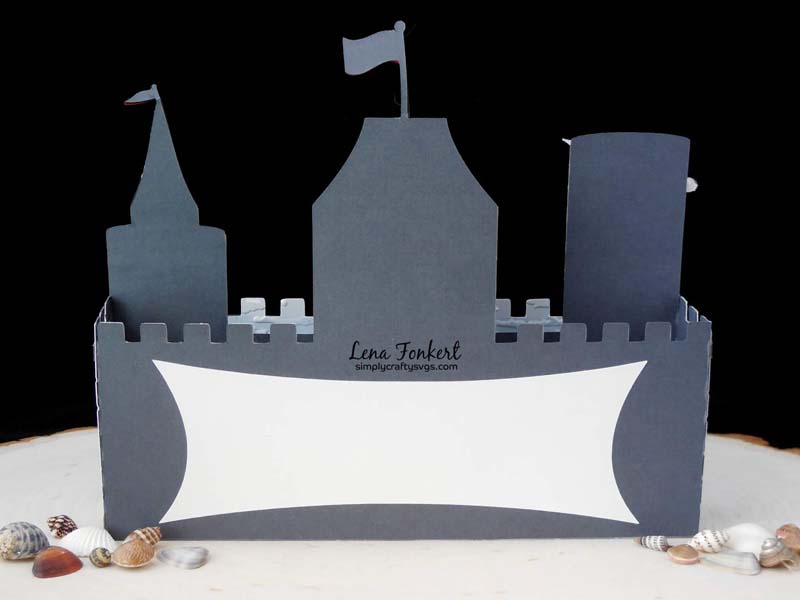
Side by Side Box Card with Surfboard
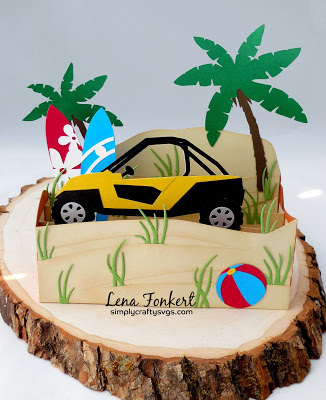
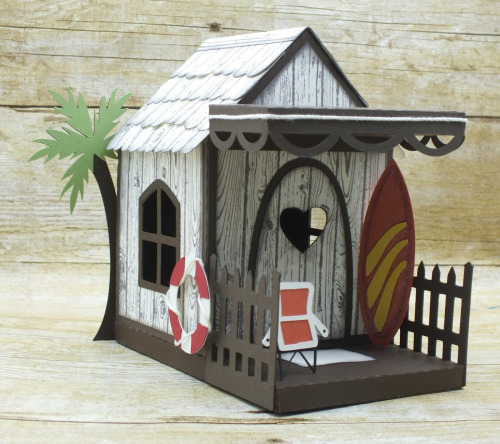
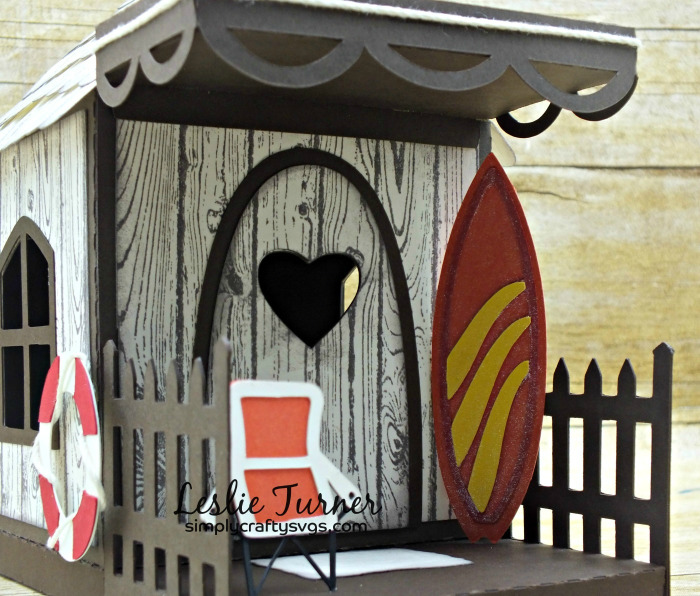
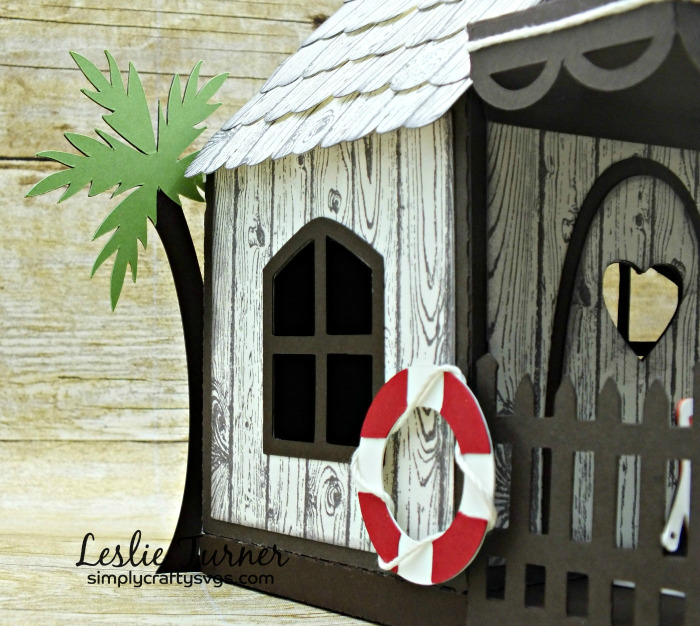
Desert Off-Roading Box Card with Surfboards


Click here for more Father’s Day SVG Files.