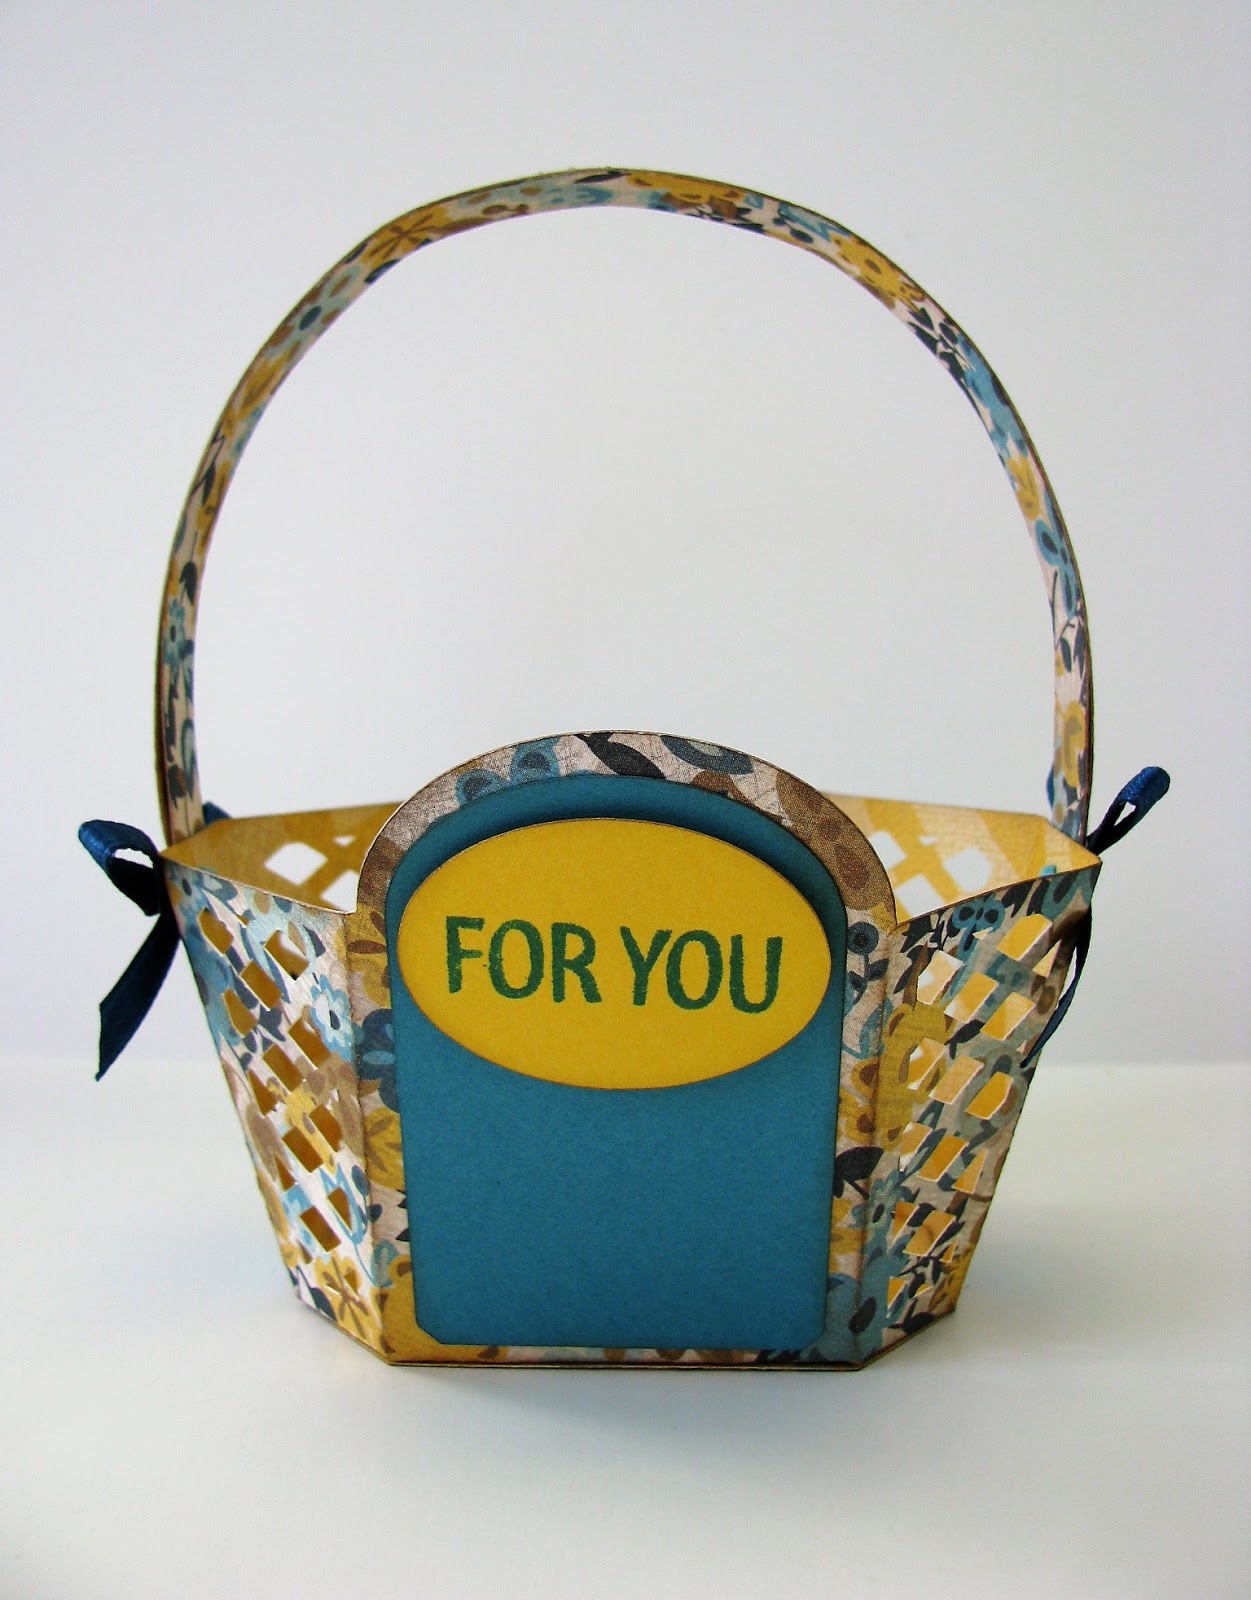
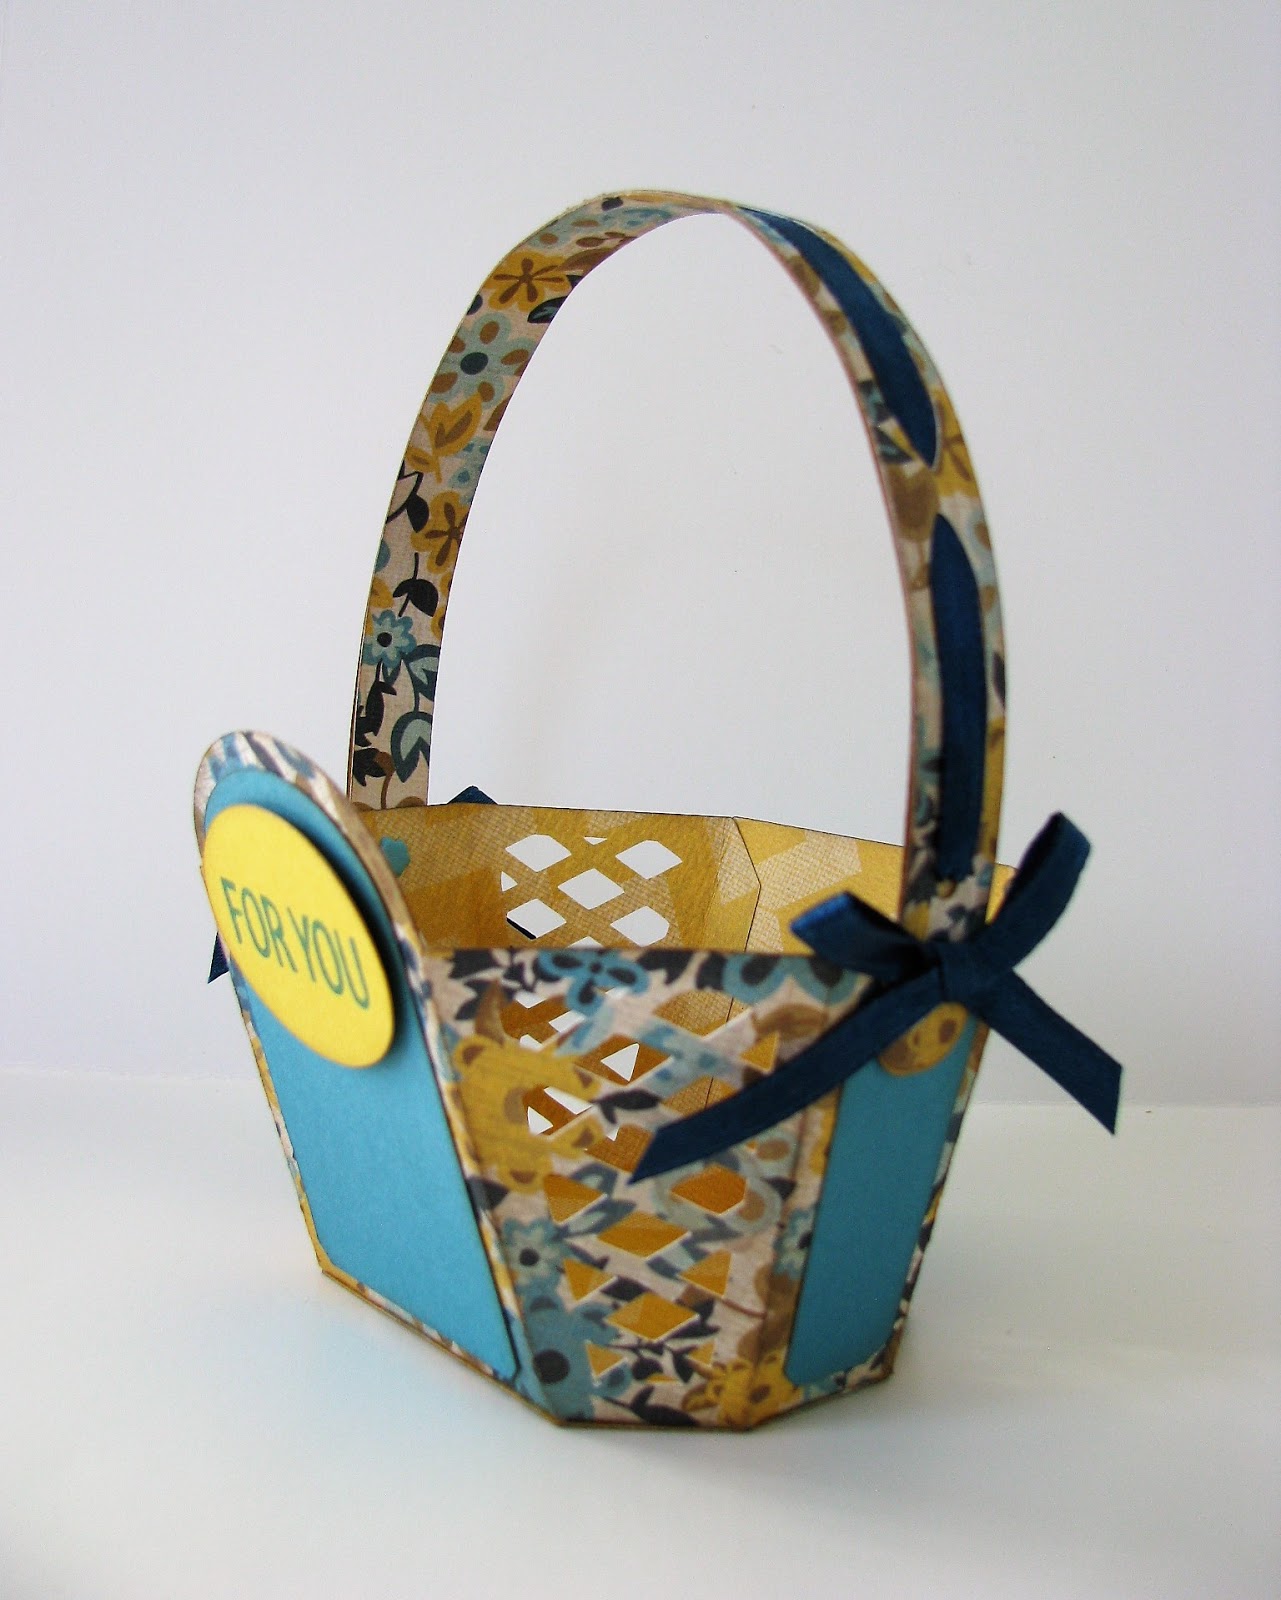
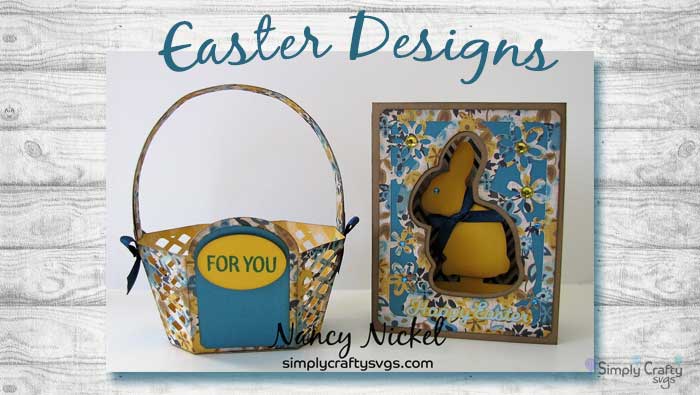
Nancy designed two Easter projects for us this month, the Easter Basket and Chocolate Bunny Box Card! With the Easter basket, she used a double-sided cardstock so the basket looked great from inside and out. I love the woven ribbon through the handle and some of the other personal touches!
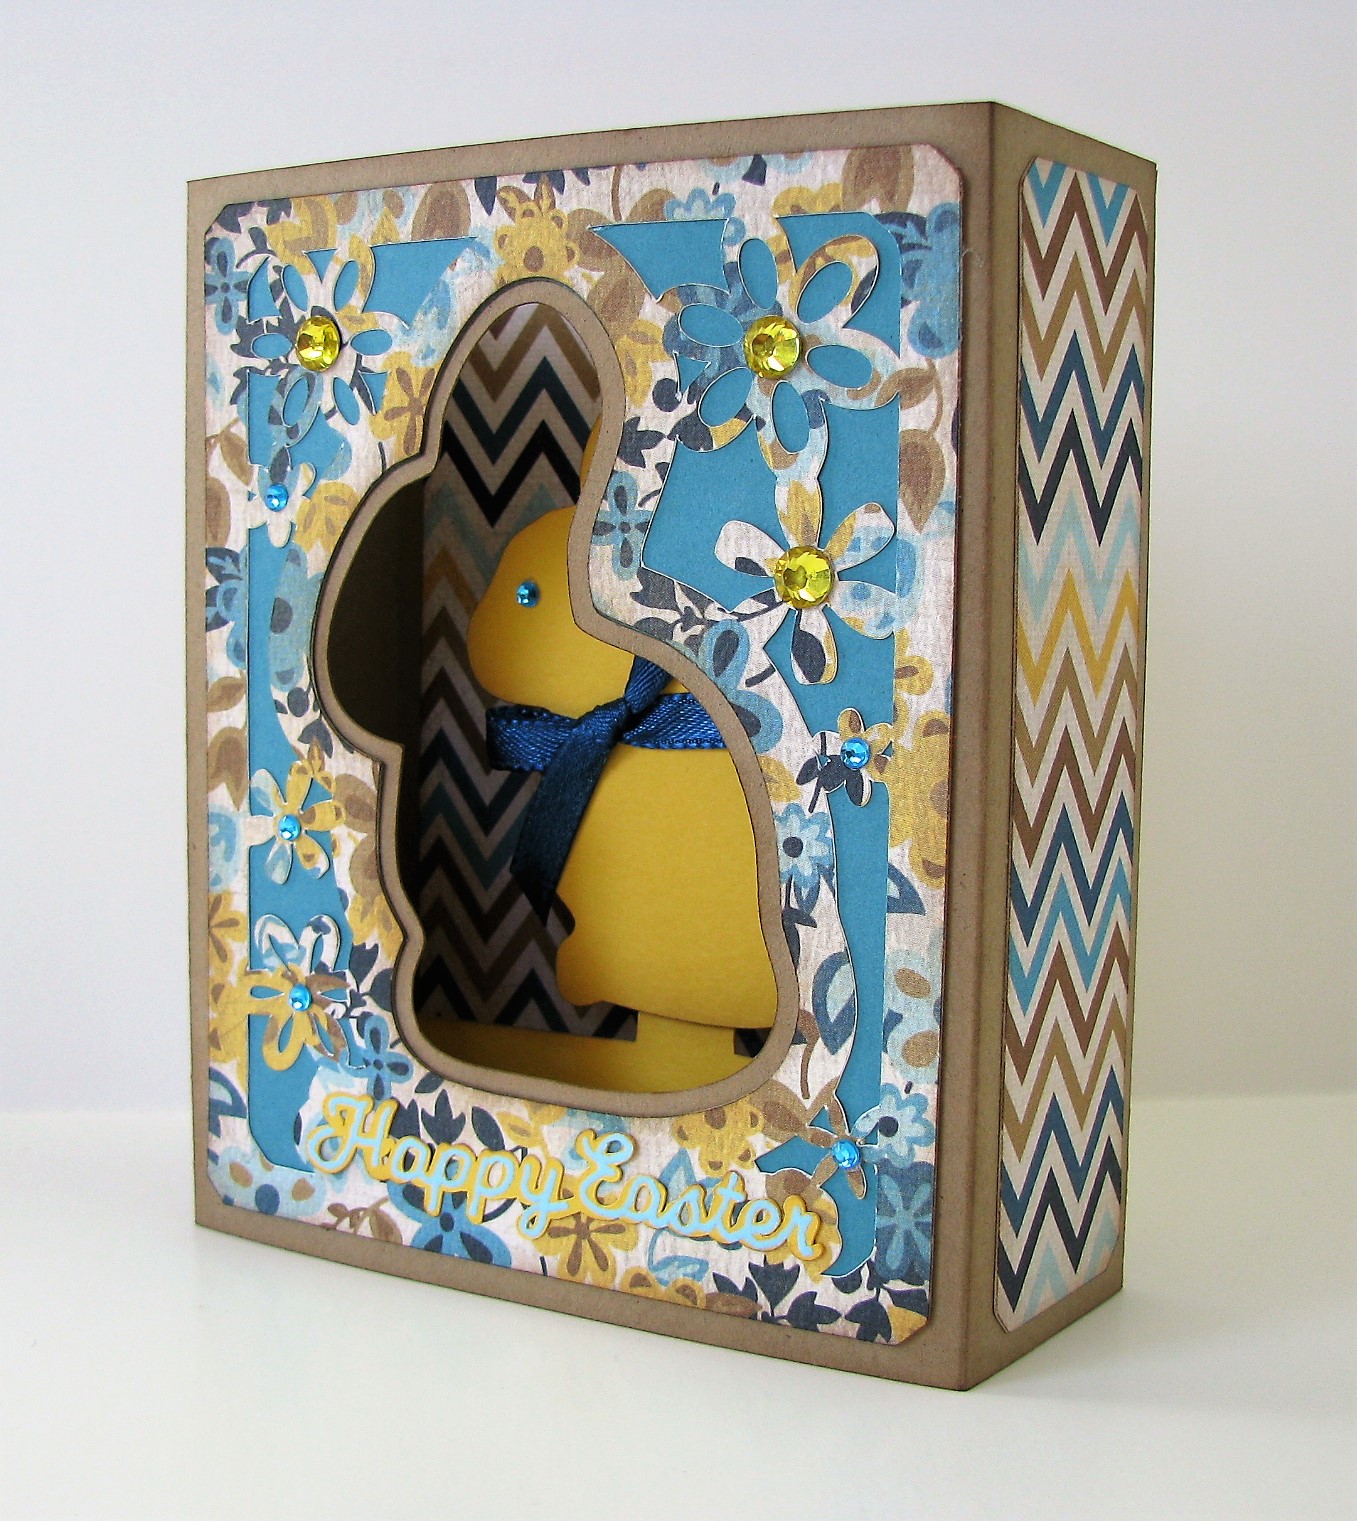
She used the same paper pattern for the matching Chocolate Bunny Box card, adding a rhinestone eye & real ribbon to the bunny, which gave it so much more dimension.
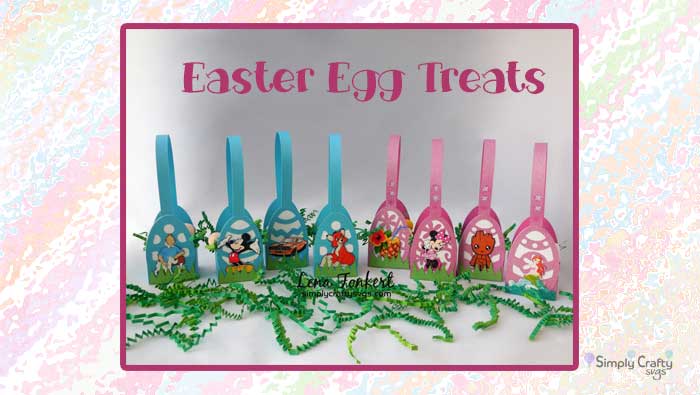
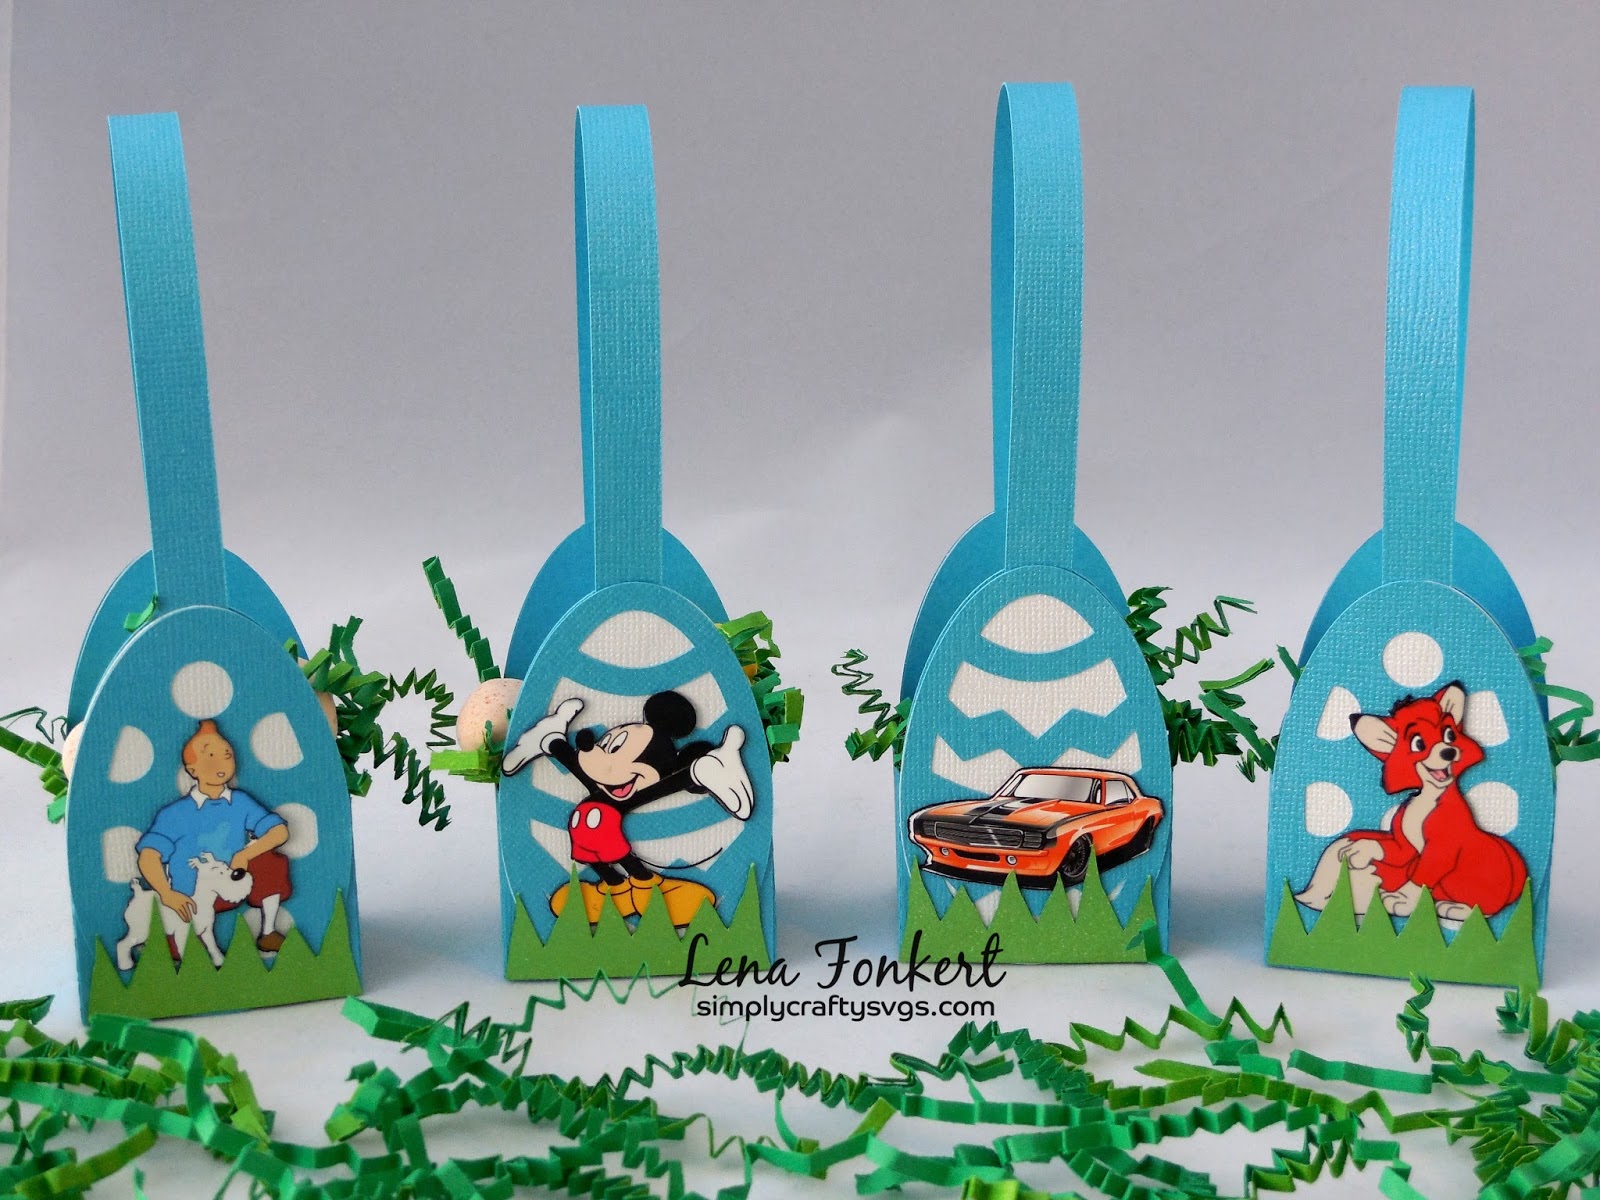
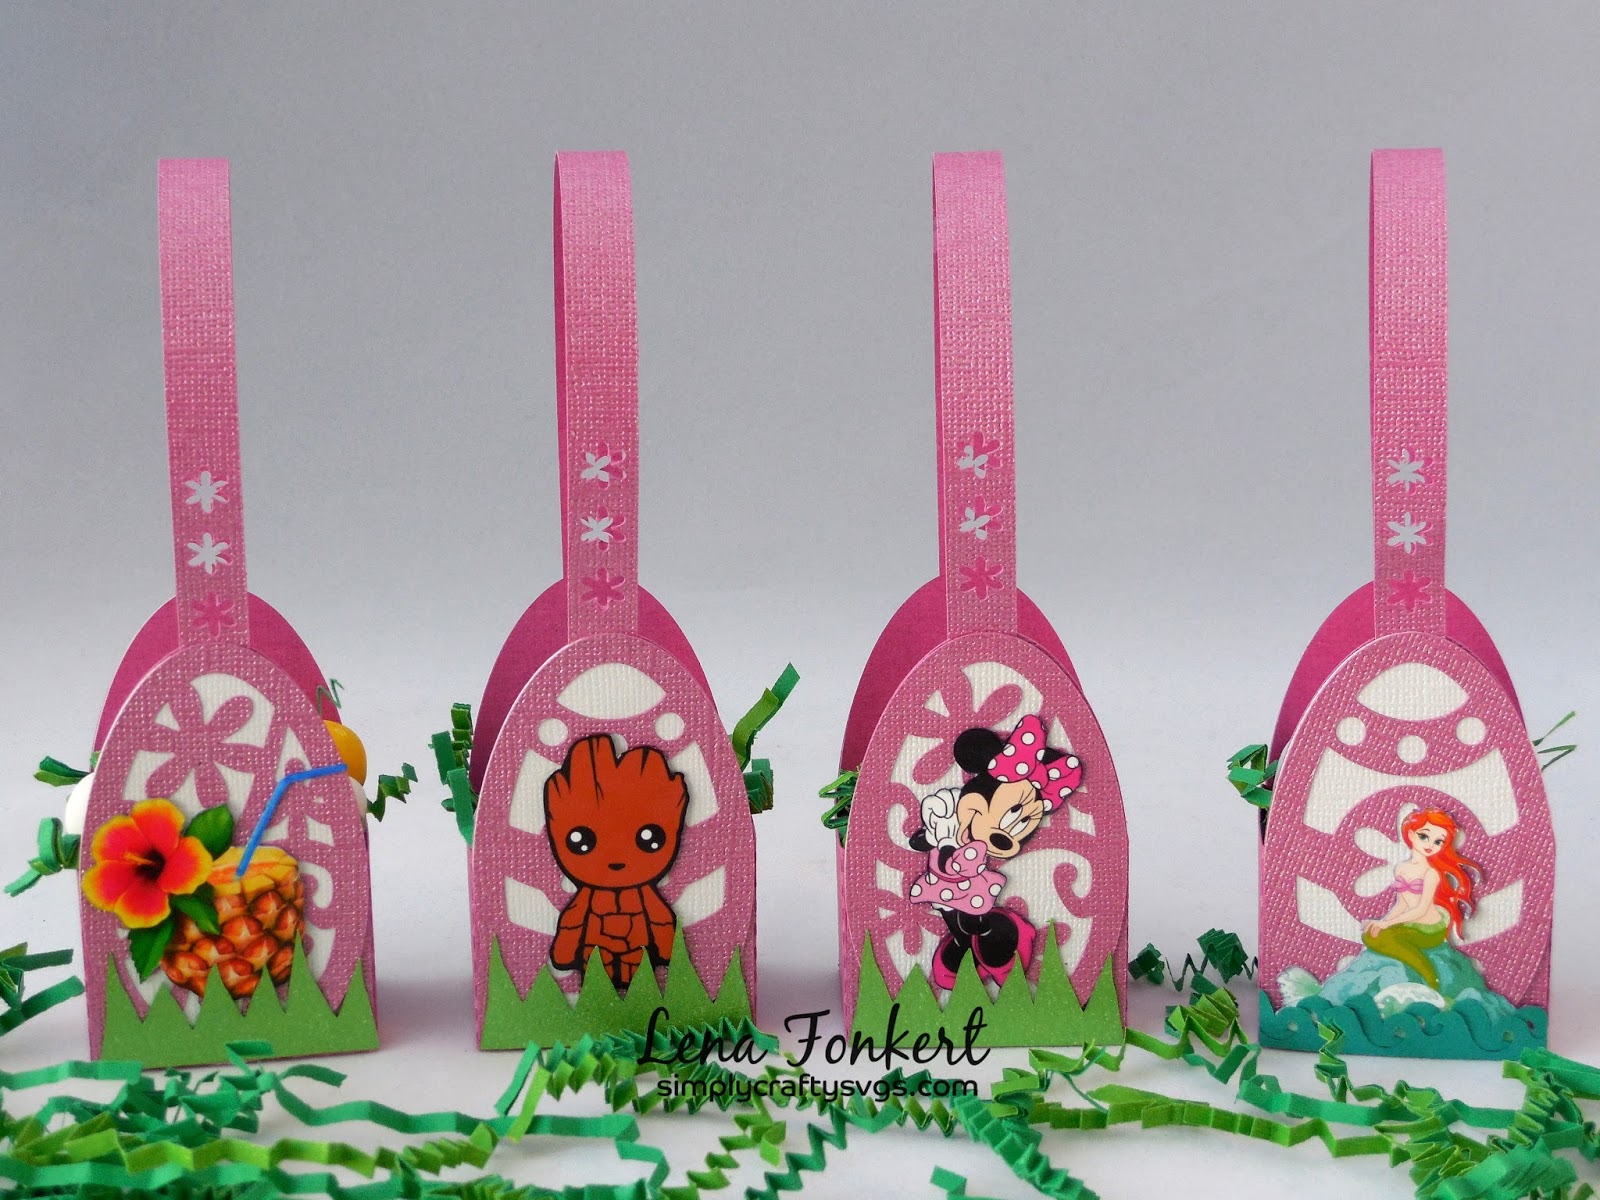
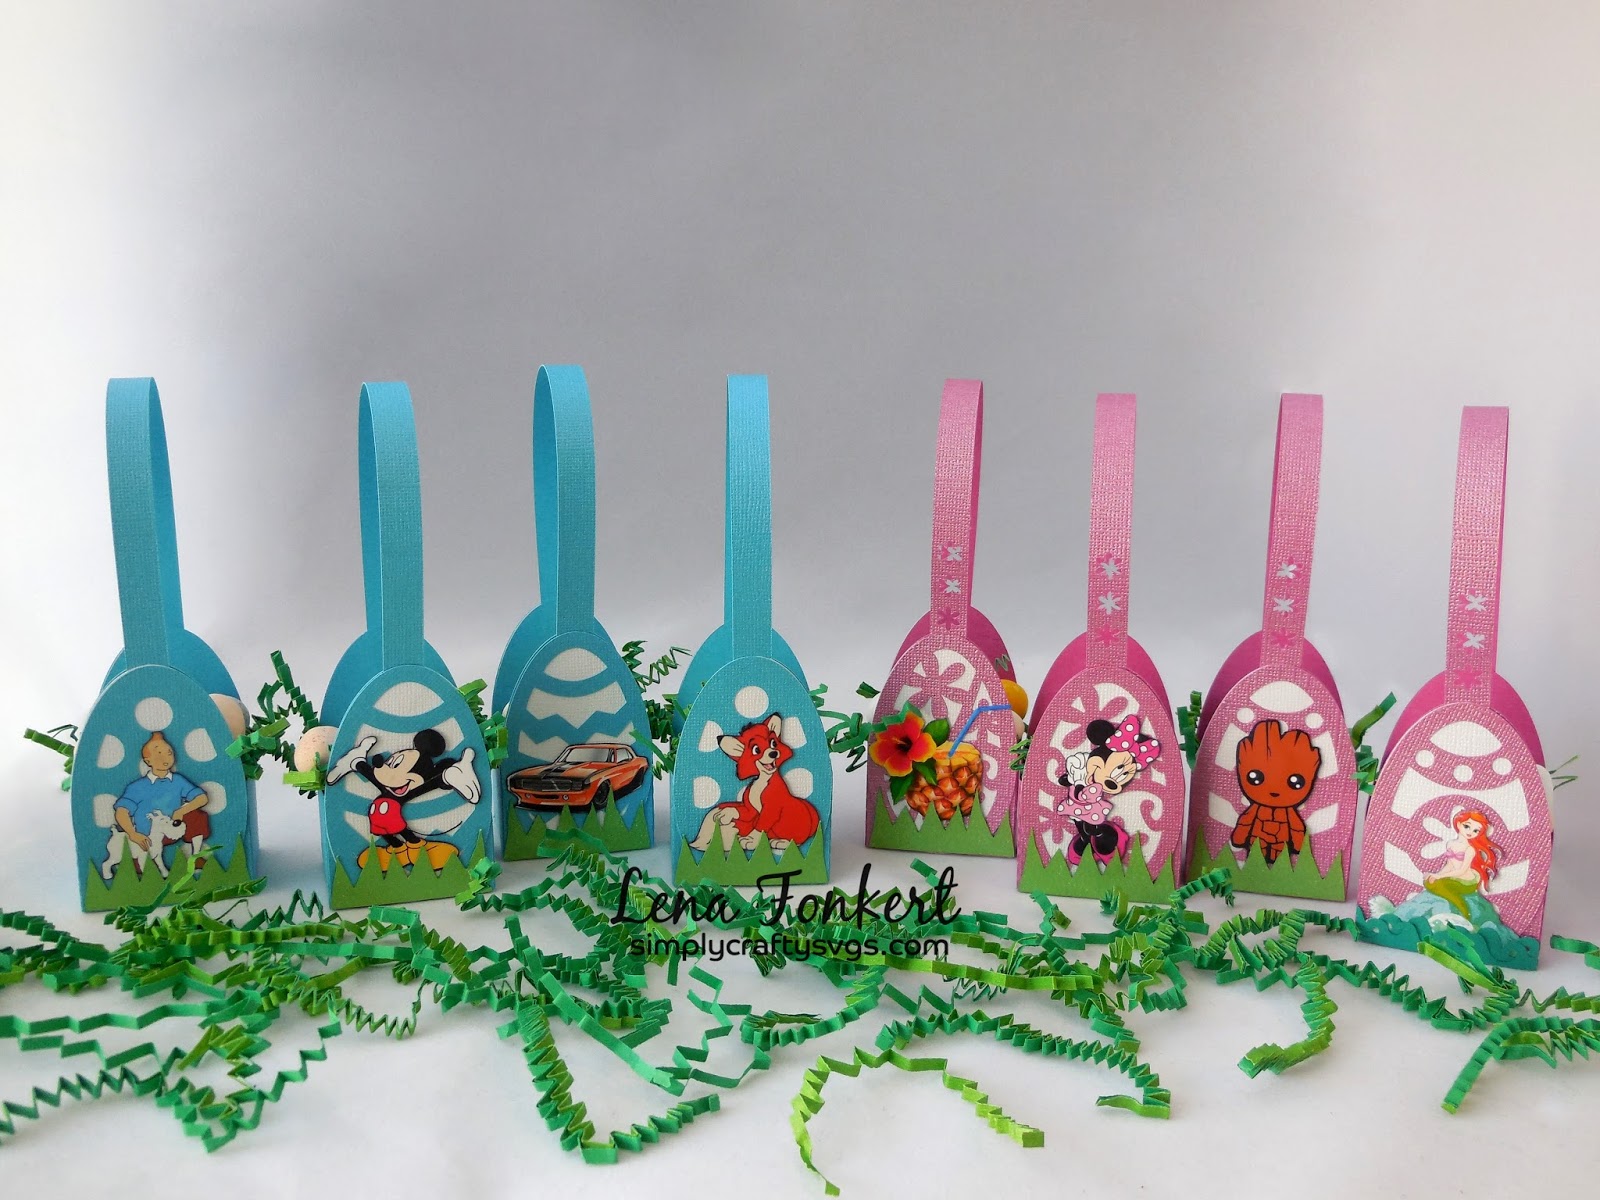
Lena from Lena’s Creations designed this set of Easter egg “place boxes” for her Easter dinner using the Easter Egg Treat Box SVG file. She even personalized each and every box with a character, different for each guest.
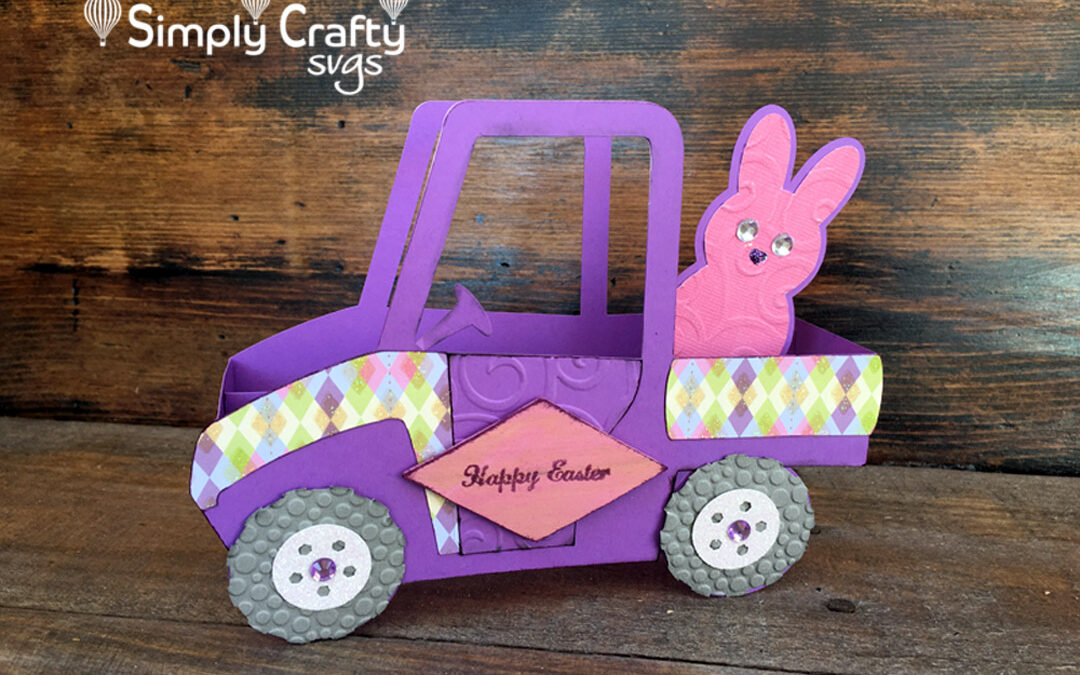
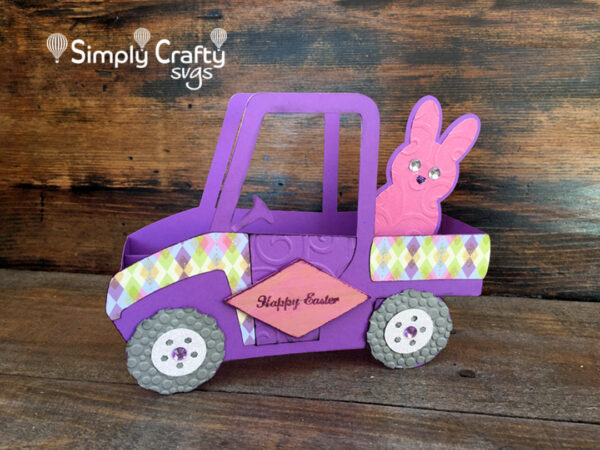
Hi! I am here today to share the assembly of an Easter Side by Side Box Card. The card comes with seven different inserts, including the bunny, for multiple celebrations and/or holidays. You can also add your own personalized insert to expand its use.
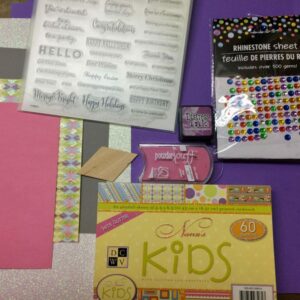
Here is what I started with, showing all the different papers, stamps, ink, and embellishments used to create the final card. See end of post for complete supply details.
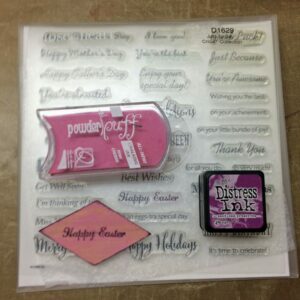
Before cutting the SVG file with my die cutting machine, I created a small sentiment embellishment. I inked a small wood cutout from my crafting arsenal and dabbed on the pink PowderPuff chalk ink. I then stamped “Happy Easter” using with the Close To My Heart stamp and Distress Ink from Ranger. I also chalked the edges of the wood piece with the same purple color.
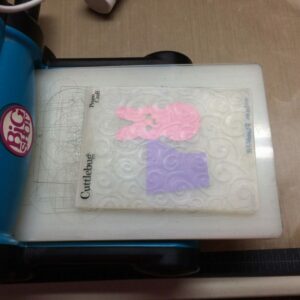
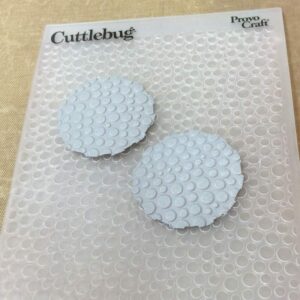
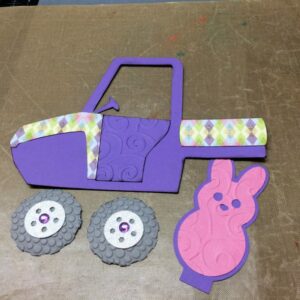
Since I LOVE embossing folders, I embossed both the top layer of the bunny “peep” and the UTV door with the Cuttlebug Musical Flourish embossing folder. I used the Cuttlebug Tiny Bubbles embossing folder to emboss the tires.
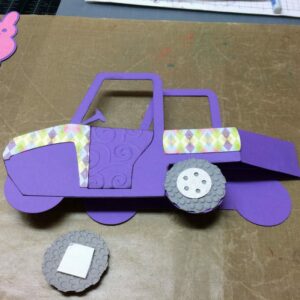
Then I pieced together the front panels, tires and bunny insert and completed assembly of the card. I used Cricut glitter cardstock and purple Dollar Tree Rhinestones for the hubcap. I attached the tires with foam adhesive for a dimensional effect. In the end, I also added a couple pearl stones for the bunny eyes.
Voila! A cute Easter card with a stowaway bunny peep, ready to be sent to a special someone! It folds flat to fit within a standard A9 size envelope at 8.5″ wide x 5″ tall. Card is a little shorter than an A9 envelope, but I have never had trouble. If you do not have an A9 size envelope, get our FREE Basic Envelope Set to make one!
Hope you liked this Easter project! I cannot wait to make another for 4th of July!